Irresistibly Sweet Homemade Christmas Fudge Recipe
Sweet memories of festive gatherings dance around this creamy homemade christmas fudge that melts perfectly on your tongue.
Christmas celebrations always sparkle with something deliciously unexpected.
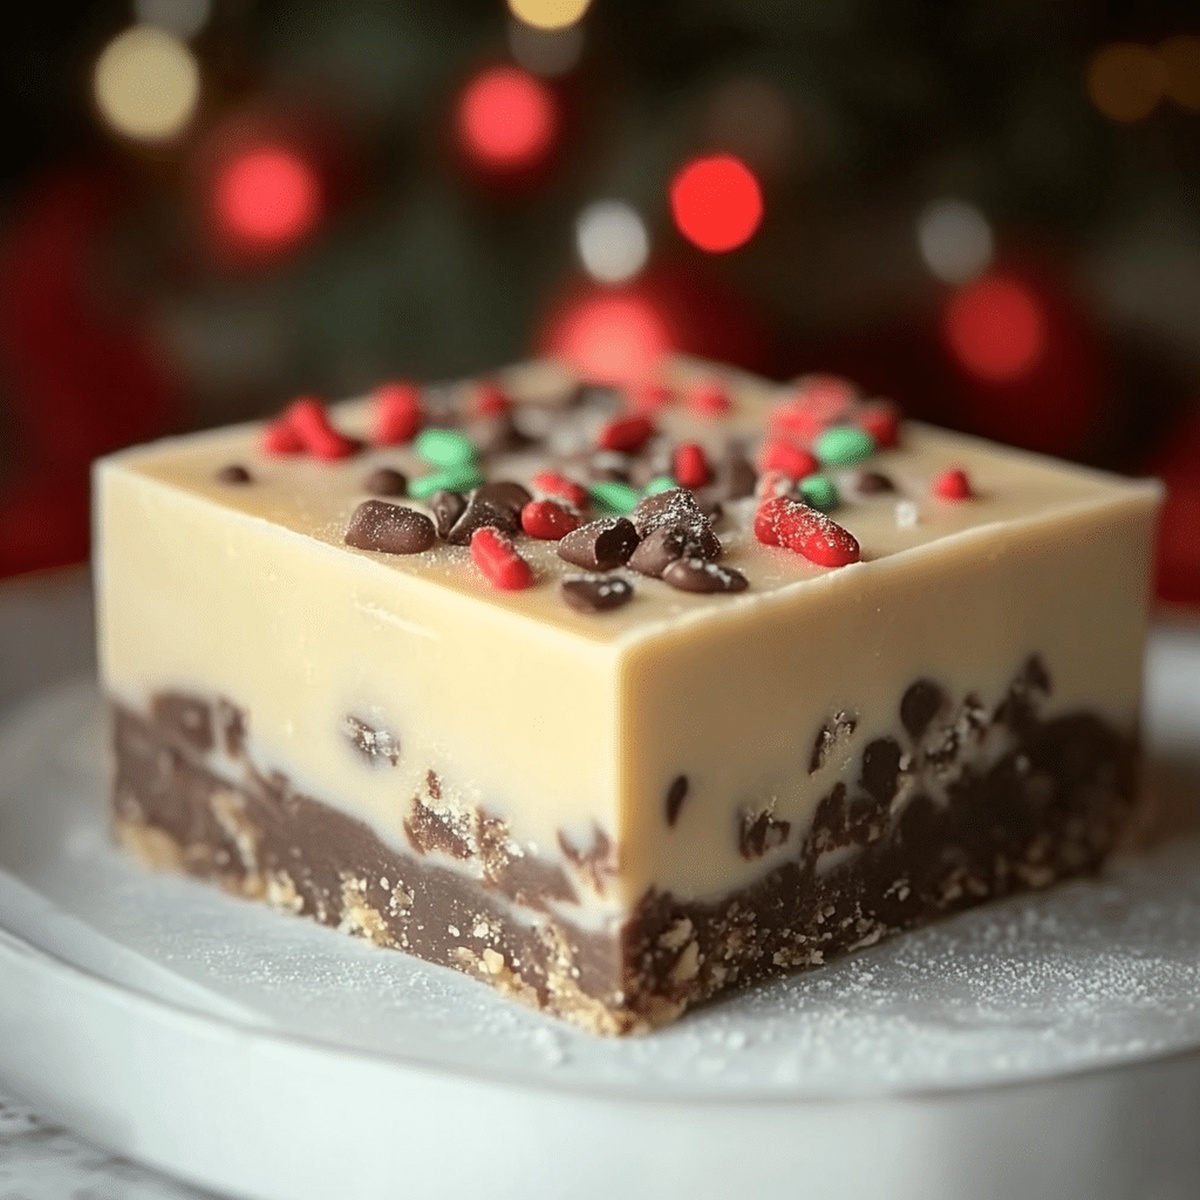
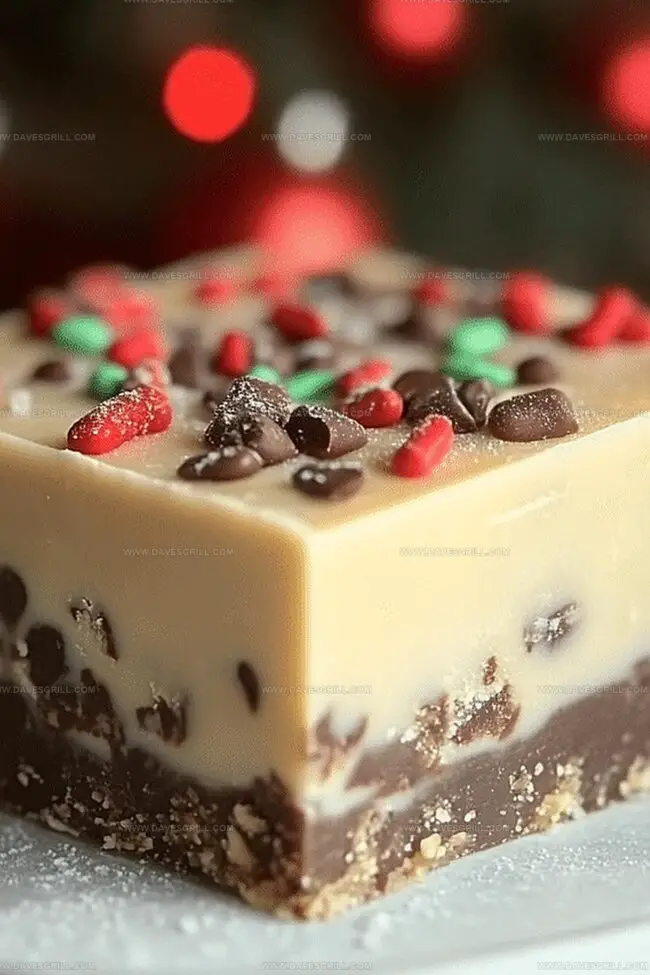
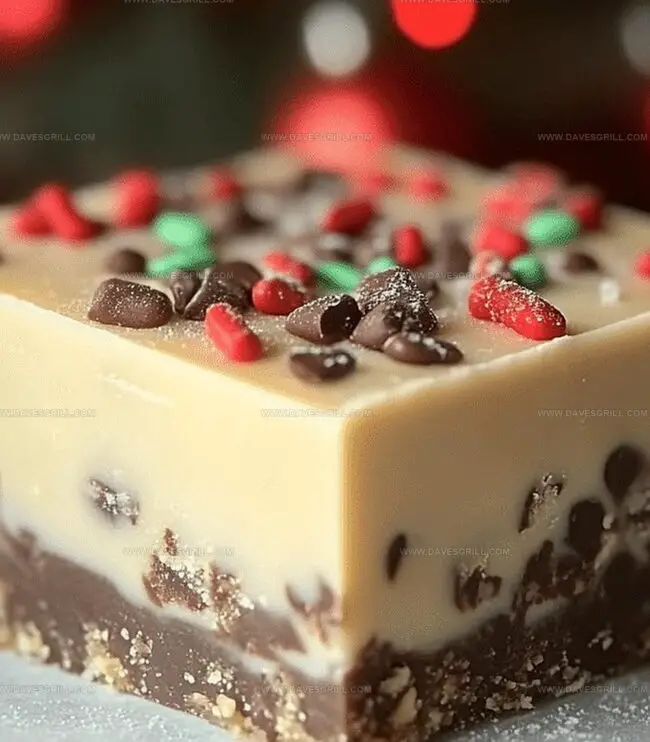
Rich chocolate layers mingle with smooth, silky textures that promise pure indulgence.
My grandmother’s classic recipe whispers comfort and warmth through each delectable bite.
Seasonal ingredients blend seamlessly into a treat that feels like a culinary hug.
Crafting this fudge connects you to generations of cherished traditions.
You’ll fall in love with how simple ingredients create such magical moments.
Prepare to savor a dessert that transforms ordinary afternoons into extraordinary memories.
Why Homemade Christmas Fudge Feels Like Pure Cheer
Ingredients That Make Homemade Christmas Fudge Festive
Base Ingredients:Binding and Flavor Enhancers:Optional Mix-Ins:Preparation Surface:How to Whip Up Homemade Christmas Fudge with Ease
Step 1: Prepare the Baking Surface
Line a square pan with parchment paper, allowing edges to hang over. This trick makes lifting the fudge super simple and prevents stubborn sticking.
Step 2: Create Smooth Chocolate Base
Grab a saucepan and combine:Melt ingredients over gentle heat, stirring continuously until the mixture transforms into a silky, glossy liquid. Watch carefully to prevent scorching.
Step 3: Enhance Flavor Profile
Remove pan from heat and mix in:Optional festive boosters like crushed candy canes or roasted pecans can be folded in now for extra holiday cheer.
Step 4: Set and Chill Fudge
Pour chocolate mixture into prepared pan, spreading evenly with a spatula. Slide pan into refrigerator and let deliciousness solidify for minimum two hours.
Step 5: Transform Into Serving Pieces
Extract fudge from pan using parchment paper edges. Slice into bite-sized squares using sharp knife. Your delectable holiday treat is ready to delight taste buds and spread seasonal joy.
Tips to Get the Creamiest Homemade Christmas Fudge
How to Store Your Homemade Christmas Fudge for Gifting
What to Pair with Homemade Christmas Fudge
Tasty Variations for Homemade Christmas Fudge
Print
Homemade Christmas Fudge Recipe
- Total Time: 2 hours 10 minutes
- Yield: 16 1x
Description
Festive Christmas Fudge brings winter magic straight to kitchen counters with rich chocolate and marshmallow swirls. Sweet memories melt together, creating delightful moments that warm hearts and bring smiles during holiday celebrations.
Ingredients
Main Ingredients:
- 3 cups (720 milliliters) semi-sweet chocolate chips
- 1 (14 ounces / 396 grams) can sweetened condensed milk
- ¼ cup (56 grams) unsalted butter, cut into pieces
Flavor Enhancers:
- 1 teaspoon vanilla extract
- ¼ teaspoon salt
Optional Toppings:
- Crushed candy canes
- Festive holiday sprinkles
- Chopped nuts (like pecans or walnuts)
- Mini marshmallows
Instructions
- Prepare a rectangular baking dish by carefully lining it with parchment paper or aluminum foil, allowing some overhang for easy removal of the fudge.
- Select a medium saucepan and combine sweetened condensed milk, butter, and chocolate chips over medium-low heat, stirring continuously until the mixture transforms into a glossy, uniform consistency.
- Remove the melted chocolate mixture from heat and introduce vanilla extract and a delicate sprinkle of salt, ensuring thorough integration of flavors.
- If desired, gently fold in additional ingredients like crushed candy canes or toasted nuts, distributing them evenly throughout the creamy base.
- Transfer the luxurious fudge mixture into the prepared pan, using a spatula to create a smooth, level surface that promises uniform texture.
- Carefully place the pan in the refrigerator, allowing the fudge to solidify and develop its rich, decadent character for approximately two hours.
- Once completely set, lift the fudge from the pan using the parchment paper edges and slice into precise, bite-sized squares using a sharp knife.
- Arrange the fudge pieces on a festive serving platter, ready to delight friends and family with this homemade holiday treat.
Notes
- Experiment with different chocolate types like dark, milk, or white chocolate to create unique flavor variations that match personal taste preferences.
- Prevent crystallization by avoiding stirring the mixture once it starts boiling and using a clean, dry spatula during the entire cooking process.
- Achieve a smoother texture by using a candy thermometer to ensure the mixture reaches the perfect temperature between 234-239°F (soft-ball stage).
- Customize the fudge by adding festive mix-ins like crushed peppermint, toasted coconut, or dried cranberries for extra holiday cheer and flavor complexity.
- Prep Time: 10 minutes
- Cook Time: 2 hours
- Category: Desserts, Snacks
- Method: Blending
- Cuisine: American
Nutrition
- Serving Size: 16
- Calories: 210
- Sugar: 22 g
- Sodium: 60 mg
- Fat: 10 g
- Saturated Fat: 6 g
- Unsaturated Fat: 4 g
- Trans Fat: 0 g
- Carbohydrates: 30 g
- Fiber: 1 g
- Protein: 2 g
- Cholesterol: 15 mg
Dave Mitchell
Founder & Chief Recipe Developer
Expertise
Education
Asheville-Buncombe Technical Community College
Associate of Applied Science in Culinary Arts
Focus: Comprehensive training in culinary techniques, kitchen management, and menu planning, with a special emphasis on grilling and outdoor cooking.
Dave Mitchell is the heart behind Daves Grill, a cook, writer, and lover of all things grilled. He studied Culinary Arts at Asheville-Buncombe Technical Community College and spent years cooking, testing, and sharing recipes that actually work.
Dave started Daves Grill to keep things simple: one great recipe at a time. His food is bold, easy to follow, and made for real people with regular kitchens. From juicy steaks to quick sides, Dave’s recipes bring the heat without the hassle.