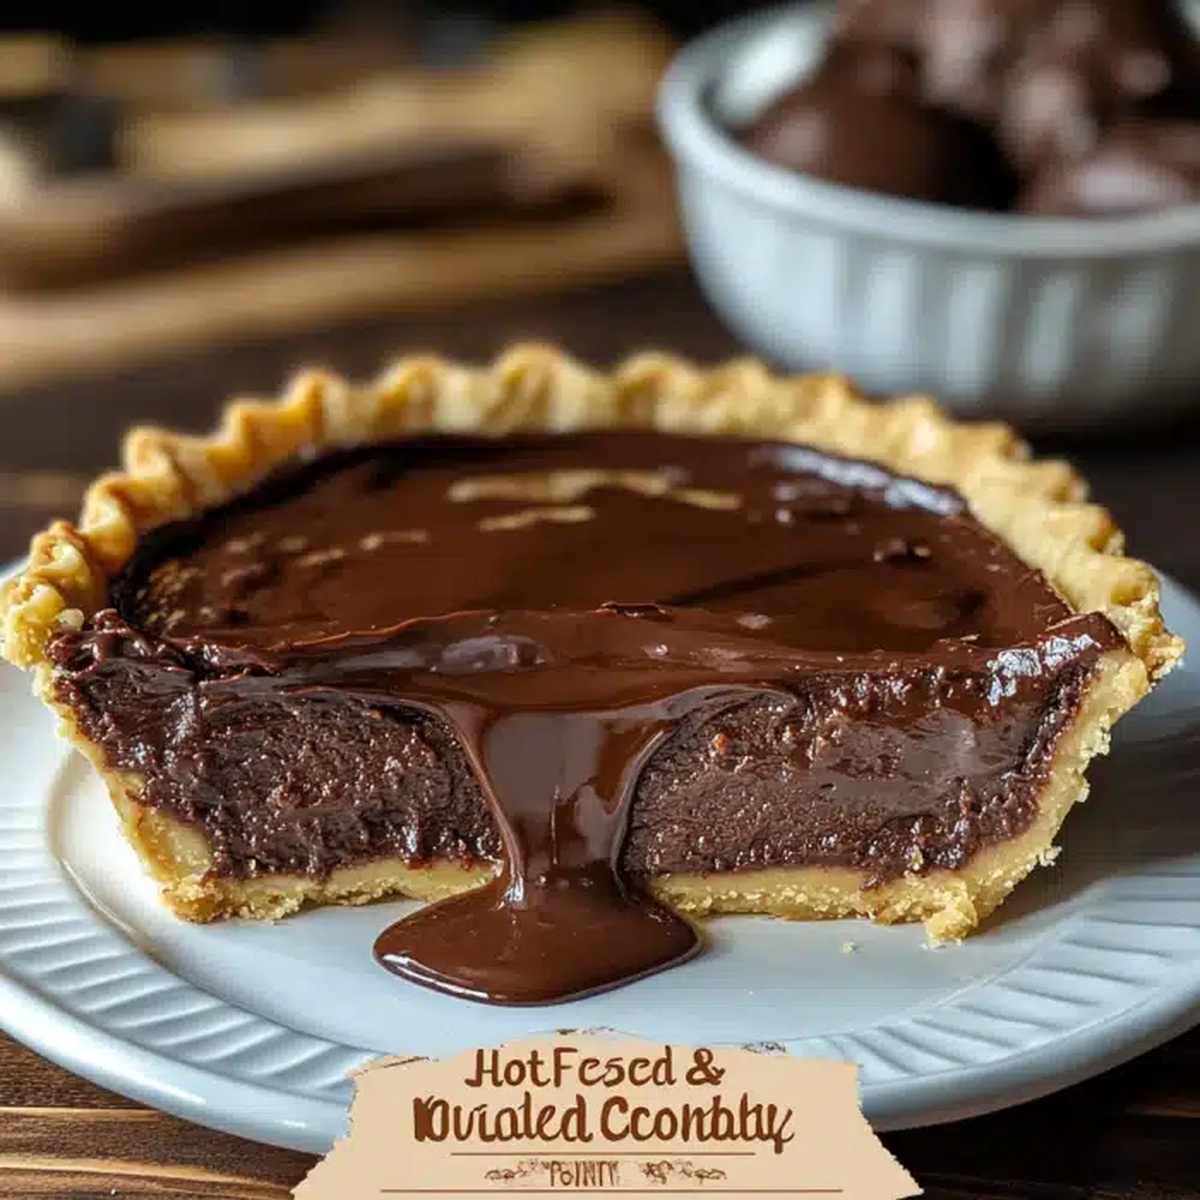
Heavenly Hot Fudge Pie Recipe: Indulge in Sweet Magic!
Some nights call for pure chocolate magic with this hot fudge pie that melts hearts instantly.
Rich, decadent flavors promise an unforgettable dessert experience for anyone craving intense sweetness.
Southern kitchens have long celebrated this simple yet indulgent treat that comes together with minimal effort.
Chocolate lovers recognize how a single slice can turn an ordinary evening into something spectacular.
Velvety smooth textures and deep cocoa notes create a dessert that feels both comforting and luxurious.
Every ingredient works in perfect harmony to deliver a nostalgic taste that reminds you of childhood treats.
One bite will convince you this pie deserves a permanent spot in your recipe collection.
What Makes Hot Fudge Pie the Ultimate Chocolate Fix
Everything You Need to Make Hot Fudge Pie
Primary Ingredients:
Butter Chocolate:- Unsalted Butter, Cocoa Powder: Rich foundation for deep chocolate flavor. Unsalted butter allows precise control of recipe’s saltiness. Dark cocoa powder gives intense chocolate depth.
Eggs and Sugar:- Large Eggs, Granulated Sugar: Crucial for structure and sweetness. Fresh eggs ensure best texture. Granulated sugar helps create smooth, glossy consistency.
Binding and Flavor Ingredients:
Dry Mix:- All-Purpose Flour, Salt: Provides structure and balances sweetness. Unbleached flour recommended for best texture. Fine salt enhances chocolate flavor.
Flavor Enhancers:- Vanilla Extract, Chocolate Chips (Optional): Adds complex flavor profile. Pure vanilla extract preferred over imitation. Semi-sweet chocolate chips boost chocolate intensity.
Optional Toppings:
Serving Companions:- Vanilla Ice Cream, Whipped Cream: Creates luxurious serving presentation. Full-fat options provide richest taste experience. Homemade whipped cream recommended for best flavor.
Step-by-Step for Baking a Fudgy Pie Center

Step 1: Warm Up the Oven
Crank your oven to 350F (175C). Grab a 9-inch pie pan or 8×8-inch baking dish and give it a generous butter or cooking spray coating to prevent sticking.
Step 2: Create the Chocolatey Magic
In a large mixing bowl, whisk together:Stir everything until the mixture looks smooth and glossy. If you’re a chocolate lover, toss in some chocolate chips for extra decadence.
Step 3: Bake to Perfection
Pour the luscious batter into your prepared pan. Use a spatula to spread it evenly across the surface. Slide the pan into the preheated oven and bake for 25-30 minutes. You’ll know it’s ready when the edges look set but the center remains slightly jiggly. A toothpick inserted should come out with moist, gooey crumbs.
Step 4: Indulge and Enjoy
Let the pie rest for about 5 minutes after pulling it from the oven. Slice into wedges and serve while warm. Top with a scoop of creamy vanilla ice cream or a cloud of whipped cream for the ultimate chocolate experience.
Tips for Gooey Fudge and Crisp Edges
Storing and Serving Hot Fudge Pie Without Drying Out
What Goes Great With a Slice of Fudge Pie
Fun Fudge Pie Variations for Chocoholics
Print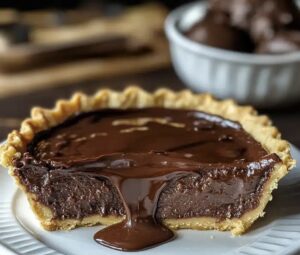
Hot Fudge Pie Recipe
- Total Time: 35 minutes
- Yield: 8 1x
Description
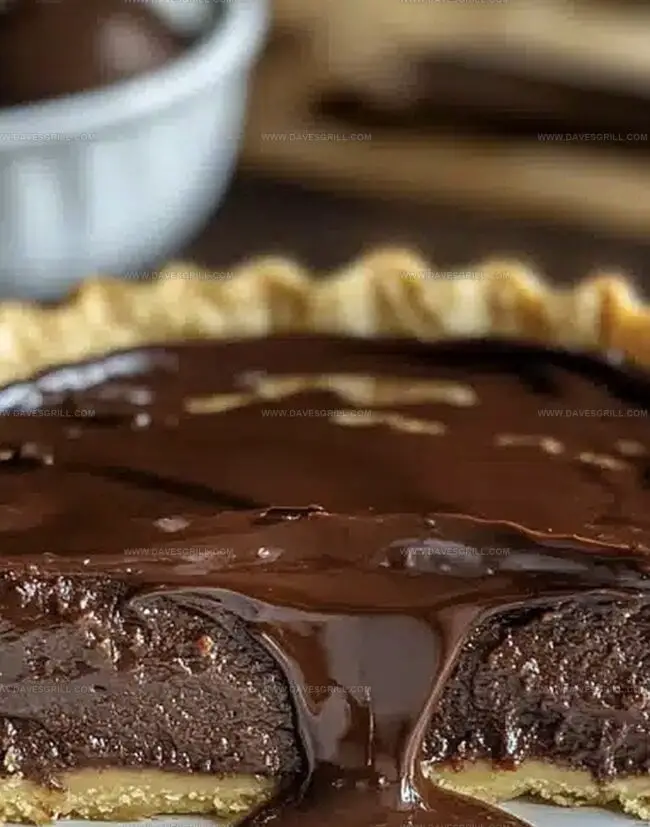
Chocolate lovers rejoice with this sinful hot fudge pie, a divine Southern dessert that melts hearts faster than its rich, gooey center. Warm slices paired with vanilla ice cream invite comfort and pure indulgence that will make you swoon.
Ingredients
Main Ingredients:
- 2 large eggs
- 1 cup granulated sugar
- ½ cup unsalted butter, melted
- ½ cup semi-sweet chocolate chips
Dry Ingredients:
- ¼ cup all-purpose flour
- ¼ cup unsweetened cocoa powder
- ¼ teaspoon (0.25 teaspoon) salt
Flavoring:
- 1 teaspoon (1 tsp) vanilla extract
Instructions
- Prepare the baking vessel by coating a 9-inch pie pan with a thin layer of grease, ensuring uniform coverage to prevent sticking.
- Create a rich chocolate mixture by thoroughly blending melted butter with sugar until the texture becomes smooth and fully integrated.
- Incorporate dry ingredients including flour and cocoa powder into the butter-sugar base, whisking carefully to eliminate any potential lumps.
- Crack eggs into the mixture, adding vanilla extract and a pinch of salt, then stir methodically until the batter achieves a consistent, glossy appearance.
- Optional: Gently fold chocolate chips into the batter, distributing them evenly for additional chocolate bursts throughout the dessert.
- Transfer the velvety chocolate mixture into the prepared pan, using a spatula to spread the batter evenly and create a level surface.
- Position the pan in a preheated oven set at 350°F (175°C), allowing the pie to bake for approximately 25-30 minutes.
- Check for doneness by observing slightly set edges and a center that remains delicately soft, inserting a toothpick to confirm moist crumbs.
- Remove from oven and let the pie rest for 5 minutes, allowing the intense chocolate to settle and stabilize.
- Serve while warm, enhancing the experience with a scoop of creamy vanilla ice cream or a delicate swirl of whipped cream.
Notes
- Adapt the texture by adjusting baking time: shorter for a gooey center, longer for a firmer consistency.
- Swap ingredients for dietary needs: use gluten-free flour blend, coconut sugar, or dairy-free butter alternatives.
- Enhance flavor depth by adding a pinch of espresso powder or cinnamon to intensify the chocolate notes.
- Prevent chocolate chips from sinking by tossing them in a light dusting of flour before folding into the batter.
- Prep Time: 10 minutes
- Cook Time: 25 minutes
- Category: Desserts
- Method: Baking
- Cuisine: American
Nutrition
- Serving Size: 8
- Calories: 320
- Sugar: 27 g
- Sodium: 150 mg
- Fat: 18 g
- Saturated Fat: 11 g
- Unsaturated Fat: 7 g
- Trans Fat: 0 g
- Carbohydrates: 37 g
- Fiber: 1 g
- Protein: 4 g
- Cholesterol: 70 mg
Dave Mitchell
Founder & Chief Recipe Developer
Expertise
Education
Asheville-Buncombe Technical Community College
Associate of Applied Science in Culinary Arts
Focus: Comprehensive training in culinary techniques, kitchen management, and menu planning, with a special emphasis on grilling and outdoor cooking.
Dave Mitchell is the heart behind Daves Grill, a cook, writer, and lover of all things grilled. He studied Culinary Arts at Asheville-Buncombe Technical Community College and spent years cooking, testing, and sharing recipes that actually work.
Dave started Daves Grill to keep things simple: one great recipe at a time. His food is bold, easy to follow, and made for real people with regular kitchens. From juicy steaks to quick sides, Dave’s recipes bring the heat without the hassle.