
Heavenly Buckeye Brownies Recipe: A Chocolatey Dream Treat
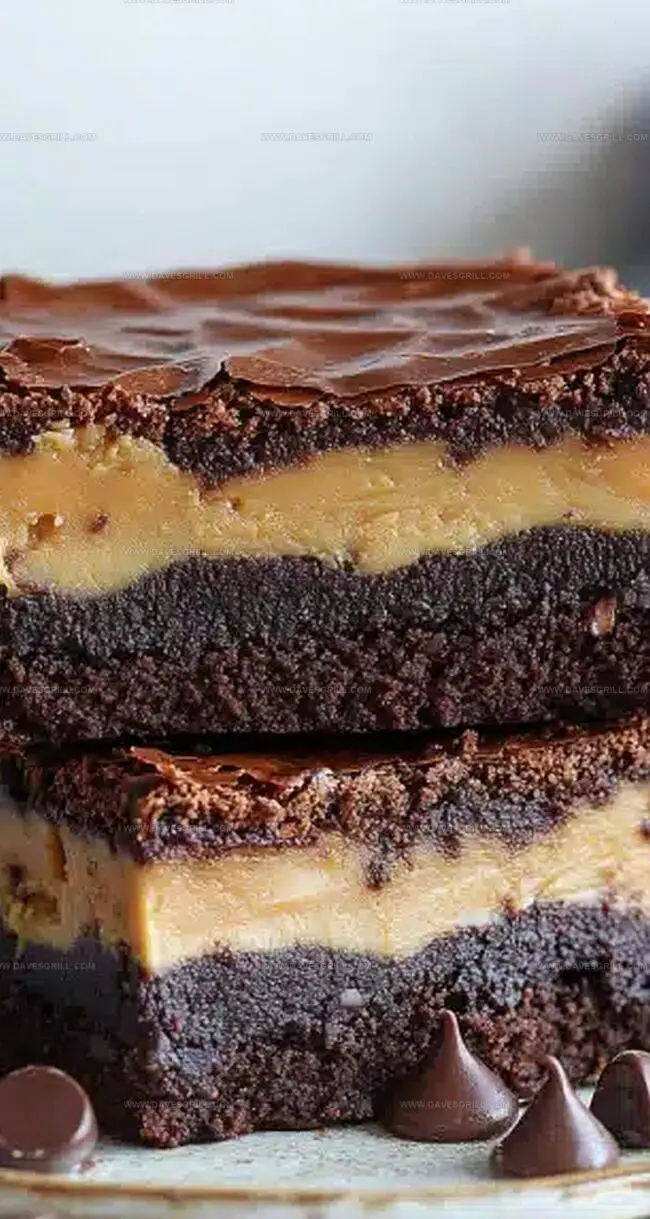
Chocolate and peanut butter create an irresistible harmony in these decadent buckeye brownies that will melt your taste buds.
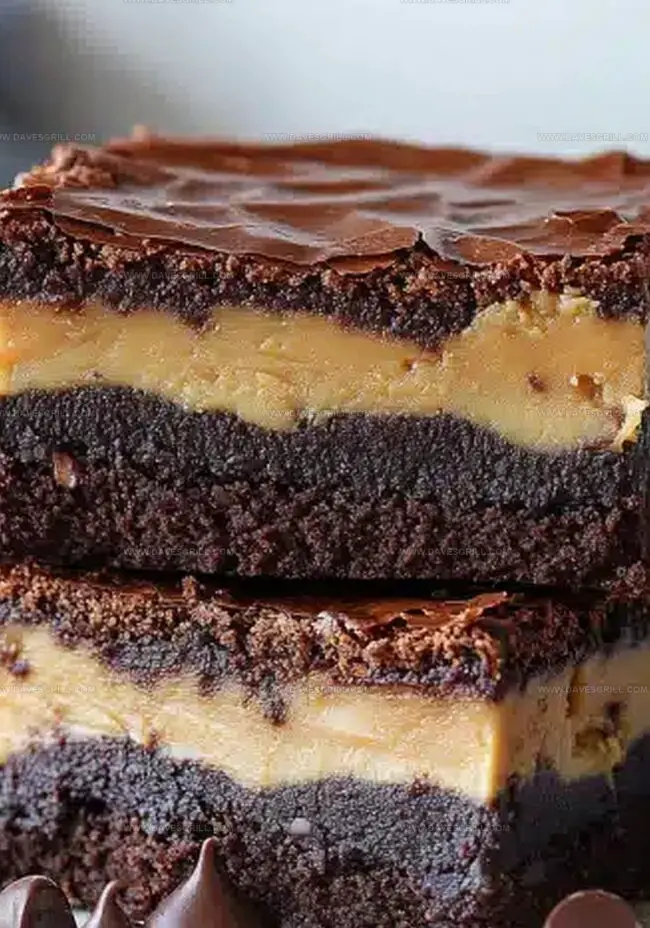
Layers of rich, fudgy chocolate intertwine with creamy peanut butter in a dessert that screams pure indulgence.
The classic combination never fails to spark joy at gatherings and celebrations.
Each bite promises a perfect balance of sweet and nutty flavors.
The recipe combines simple ingredients that come together effortlessly.
Chocolate lovers and peanut butter enthusiasts will find themselves swooning over this delightful treat.
Prepare to embark on a mouthwatering journey that elevates your dessert game to new heights.
Quick Recipe Overview
Buckeye Brownie Ingredient List
For Brownie Base:For Peanut Butter Layer:For Chocolate Topping:Tools That Help With Layered Peanut Butter Brownies
Bake Brownies That Have a Buckeye Surprise
Crank your oven to a toasty 350F. Grab an 8×8 pan and give it a quick spray or line with parchment paper for easy removal.
Melt butter gently, then whisk in sugar, eggs, and vanilla until silky smooth. Fold in cocoa, flour, salt, and baking powder just until combined. Don’t go crazy mixing.
Pour batter into the pan, spreading it evenly. Slide into the oven and bake for 20-25 minutes. You’ll know it’s done when a toothpick comes out mostly clean. Let it cool completely.
In a bowl, blend peanut butter, powdered sugar, and softened butter until creamy. Spread this dreamy layer over the cooled brownies.
Melt chocolate chips and butter until glossy and smooth. Pour this liquid gold over the peanut butter layer, creating a gorgeous topping.
Pop the pan in the fridge until everything sets – about an hour. Cut into squares and dive into decadent deliciousness.
Tips to Avoid Overbaking and Keep Center Soft
Serve With Milk or as Party Squares
Store in the Fridge for Fudgy Texture
FAQs
These brownies are surprisingly simple to prepare. With basic baking skills and following the steps carefully, anyone can create these delicious treats in about an hour.
Creamy commercial peanut butter works best. Natural peanut butter might separate and create a less smooth layer, so stick with standard creamy peanut butter for the best results.
Insert a toothpick into the center – it should come out with a few moist crumbs. If it’s completely clean, the brownies might be overdone, which can make them dry.
Semi-sweet chocolate chips are ideal for this recipe. They provide a rich chocolate flavor that balances perfectly with the sweet peanut butter layer.
Print
Indulgent Buckeye Brownies Recipe
- Total Time: 45 minutes
- Yield: 25 1x
Description
Buckeye Brownies combine rich chocolate and creamy peanut butter in a delightful dessert inspired by Ohio’s classic candy. Chocolate layers meld with smooth peanut butter filling, creating an irresistible treat you will crave again and again.
Ingredients
- 1 box brownie mix (for a 9×13-inch pan) + ingredients listed on package (usually eggs, oil, and water)(or use favorite homemade brownie recipe)
- 1 cup (240 ml) creamy peanut butter
- 1 ½ cups (255 g) semi-sweet chocolate chips
- ½ cup (113 g) unsalted butter, softened
- 2 tbsps (28 g) unsalted butter
- ¼ cup (60 ml) heavy cream
- 2 cups (240 g) powdered sugar
- 1 tsp vanilla extract
Instructions
- Preheat and Prepare: Warm the oven to 350°F and line a baking pan with parchment paper, ensuring easy removal and clean edges.
- Brownie Base: Melt butter and whisk together with sugar, eggs, and vanilla until smooth, creating a rich foundational mixture for the dessert.
- Dry Ingredient Fusion: Fold cocoa powder, flour, salt, and baking powder into the wet ingredients, mixing gently to maintain a velvety batter without overmixing.
- Bake and Cool: Pour batter into the prepared pan, spreading evenly, and bake for 20-25 minutes until set. Allow the brownie layer to cool completely, creating a stable foundation.
- Peanut Butter Layer: Blend peanut butter, powdered sugar, and softened butter until creamy, then uniformly spread across the cooled brownie surface.
- Chocolate Topping: Melt chocolate chips with butter using low heat, stirring until achieving a glossy consistency, then pour over the peanut butter layer to create a sleek, even coating.
- Set and Serve: Refrigerate the dessert until the chocolate hardens completely, approximately one hour, then slice into elegant squares revealing the decadent layered masterpiece.
Notes
- Butter Temperature Mastery: Ensure butter is softened at room temperature for smoother mixing and optimal texture in both brownie and peanut butter layers.
- Avoid Overmixing: Gently fold dry ingredients into wet ingredients to prevent tough, dense brownies; stop mixing when ingredients are just combined.
- Cooling Critical: Allow brownies to cool completely before adding peanut butter layer to prevent melting and maintain distinct, clean layers.
- Chocolate Glaze Technique: Melt chocolate and butter using low, slow heat to prevent burning and achieve a silky, glossy finish for perfect topping consistency.
- Prep Time: 20 minutes
- Cook Time: 25 minutes
- Category: Desserts, Snacks
- Method: Baking
- Cuisine: American
Nutrition
- Serving Size: 25
- Calories: 300
- Sugar: 25 g
- Sodium: 150 mg
- Fat: 18 g
- Saturated Fat: 8 g
- Unsaturated Fat: 10 g
- Trans Fat: 0 g
- Carbohydrates: 35 g
- Fiber: 2 g
- Protein: 5 g
- Cholesterol: 30 mg
Emily Lawson
Content Creator & Culinary Specialist
Expertise
Education
Oregon Culinary Institute
Diploma in Culinary Arts
Focus: Emphasis on farm-to-table cooking, sustainable practices, and the fusion of global flavors with traditional grilling methods.
Emily Lawson is the content creator at Daves Grill, turning tasty ideas into clear, easy recipes. Based in Portland, she trained at the Oregon Culinary Institute and loves cooking with fresh, seasonal ingredients, especially grilled veggies and global flavors.
Emily mixes food writing with hands-on cooking to bring you recipes that feel fun, not stressful. Her goal is to make every dish simple, flavorful, and worth coming back to. Together, she and Dave serve up real food, one recipe at a time.