Luscious Hershey’s Red Velvet Blossoms Cookies Recipe to Cherish
Sweet treats that blend rich chocolate hersheys red velvet blossoms cookies have a magical way of lighting up any dessert table.
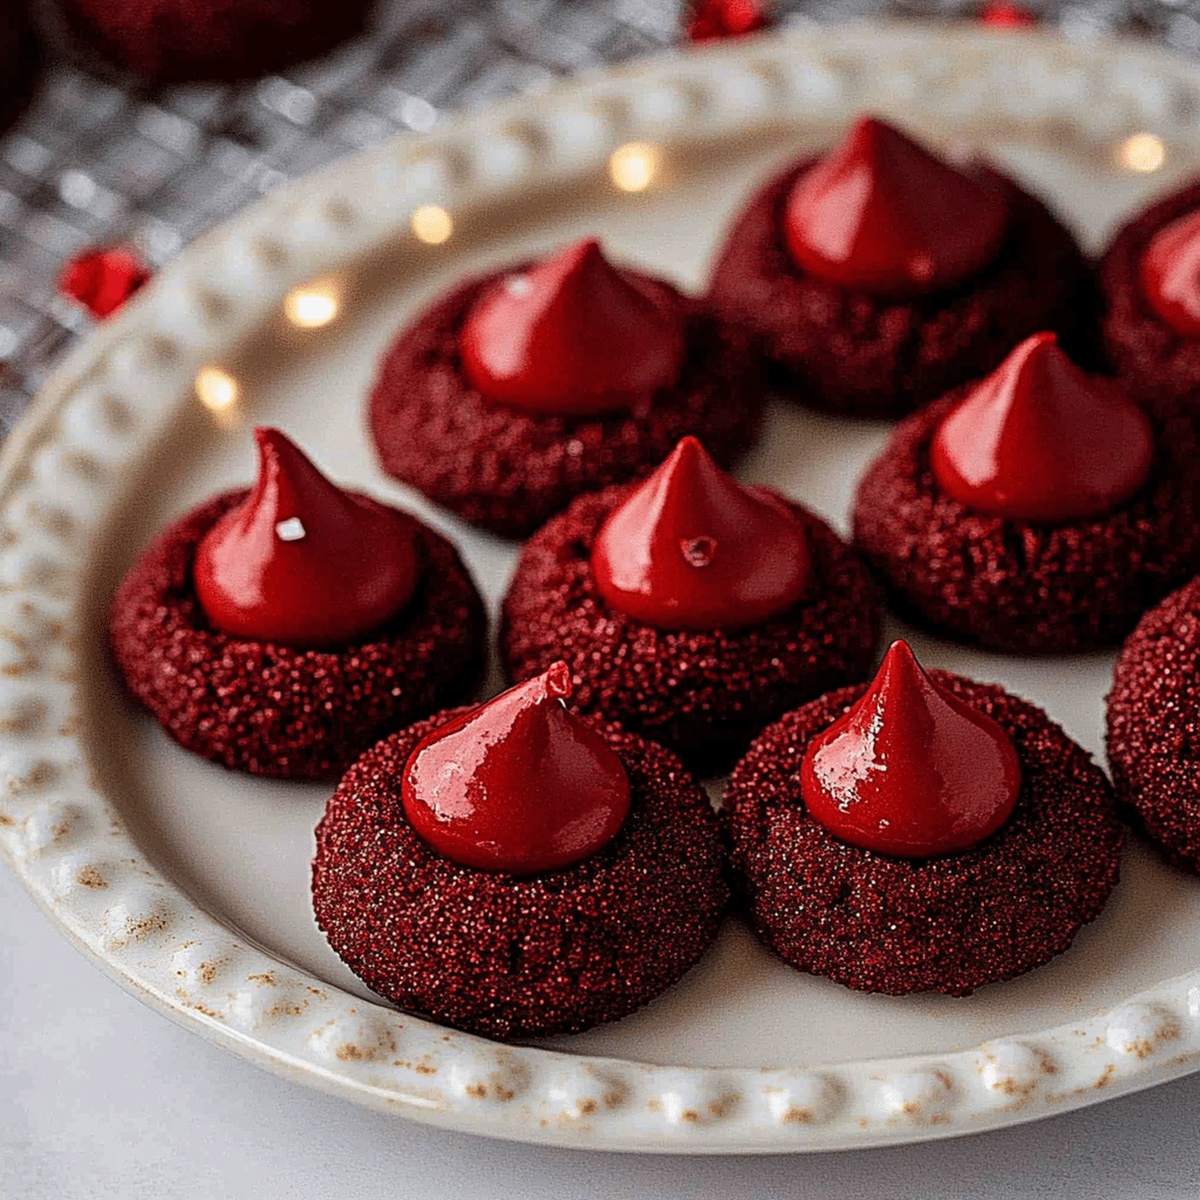
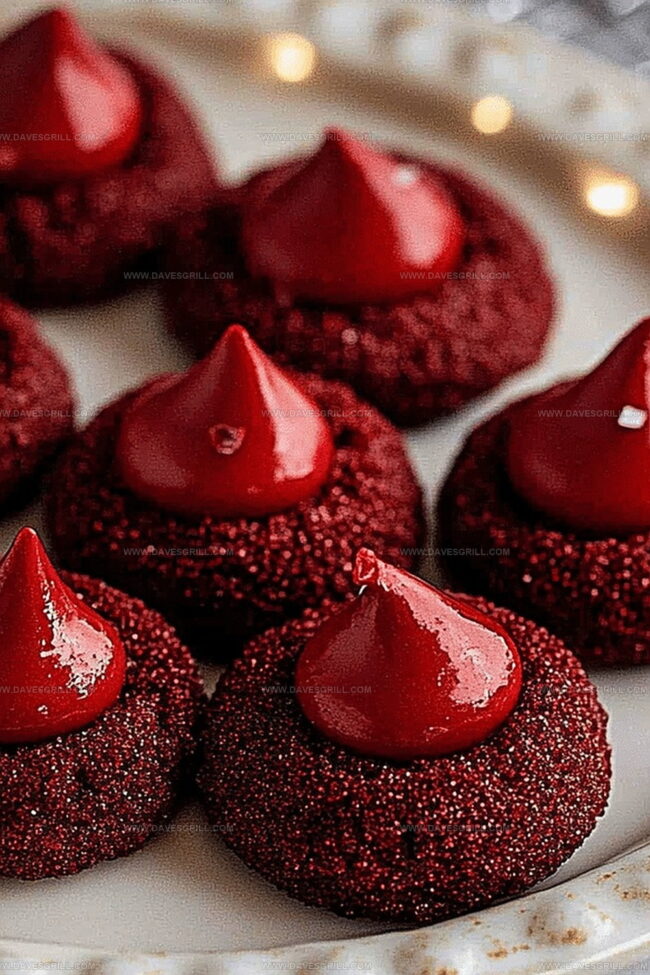
Soft, pillowy cookie dough meets a perfectly centered Hershey’s kiss in a delightful dance of flavors.
These cookies promise a decadent experience that melts in your mouth with every single bite.
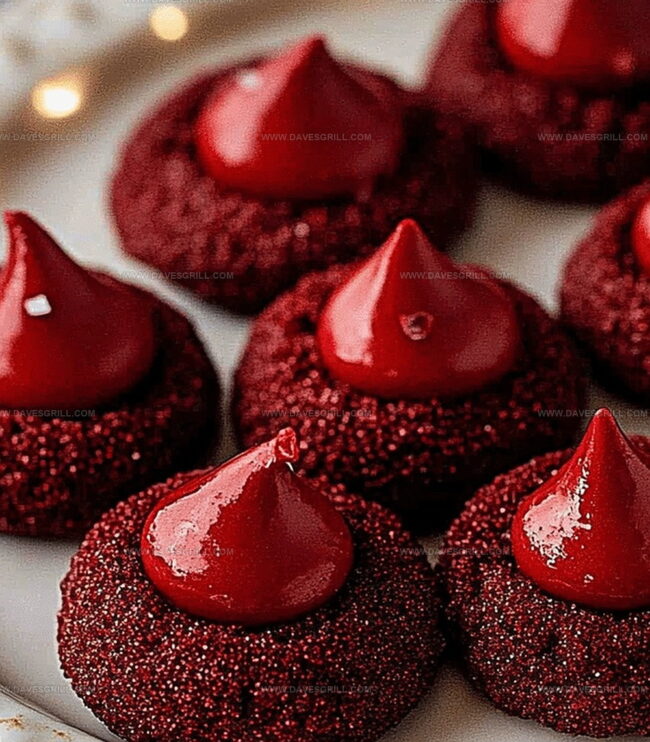
The vibrant red color catches eyes and sparks curiosity among cookie enthusiasts.
Chocolate lovers will adore the smooth texture and incredible balance of sweetness.
Each cookie delivers a perfect combination of soft, chewy base and smooth chocolate topping.
Prepare to indulge in a dessert that turns ordinary moments into extraordinary memories.
Quick Recipe Overview
Ingredients List for Easy Hershey’s Red Velvet Blossoms
For Cookie Base:For Moisture and Binding:For Topping and Finishing:Essential Tools for Red Velvet Blossoms Success
Instructions for Baking Red Velvet Blossoms with Hershey’s Kisses
Crank your oven to a toasty 350F and grab two baking sheets. Cover them with parchment paper or silicone mats for smooth cookie.
Grab a big mixing bowl and combine your dry ingredients until they’re perfectly blended. Whisk together flour, cocoa powder, and other dry components with smooth, sweeping motions.
Beat butter and sugar until they transform into a creamy, dreamy mixture. Add eggs and vanilla, blending until everything looks smooth and inviting. Gradually fold in your dry ingredients, mixing just until everything comes together.
Roll the dough into small, adorable spheres about the size of a golf ball. Each little ball should be perfectly round and smooth.
Place cookie balls on prepared baking sheets, leaving space between each one. Slide into the preheated oven and bake for 10-12 minutes until edges look set. Right after removing from the oven, gently press a chocolate kiss into the center of each warm cookie.
Let cookies rest on the baking sheet for a few minutes, then transfer to a wire rack. Allow them to cool completely so the chocolate kiss can set beautifully.
Tips for Soft Texture & Classic Look in Blossom Cookies
How to Serve Red Velvet Blossoms for Any Occasion
How to Store Hershey’s Red Velvet Blossoms the Right Way
FAQs
The main ingredients include all-purpose flour, cocoa powder, red food coloring, butter, sugar, egg, vanilla extract, and Hershey’s Kisses chocolate.
You’ll need basic baking tools like mixing bowls, an electric mixer, measuring cups and spoons, baking sheets, and parchment paper or silicone baking mats.
Use liquid red food coloring and add it gradually to achieve the desired vibrant red color without changing the cookie’s texture.
Yes, you can prepare the cookie dough in advance and refrigerate it for up to 2-3 days before baking, or freeze the dough for up to a month.
Print
Irresistible Hersheys Red Velvet Blossoms Cookies Recipe
- Total Time: 30 minutes
- Yield: 25 1x
Description
Hershey’s red velvet blossoms cookies blend rich chocolate flavor with classic holiday charm. Sweet chocolate kisses crown these festive treats, promising delightful moments of indulgence for cookie enthusiasts.
Ingredients
- 1 box (15.25 oz / 432 g) red velvet cake mix
- 2 large eggs
- ⅓ cup (80 mL) vegetable oil
- ¼ cup (50 g) granulated sugar
- 24 Hershey’s Kisses, unwrapped
- 1 tsp vanilla extract
Instructions
- Preparation: Preheat oven to 350°F (175°C) and line two baking sheets with parchment paper or silicone mats for optimal baking performance.
- Dry Mixture: Whisk flour, cocoa powder, baking soda, and salt in a medium bowl until thoroughly combined and lump-free.
- Wet Base: Cream butter with white and brown sugars until light, fluffy, and pale, creating a smooth foundation for the cookie dough.
- Binding: Blend egg and vanilla extract into the butter-sugar mixture until completely smooth and homogeneous.
- Dough Formation: Gently fold dry ingredients into wet ingredients, creating a cohesive red velvet cookie dough without overmixing.
- Chilling and Shaping: Refrigerate dough for 30 minutes, then roll into uniform sugar-coated balls, ensuring even size and crisp exterior.
- Baking Process: Distribute dough balls on prepared sheets, leaving 2 inches between each cookie, and bake for 8-10 minutes until edges are set and slightly cracked.
- Finishing Touch: Immediately after removing from oven, press a Hershey’s Kiss into the center of each warm cookie, creating the signature blossom effect.
- Cooling and Storage: Let cookies cool completely on the baking sheet before transferring to a wire rack, then preserve in an airtight container to maintain freshness.
Notes
- Prevent Overmixing: Gently fold dry ingredients into wet ingredients to maintain the cookie’s tender texture and avoid developing tough gluten strands.
- Chilling Dough Matters: Refrigerate dough for at least 30 minutes to control spread, intensify flavors, and create a more stable cookie structure during baking.
- Sugar Coating Technique: Roll dough balls completely in granulated sugar for a sparkling, crisp exterior that adds delightful texture and visual appeal.
- Kiss Placement Timing: Press Hershey’s Kisses into cookies immediately after removing from oven while cookies are still warm, ensuring perfect chocolate integration without breaking the delicate cookie base.
- Prep Time: 10 minutes
- Cook Time: 20 minutes
- Category: Desserts, Snacks
- Method: Baking
- Cuisine: American
Nutrition
- Serving Size: 25
- Calories: 120
- Sugar: 6 g
- Sodium: 150 mg
- Fat: 5 g
- Saturated Fat: 1 g
- Unsaturated Fat: 4 g
- Trans Fat: 0 g
- Carbohydrates: 17 g
- Fiber: 0 g
- Protein: 2 g
- Cholesterol: 20 mg
Emily Lawson
Content Creator & Culinary Specialist
Expertise
Education
Oregon Culinary Institute
Diploma in Culinary Arts
Focus: Emphasis on farm-to-table cooking, sustainable practices, and the fusion of global flavors with traditional grilling methods.
Emily Lawson is the content creator at Daves Grill, turning tasty ideas into clear, easy recipes. Based in Portland, she trained at the Oregon Culinary Institute and loves cooking with fresh, seasonal ingredients, especially grilled veggies and global flavors.
Emily mixes food writing with hands-on cooking to bring you recipes that feel fun, not stressful. Her goal is to make every dish simple, flavorful, and worth coming back to. Together, she and Dave serve up real food, one recipe at a time.