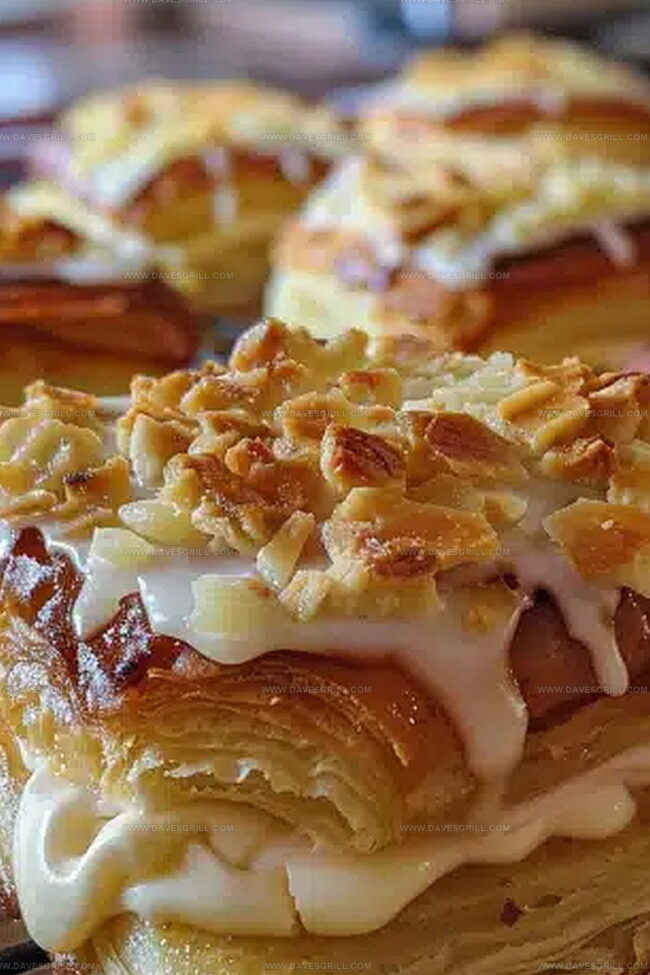
Soft hawaiian rolls provide a tender base for this delectable treat.
The combination of cream cheese and sweet bread creates a heavenly harmony of flavors.
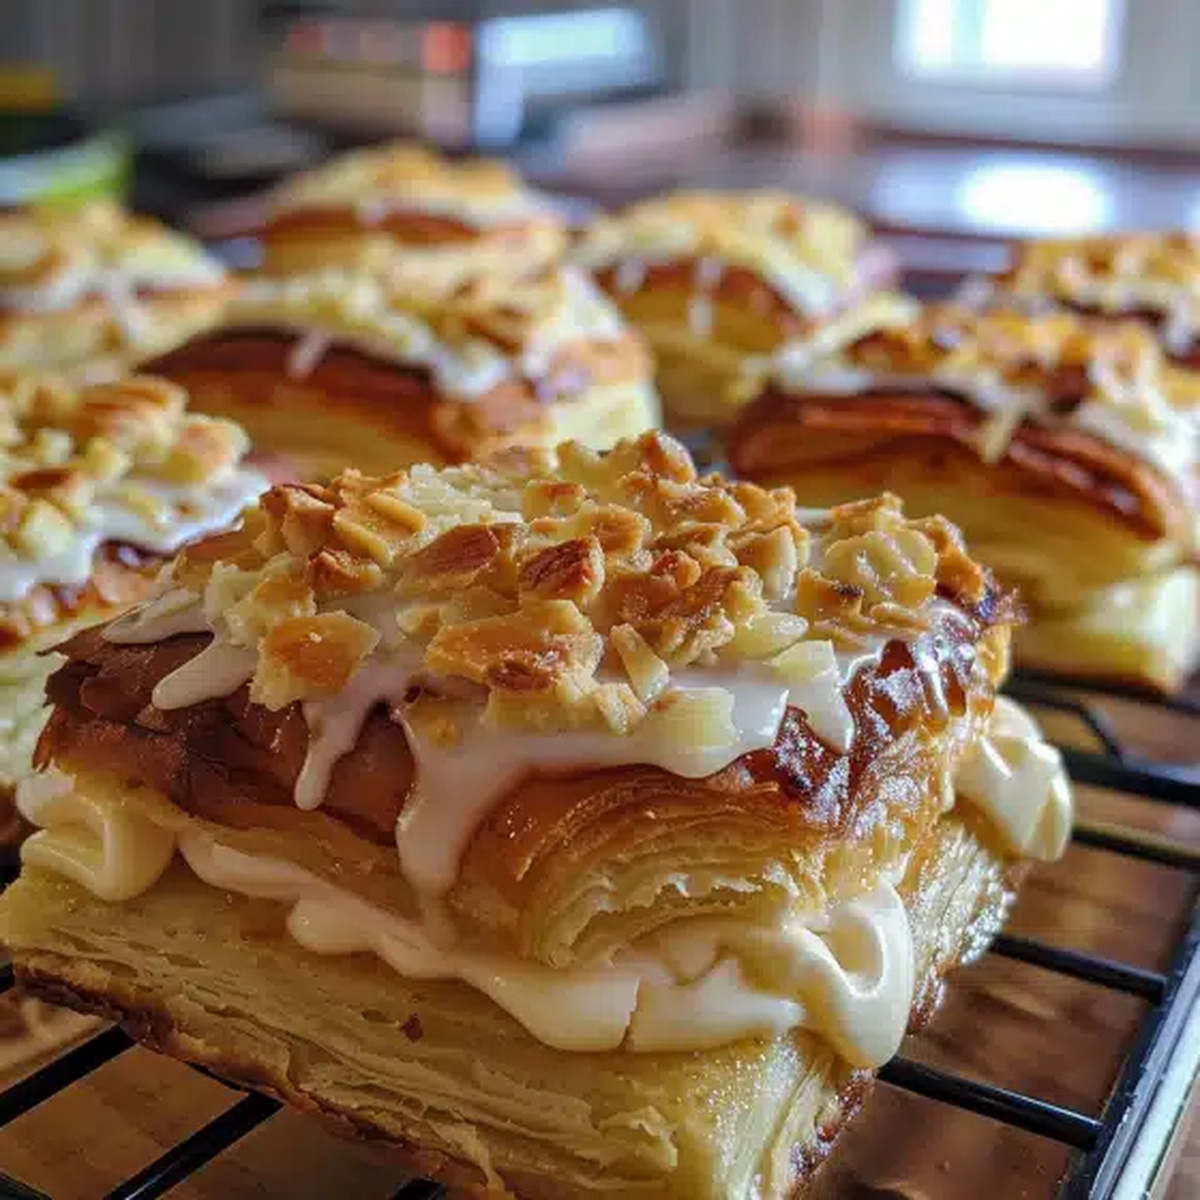
Warm, fresh, and absolutely irresistible, these danishes promise to elevate your morning routine.
Prepare to fall in love with every single delicious bite.
Quick Recipe Overview
Prep Time: 10 minutes
Cook Time: 25 minutes
Total Time: 35 minutes
Calories: 250 kcal
Servings: 12
Ingredients for Kings Hawaiian Cheesecake Danishes
For Base and Structure:
Kings Hawaiian Rolls: Soft, pillowy foundation that provides a delightful sweet bread canvas for the creamy filling.
Parchment Paper: Ensures easy removal and prevents sticking, making cleanup a breeze.
For Creamy Filling:
Cream Cheese: Rich, tangy base that creates a luscious and smooth cheesecake texture.
Powdered Sugar: Adds sweetness and helps achieve a silky, light consistency.
Vanilla Extract: Enhances flavor with warm, aromatic notes that complement the cream cheese.
Large Egg: Binds the filling and provides structure, creating a custard-like smoothness.
For Topping and Flavor Boost:
Butter: Adds richness and helps create a golden, glistening surface.
Ground Cinnamon: Brings warm, comforting spice that elevates the overall flavor profile.
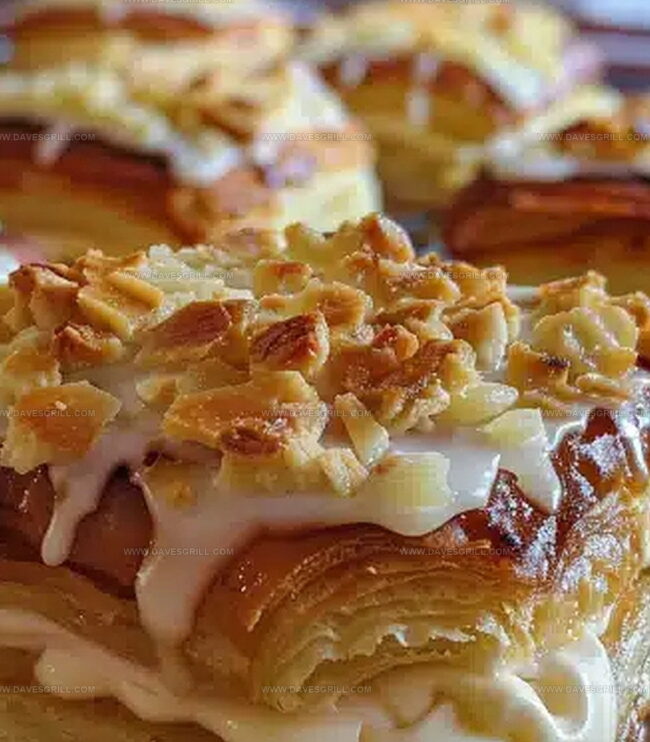
Sliced Almonds: Introduces a delightful crunch and nutty undertone to contrast the creamy filling.
Tools to Bake Kings Hawaiian Cheesecake Danishes
Large mixing bowl: Perfect for combining ingredients smoothly.
Electric mixer or whisk: Helps blend cream cheese filling evenly.
Baking dish (9×13 inch): Essential for baking and serving the danishes.
Parchment paper or cooking spray: Prevents sticking and makes cleanup easier.
Sharp knife: Used for cutting Kings Hawaiian rolls and creating danish shapes.
Measuring cups and spoons: Ensures accurate ingredient proportions.
Spatula: Helps spread filling and transfer danishes gently.
How to Assemble and Bake These Cheesecake Danishes
Warm Up The Oven Preheat your cooking space to a cozy 350°F, creating the perfect environment for your delectable treats.
Prepare Your Baking Surface Grab a 9×13-inch dish and give it a light coating of grease or nestle a parchment paper liner to prevent any sticky situations.
Unpack Your Pastry Delights Gently separate the Kings Hawaiian rolls, laying them out like little golden pillows ready for transformation.
Craft The Creamy Filling Blend cream cheese with sugar until it becomes a smooth, dreamy mixture that promises pure indulgence.
Assemble Your Danish Masterpiece Slice each roll slightly open, creating a gentle pocket. Lovingly spoon the cream cheese mixture into each roll, letting it peek out enticingly.
Add A Sweet Touch Drizzle a hint of vanilla or sprinkle some cinnamon for an extra layer of flavor that’ll make taste buds dance.
Bake To Perfection Slide your creation into the waiting oven, letting the heat work its for about 15-20 minutes until the edges turn a beautiful golden brown.
Cool And Enjoy Let your danishes rest for a few moments, allowing the flavors to settle before diving into these heavenly pastry treats.
Smart Tips for Cheesecake Danish Success
Swap out Kings Hawaiian rolls for crescent roll dough to create a flakier base that still captures the sweet, soft texture.
Experiment with different flavored cream cheese like strawberry, blueberry, or chocolate to add exciting twists to your danish.
Prepare the danishes the night before and refrigerate overnight, then bake fresh in the morning for a stress-free breakfast treat.
Use gluten-free crescent roll dough or a gluten-free pastry base to make this recipe accessible for those with dietary restrictions.
Sprinkle sliced almonds, chopped pecans, or a light dusting of powdered sugar on top for extra texture and visual appeal.
Breakfast Bliss Plate: Serve these danishes alongside fresh scrambled eggs and crispy bacon for a complete morning feast that balances sweet and savory flavors.
Brunch Companion: Pair with a light mimosa or freshly brewed coffee to elevate the casual gathering and create a delightful weekend brunch experience.
Dessert Transformation: After cooling, dust with powdered sugar or drizzle with a simple vanilla glaze to turn these danishes into an elegant after-dinner treat that looks professionally prepared.
Coffee Shop Charm: Arrange on a rustic wooden board with whole fresh berries and mint leaves for a bakery-style presentation that looks Instagram-worthy and inviting.
How to Store These Cheesecake-Filled Pastries
Store these delightful danishes in an airtight container within the refrigerator, where they’ll stay fresh for up to 3-4 days without losing their delectable texture.
Prepare the danishes completely the night before, cover them securely with plastic wrap, and refrigerate overnight to save precious morning preparation time.
Wrap individual danishes tightly in plastic wrap, then place them in a freezer-safe container or sealed bag, where they’ll maintain quality for approximately 2-3 weeks when frozen.
Restore crispness and warmth by placing refrigerated or thawed danishes in a preheated 325F oven for 5-7 minutes, ensuring they emerge just as tempting as when first baked.
FAQs
What are the main ingredients for Kings Hawaiian Cheesecake Danishes?
The key ingredients include Kings Hawaiian Original Sweet Rolls, cream cheese, vanilla extract, powdered sugar, and butter. These rolls provide a sweet base that makes the danishes unique and delicious.
Do I need any special baking skills to make this recipe?
No, this recipe is beginner-friendly and requires minimal baking experience. It’s a simple dessert that can be prepared quickly with basic mixing and baking techniques.
Can I customize the cheesecake filling?
Absolutely! You can add different flavor extracts like almond or lemon, or mix in some fresh berries or chocolate chips to create your own variation of the filling.
How should I serve these danishes for the best taste?
Serve these danishes warm from the oven for the most enjoyable experience. The rolls will be soft, and the cheesecake filling will be creamy and slightly melted, creating a delightful treat.
Delightful Kings Hawaiian Cheesecake Danishes combine sweet bread with creamy cheesecake filling for a perfect breakfast treat. Hawaiian-inspired pastries offer a delectable fusion of flavors you can quickly enjoy at home.
Ingredients
Scale
1 package (12-count) Kings Hawaiian Sweet Rolls
8 oz (225 g) cream cheese, softened
⅓ cup (65 g) granulated sugar
½ cup (60 g) powdered sugar
12 tbsps milk or cream
2 tbsps unsalted butter, melted
1 tsp vanilla extract
½ tsp lemon zest (optional)
2 tbsps granulated sugar
¼ tsp cinnamon
¼ tsp vanilla extract
Instructions
Preheating: Set oven to 350°F (175°C) and prepare baking dish with parchment paper or light grease.
Roll Preparation: Delicately separate King’s Hawaiian rolls, maintaining their soft structure and creating gentle pockets by slicing horizontally.
Cheesecake Filling: Whip cream cheese and sugar until smooth, then blend in vanilla extract and egg, ensuring a silky, homogeneous mixture.
Filling Assembly: Distribute cheesecake mixture evenly into roll centers, optionally layering with fresh berries or fruit preserves for enhanced flavor profile.
Baking Process: Arrange danishes in prepared baking dish with slight spacing, then transfer to preheated oven and bake for 15-20 minutes until edges turn golden and filling sets.
Finishing Touch: Remove from oven, allow brief cooling for filling stabilization, then elegantly dust with powdered sugar or drizzle with light glaze before serving warm.
Notes
Preserve Roll Softness: Handle King’s Hawaiian rolls gently to maintain their delicate, pillowy texture during preparation.
Control Filling Consistency: Mix cream cheese slowly and avoid overmixing to prevent a dense, heavy cheesecake filling that could weigh down the light rolls.
Prevent Soggy Base: Create a small pocket in each roll and don’t oversaturate with filling to maintain structural integrity and prevent moisture absorption.
Customize Dietary Options: Swap regular cream cheese with low-fat or dairy-free alternatives, and use gluten-free rolls for individuals with specific dietary restrictions.
Oregon Culinary Institute Diploma in Culinary Arts Focus: Emphasis on farm-to-table cooking, sustainable practices, and the fusion of global flavors with traditional grilling methods.
Emily Lawson is the content creator at Daves Grill, turning tasty ideas into clear, easy recipes. Based in Portland, she trained at the Oregon Culinary Institute and loves cooking with fresh, seasonal ingredients, especially grilled veggies and global flavors.
Emily mixes food writing with hands-on cooking to bring you recipes that feel fun, not stressful. Her goal is to make every dish simple, flavorful, and worth coming back to. Together, she and Dave serve up real food, one recipe at a time.

Emily Lawson
Content Creator & Culinary Specialist
Expertise
Education
Oregon Culinary Institute
Diploma in Culinary Arts
Focus: Emphasis on farm-to-table cooking, sustainable practices, and the fusion of global flavors with traditional grilling methods.
Emily Lawson is the content creator at Daves Grill, turning tasty ideas into clear, easy recipes. Based in Portland, she trained at the Oregon Culinary Institute and loves cooking with fresh, seasonal ingredients, especially grilled veggies and global flavors.
Emily mixes food writing with hands-on cooking to bring you recipes that feel fun, not stressful. Her goal is to make every dish simple, flavorful, and worth coming back to. Together, she and Dave serve up real food, one recipe at a time.