
Scrumptious Peanut Butter Cookies Recipe Everyone Will Adore
Cookies fresh from the oven bring pure joy to any kitchen, especially when loaded with creamy peanut butter cookies that melt in your mouth.
The aroma of sweet, nutty goodness wafts through the house, promising delectable treats.
These simple yet magical cookies combine classic ingredients with minimal effort.
Butter, sugar, and peanut butter dance together to create a perfect balance of sweetness and richness.
Every bite delivers a comforting nostalgic flavor that connects us to childhood memories.
The recipe requires just a few pantry staples and less than an hour of your time.
Bake a batch and watch smiles spread across faces as friends and family savor each delightful morsel.
Quick Recipe Overview
What’s in Classic Peanut Butter Cookies
For Base Ingredients:For Leavening Agents:For Optional Seasoning:Tools for Baking Traditional Peanut Butter Cookies
Bake Peanut Butter Cookies with That Signature Fork Mark
Fire up your oven to 350 degrees, creating the perfect toasty environment for your soon-to-be delicious cookies.
In a big mixing bowl, blend peanut butter, sugar, egg, and vanilla until smooth. Mix in baking soda and a tiny salt pinch for extra flavor punch.
Grab chunks of dough and roll them into cute little spheres. Place these yummy balls onto a parchment-lined baking sheet, giving them some breathing room.
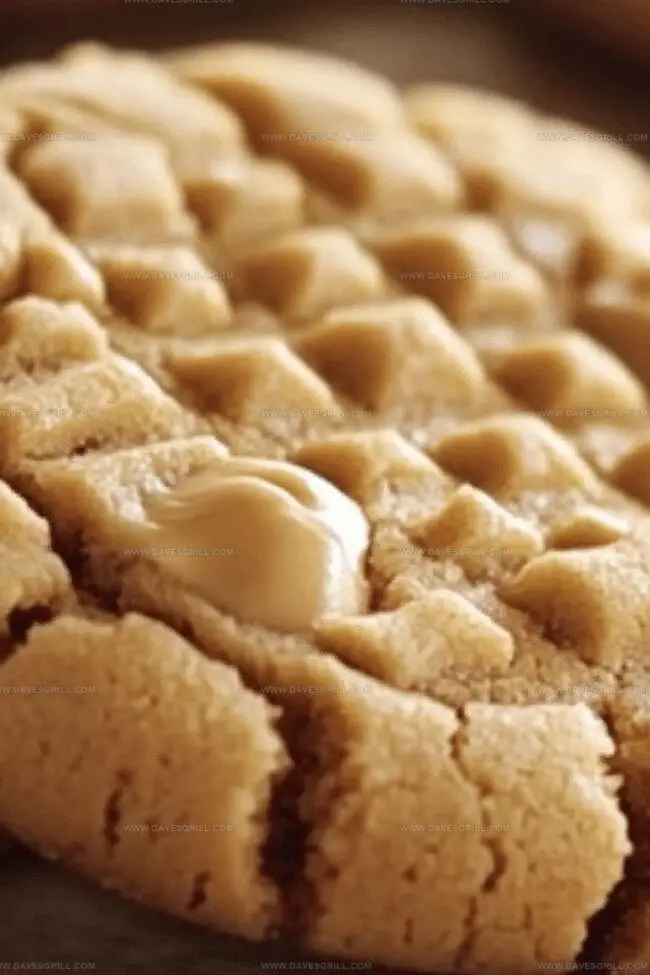
Take a fork and gently press down on each cookie ball, creating those iconic crisscross marks that make peanut butter cookies instantly recognizable.
Slide the cookie sheet into the oven and bake for 8-10 minutes. Watch carefully – you want them golden but not burnt. Peanut butter cookies can go from delightful to overdone quickly.
Let the cookies rest on the baking sheet for a few minutes, then transfer to a cooling rack. Once they’ve chilled out, grab a glass of milk and dive in!
Tips That Keep Peanut Butter Cookies Chewy
Serve These Cookies with Cold Milk
Keep Peanut Butter Cookies Soft and Snack-Ready
FAQs
Yes, you can use either natural or crunchy peanut butter. Natural peanut butter might make the cookies slightly less sweet, while crunchy peanut butter will add extra texture to your cookies.
These cookies are naturally gluten-free since they don’t contain flour. However, always check your peanut butter and baking soda labels to ensure they are certified gluten-free if you have celiac disease.
The cookies are ready when the edges turn golden brown and the tops look set. They might seem soft when you first take them out, but they’ll firm up as they cool.
Absolutely! You can freeze the cookie dough balls for up to 3 months. Just place them on a baking sheet, freeze until solid, then transfer to a freezer bag. Bake directly from frozen, adding 1-2 minutes to the baking time.
Print
Irresistible Peanut Butter Cookies Recipe
- Total Time: 27 minutes
- Yield: 25 1x
Description
Homemade peanut butter cookies blend classic comfort with nostalgic sweetness from childhood kitchens. Rich, buttery dough creates irresistible treats perfect for sharing with friends and family.
Ingredients
- ½ cup (115 g / 4 oz) unsalted butter, softened
- ½ cup (120 g / 4.2 oz) peanut butter (creamy or chunky)
- 1 large egg
- ½ cup (100 g / 3.5 oz) granulated sugar
- ½ cup (100 g / 3.5 oz) brown sugar, packed
- 1 ¼ cups (155 g / 5.5 oz) all-purpose flour
- ½ tsp baking soda
- ½ tsp baking powder
- ¼ tsp salt
- 1 tsp vanilla extract
Instructions
- Preheat Preparation: Calibrate the oven to 350F (175C), establishing an optimal thermal environment for cookie transformation.
- Mixture Fusion: Combine peanut butter, sweetener, egg, vanilla extract, baking soda, and salt in a mixing bowl. Integrate ingredients thoroughly until a smooth, cohesive batter emerges, ensuring no dry pockets remain.
- Dough Shaping and Arrangement: Mold the mixture into uniform one-inch spheres, gently positioning them on a parchment-lined baking sheet. Space cookies adequately to allow natural expansion during baking.
- Decorative Technique: Employ a fork’s tines to create distinctive crosshatch patterns across each dough ball, enhancing both aesthetic appeal and heat circulation.
- Baking and Monitoring: Slide the prepared tray into the preheated oven, baking for 8-10 minutes. Watch carefully for a delicate golden edge, avoiding over-browning that could compromise the cookie’s delicate texture.
- Cooling and Finishing: Allow cookies to rest momentarily on the baking sheet, then transfer to a wire rack. Permit complete cooling to achieve optimal flavor development and structural integrity.
Notes
- Prevent Sticky Dough: Chill the mixture for 30 minutes before shaping to make handling easier and prevent excessive spreading during baking.
- Check Peanut Butter Quality: Use natural, creamy peanut butter without added sugars for authentic flavor and optimal texture.
- Control Cookie Thickness: Press cookie dough gently to maintain consistent thickness, ensuring uniform baking and preventing dry edges.
- Gluten-Free Adaptation: Substitute wheat flour with almond or coconut flour for a gluten-free version, adding a tablespoon of cornstarch to maintain cookie structure.
- Prep Time: 15 minutes
- Cook Time: 12 minutes
- Category: Desserts, Snacks
- Method: Baking
- Cuisine: American
Nutrition
- Serving Size: 25
- Calories: 150
- Sugar: 8 g
- Sodium: 70 mg
- Fat: 7 g
- Saturated Fat: 3.5 g
- Unsaturated Fat: 3.5 g
- Trans Fat: 0 g
- Carbohydrates: 20 g
- Fiber: 1 g
- Protein: 3 g
- Cholesterol: 15 mg
Emily Lawson
Content Creator & Culinary Specialist
Expertise
Education
Oregon Culinary Institute
Diploma in Culinary Arts
Focus: Emphasis on farm-to-table cooking, sustainable practices, and the fusion of global flavors with traditional grilling methods.
Emily Lawson is the content creator at Daves Grill, turning tasty ideas into clear, easy recipes. Based in Portland, she trained at the Oregon Culinary Institute and loves cooking with fresh, seasonal ingredients, especially grilled veggies and global flavors.
Emily mixes food writing with hands-on cooking to bring you recipes that feel fun, not stressful. Her goal is to make every dish simple, flavorful, and worth coming back to. Together, she and Dave serve up real food, one recipe at a time.