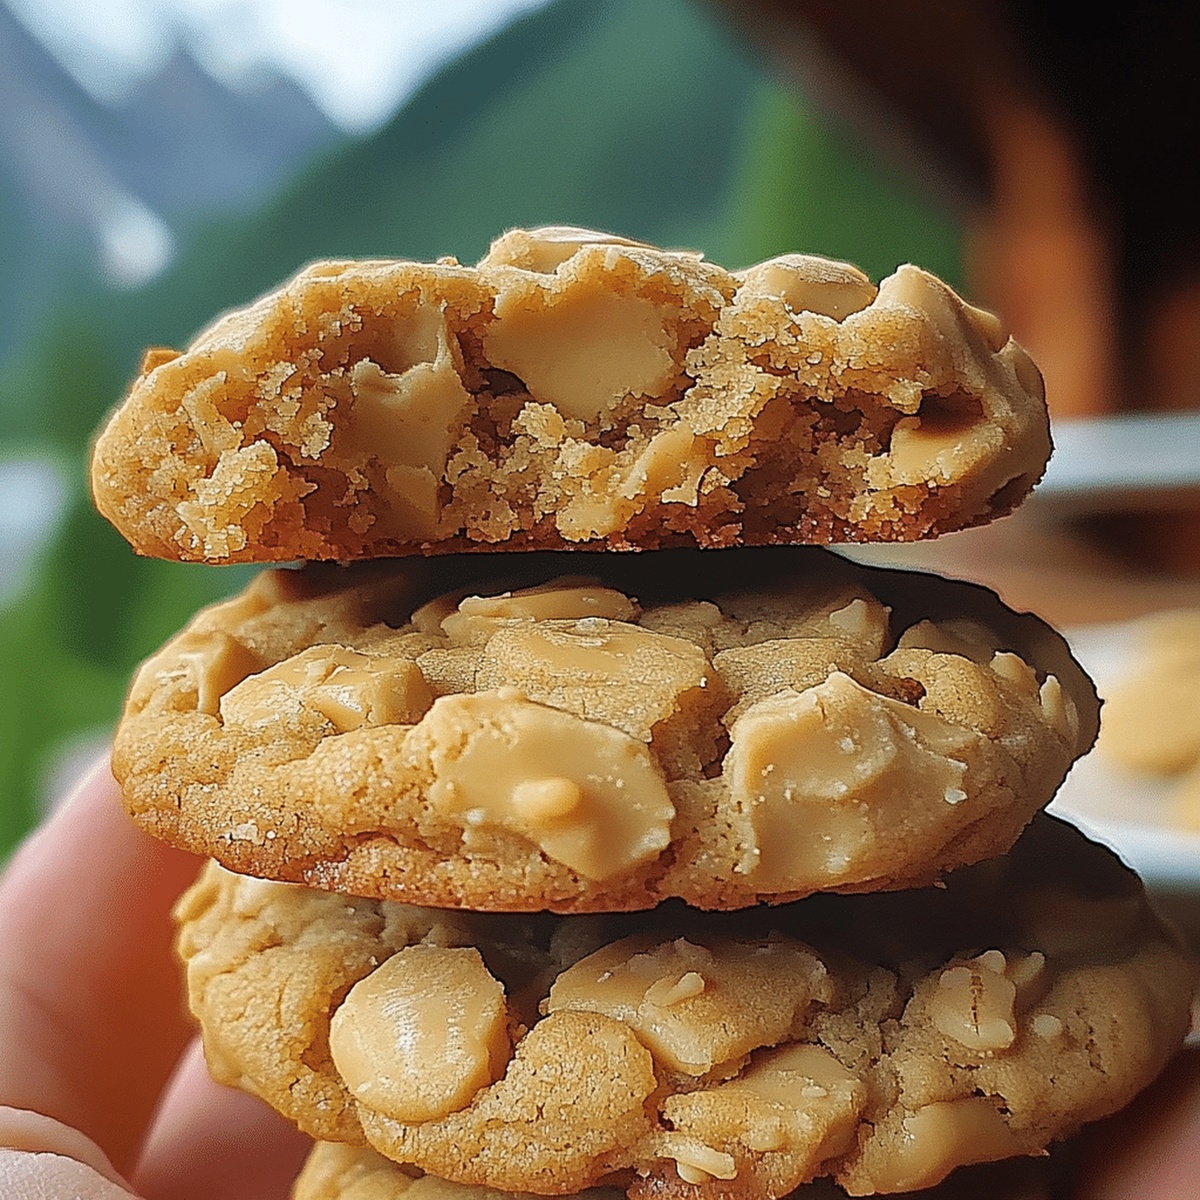
Chunky Dream: The Thick Peanut Butter Cookies Recipe
Soft, chewy cookies with a rich peanut butter flavor have always been a delightful treat for anyone with a sweet tooth.
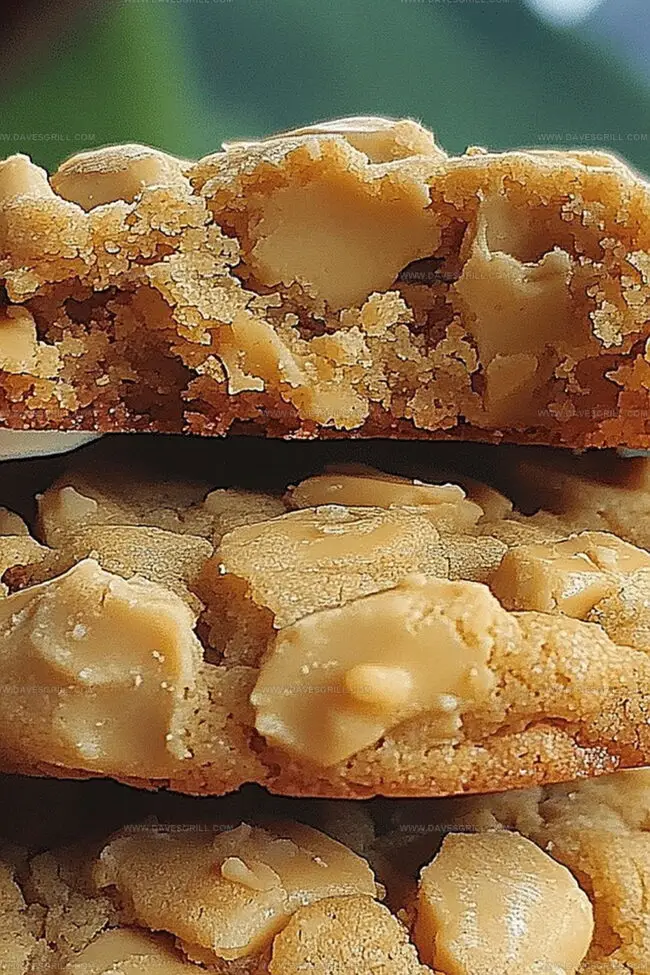
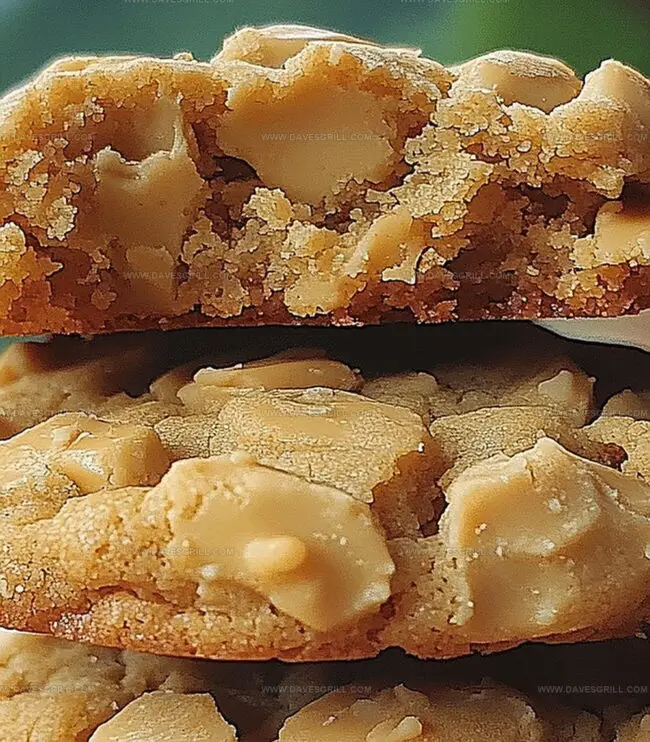
These thick peanut butter cookies capture the essence of comfort and indulgence in every delectable bite.
The secret lies in carefully selecting premium ingredients that blend seamlessly into a mouthwatering dough.
Each cookie promises a perfect balance of crumbly texture and intense nutty goodness.
Baking these treats fills your kitchen with an inviting, warm aroma that draws everyone closer.
The simple recipe ensures even novice bakers can create bakery-quality cookies at home.
Prepare to savor a classic dessert that will have everyone reaching for seconds.
Quick Recipe Overview
Peanut Butter Cookie Ingredient Breakdown
For Wet Ingredients:For Dry Ingredients:For Mix-In Ingredients:Tools to Bake Thick, Gourmet-Style Cookies
Mix and Bake Cookies That Stay Chewy
Crank your oven to a toasty 350F and grab two baking sheets. Line them with parchment paper or those handy silicone mats.
Grab a big mixing bowl and blend butter, peanut butter, white and brown sugars until they transform into a fluffy cloud. This takes about 2-3 minutes of mixing.
Crack an egg and splash in some vanilla. Mix until everything looks smooth and happy together.
In another bowl, mix flour, baking soda, baking powder, and salt. Slowly fold this into your wet ingredients. Keep things gentle – no aggressive stirring! If you want extra crunch, toss in some chopped peanuts.
Roll dough into golf ball sized rounds. Place them on your prepared sheets with some breathing room between each. Press a fork across the top to make that classic crisscross design.
Slide the sheets into the oven. Bake for 10-12 minutes until edges look golden and centers remain slightly soft.
Let cookies rest on the baking sheet for 5 minutes. Transfer to a cooling rack. Munch and savor these delicious peanut butter delights!
Tips for That Bakery-Level Texture
Serve with Cold Milk or Coffee
Store Cookies to Keep Them Fresh and Soft
FAQs
These cookies have a soft, chewy texture with slightly crisp edges. The inside remains tender and moist, providing a perfect balance of softness and crunch.
Absolutely! You can easily omit the chopped peanuts or peanut butter chips. The base cookie recipe will still be delicious and full of rich peanut butter flavor.
Use a fork and gently press down on each cookie dough ball in a perpendicular pattern. Press lightly to create the classic grid design without flattening the cookies too much.
Creamy, smooth peanut butter is ideal. Regular store-bought brands like Jif or Skippy work great. Avoid natural peanut butter with separated oil, as it can affect the cookie’s texture and consistency.
Print
Irresistible Thick Peanut Butter Cookies Recipe
- Total Time: 22 minutes
- Yield: 13 1x
Description
Irresistible homemade peanut butter cookies invite sweet-toothed bakers into a world of nostalgic comfort. Crisp edges and chewy centers promise a delightful indulgence you’ll savor with each memorable bite.
Ingredients
- ½ cup (4 oz / 115 g) unsalted butter, softened
- ½ cup (4 oz / 120 g) creamy peanut butter (natural or processed)
- ½ cup (100 g) granulated sugar
- ½ cup (110 g) brown sugar, packed
- 1 large egg
- 1 ¼ cups (160 g) all-purpose flour
- ½ tsp baking soda
- ½ tsp baking powder
- 1 tsp vanilla extract
- ¼ tsp salt
- ½ cup (75 g) chopped peanuts or peanut butter chips (optional)
Instructions
- Preheat Preparation: Position oven rack in center and heat to 350F (175C), lining baking sheets with parchment paper for optimal cookie performance.
- Creaming Process: Combine softened butter, peanut butter, granulated and brown sugars in a mixing bowl, whipping until light, fluffy, and pale in color, creating a voluminous base.
- Liquid Integration: Whisk egg and vanilla extract into the creamed mixture, ensuring a smooth, homogeneous liquid foundation that binds the cookie dough.
- Dry Ingredient Fusion: Sift flour, baking soda, baking powder, and salt together, then gently fold into wet ingredients, mixing minimally to prevent dense texture.
- Flavor Enhancement: Incorporate chopped peanuts or peanut butter chips, distributing evenly throughout the dough to maximize nutty complexity.
- Shaping Technique: Roll dough into uniform two-tablespoon spheres, placing on prepared sheets with ample spacing to accommodate spreading during baking.
- Signature Finish: Press fork tines across each dough ball, creating the iconic crosshatch pattern characteristic of classic peanut butter cookies.
- Baking Precision: Bake for 10-12 minutes until edges turn golden and centers remain slightly soft, achieving perfect texture balance.
- Cooling Protocol: Rest cookies on baking sheet for five minutes, then transfer to wire rack to complete cooling and set structure.
- Storage Strategy: Seal completely cooled cookies in airtight container, preserving optimal flavor and texture for up to one week.
Notes
- Butter Temperature Matters: Ensure butter is softened but not melted to achieve the perfect creamy, airy texture that creates tender, moist cookies.
- Avoid Overmixing Dough: Gently fold dry ingredients into wet mixture to prevent developing tough, dense cookies that lack the desired soft, crumbly texture.
- Create Uniform Cookies: Use a cookie scoop or two-tablespoon measure to guarantee consistent size, ensuring even baking and professional-looking results.
- Customize for Dietary Needs: Substitute gluten-free flour blend for all-purpose flour, use plant-based butter alternatives, or swap peanut butter with sunflower seed butter for allergen-friendly options.
- Prep Time: 10 minutes
- Cook Time: 12 minutes
- Category: Desserts, Snacks
- Method: Baking
- Cuisine: American
Nutrition
- Serving Size: 13
- Calories: 202
- Sugar: 14 g
- Sodium: 90 mg
- Fat: 10 g
- Saturated Fat: 4 g
- Unsaturated Fat: 6 g
- Trans Fat: 0 g
- Carbohydrates: 25 g
- Fiber: 1 g
- Protein: 4 g
- Cholesterol: 24 mg
Emily Lawson
Content Creator & Culinary Specialist
Expertise
Education
Oregon Culinary Institute
Diploma in Culinary Arts
Focus: Emphasis on farm-to-table cooking, sustainable practices, and the fusion of global flavors with traditional grilling methods.
Emily Lawson is the content creator at Daves Grill, turning tasty ideas into clear, easy recipes. Based in Portland, she trained at the Oregon Culinary Institute and loves cooking with fresh, seasonal ingredients, especially grilled veggies and global flavors.
Emily mixes food writing with hands-on cooking to bring you recipes that feel fun, not stressful. Her goal is to make every dish simple, flavorful, and worth coming back to. Together, she and Dave serve up real food, one recipe at a time.