The Ultimate Juicy Lucy Recipe: Cheese-Stuffed Burger Heaven
Burgers hit a whole new level with this incredible juicy lucy that promises pure comfort and unexpected excitement.
Melted cheese becomes the star inside a perfectly seasoned beef patty, creating a molten core of deliciousness.
Midwestern cooking traditions inspired this Minneapolis classic, turning an ordinary sandwich into something extraordinary.
Local diners first crafted this inventive meal decades ago, challenging standard burger expectations.
Cheese lovers will appreciate the surprise waiting in the center of each bite.
Hungry travelers and kitchen adventurers can easily recreate this iconic sandwich at home.
Let’s dive into a recipe that guarantees messy, memorable moments around the dinner table.
Why Juicy Lucy Burgers Are Packed With Melted Goodness
What You’ll Need For Juicy Lucy
Main Protein:Seasoning:Serving Component:How To Make A Juicy Lucy Burger At Home
Step 1: Prepare Patty Foundations
Start with high-quality ground beef and divide it into eight thin, evenly sized patties. Shape each patty carefully to ensure consistent thickness for even cooking.
Step 2: Create Cheese Core
Fold slices of cheese into compact quarters and place a stack in the center of four patties. Top each cheese-stuffed patty with one of the remaining plain patties.
Step 3: Seal Burger Edges
Firmly press the edges of each double-stacked patty together, pinching and crimping to seal tightly. Smooth out any seams to prevent the cheese from leaking during cooking.
Step 4: Season Burger Surfaces
Sprinkle both sides of each patty with kosher salt and freshly cracked black pepper, making sure the seasoning is evenly distributed.
Step 5: Cook Burger Masterpieces
Heat a grill or cast-iron skillet to medium-high heat. Place the patties on the cooking surface and grill for about 4–5 minutes per side, aiming for a medium doneness and a molten, gooey cheese center.
Step 6: Rest and Prepare
Remove the burgers from the heat and let them rest for 3–4 minutes. This helps prevent cheese from spilling out and allows the internal temperature to stabilize.
Step 7: Serve With Flair
Serve your burgers on soft, fresh buns with your favorite condiments. Add classic toppings like lettuce, tomato, and onions, and plate with crispy fries or a refreshing side salad.
Tips For The Best Juicy Lucy Experience
Storing Your Juicy Lucy The Right Way
What Tastes Great With A Juicy Lucy
Different Takes On The Juicy Lucy Burger
FAQs About Juicy Lucy
The key difference is the melted cheese stuffed inside the burger patty, creating a molten cheese center that bursts with flavor when you bite into it. This unique method ensures a cheesy surprise in every single bite.
Absolutely! While classic American cheese works great, you can experiment with cheddar, pepper jack, or Swiss cheese. Just make sure to quarter the cheese and seal the patties tightly to prevent leaking during cooking.
The secret is to press the burger edges very firmly when sealing, making sure there are no gaps. Use your fingers to crimp and seal the edges completely, which helps keep the melted cheese trapped inside the burger patty.
Yes, when cooked to the proper internal temperature of 160°F, the burger is completely safe. Just be extra careful when biting into it, as the cheese will be extremely hot and can cause burns if you’re not cautious.
Print
Juicy Lucy Recipe
- Total Time: 20 minutes
- Yield: 4 1x
Description
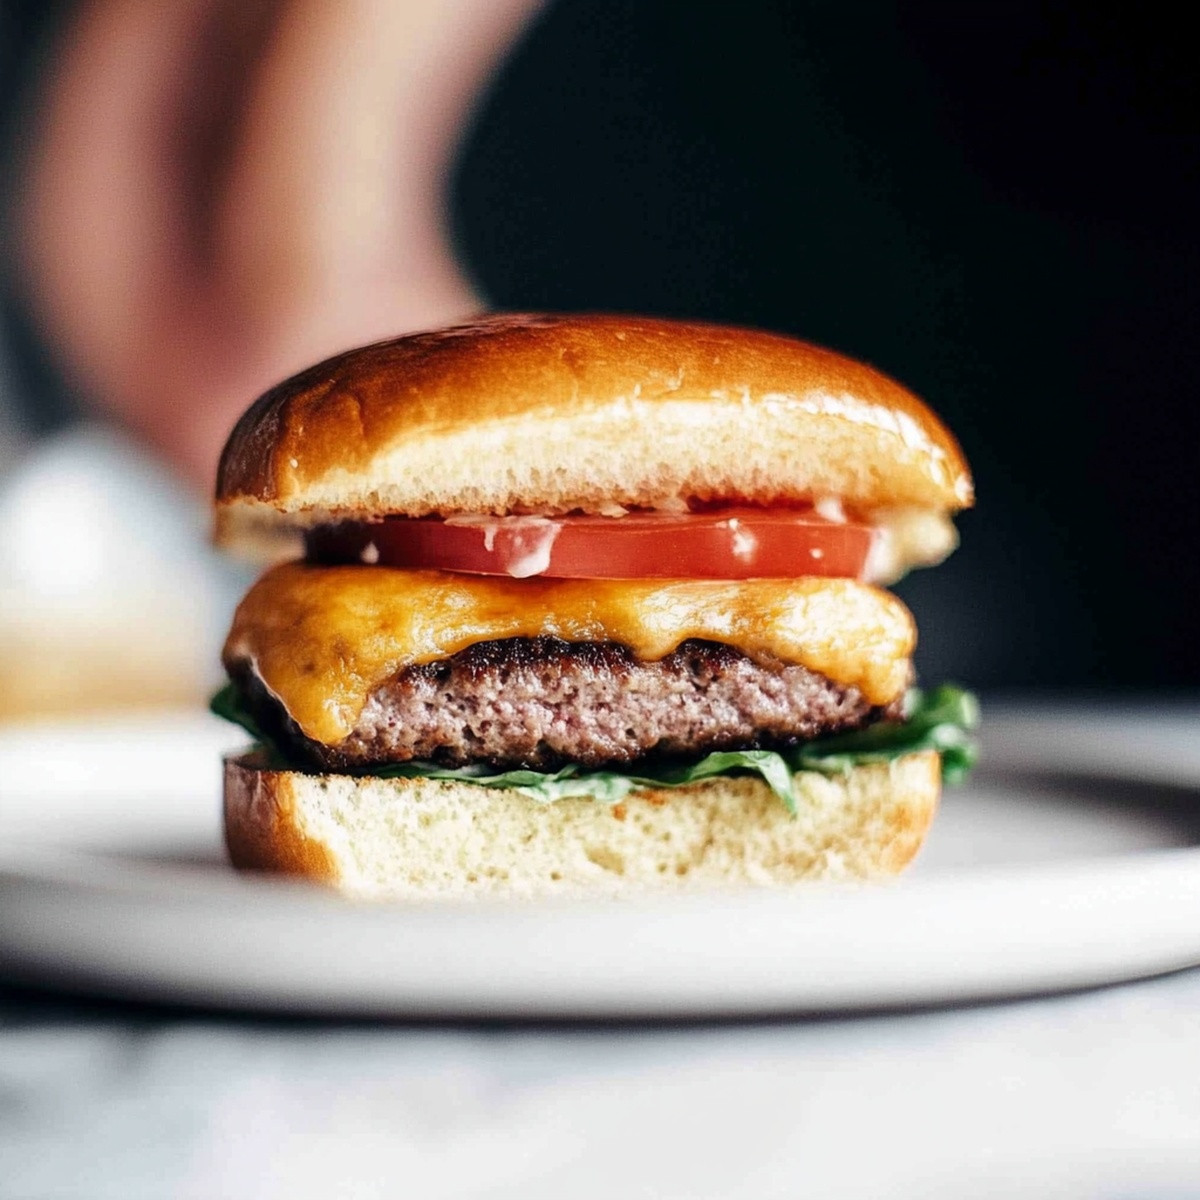
Sizzling Juicy Lucy burgers showcase Minneapolis’ legendary cheese-stuffed patty magic, delivering molten cheddar that erupts from inside perfectly grilled beef. Messy, delicious comfort creates pure burger bliss you cannot resist.
Ingredients
Main Protein:
- 1 pound (1 lb) ground beef (80/20 for best flavor)
Cheese:
- 4 slices American cheese (or cheddar)
Seasonings and Bread:
- ½ teaspoon salt
- ¼ teaspoon black pepper
- 4 burger buns
Optional Toppings:
- lettuce
- tomato
- pickles
- grilled onions
- ketchup
- mustard
- mayonnaise
Instructions
- Craft four delicate ground beef discs, ensuring each is paper-thin and uniform in shape for optimal cheese containment.
- Carefully quarter the cheese slices, positioning them precisely in the center of half the meat patties, creating a compact cheese core.
- Delicately drape the remaining meat patties over the cheese-laden bases, using fingertips to meticulously seal the edges and prevent any potential cheese escape.
- Generously season both exterior surfaces with salt and freshly cracked black pepper, ensuring comprehensive flavor distribution.
- Heat the cooking surface to medium-high, allowing it to reach the ideal temperature for creating a perfectly caramelized exterior while maintaining internal juiciness.
- Gently place the constructed patties onto the hot surface, allowing approximately 4-5 minutes per side to achieve a robust golden-brown crust and fully melted inner cheese reservoir.
- Transfer the burgers to a resting platform, permitting the internal temperature to stabilize and cheese to set for 2-3 minutes, preventing immediate molten cheese burn.
- Nestle the burgers into soft, toasted buns and embellish with preferred condiments like crisp lettuce, ripe tomato slices, tangy pickles, or zesty sauce.
Notes
- Cheese Selection Matters: Pick a melty cheese like American or cheddar that creates gooey, stretchy center without becoming too oily.
- Prevent Burger Blowouts: Press patty edges firmly and create a slight dimple in the center to help burgers maintain shape and prevent cheese from escaping during cooking.
- Temperature Control: Use a meat thermometer to ensure internal beef temperature reaches 160°F for safe consumption without overcooking the cheesy center.
- Gluten-Free Adaptation: Replace traditional burger buns with lettuce wraps or gluten-free buns to make the recipe suitable for different dietary needs.
- Prep Time: 10 minutes
- Cook Time: 10 minutes
- Category: Lunch, Dinner
- Method: Grilling
- Cuisine: American
Nutrition
- Serving Size: 4
- Calories: 570
- Sugar: 3 g
- Sodium: 800 mg
- Fat: 36 g
- Saturated Fat: 16 g
- Unsaturated Fat: 20 g
- Trans Fat: 1 g
- Carbohydrates: 37 g
- Fiber: 2 g
- Protein: 30 g
- Cholesterol: 90 mg
Dave Mitchell
Founder & Chief Recipe Developer
Expertise
Education
Asheville-Buncombe Technical Community College
Associate of Applied Science in Culinary Arts
Focus: Comprehensive training in culinary techniques, kitchen management, and menu planning, with a special emphasis on grilling and outdoor cooking.
Dave Mitchell is the heart behind Daves Grill, a cook, writer, and lover of all things grilled. He studied Culinary Arts at Asheville-Buncombe Technical Community College and spent years cooking, testing, and sharing recipes that actually work.
Dave started Daves Grill to keep things simple: one great recipe at a time. His food is bold, easy to follow, and made for real people with regular kitchens. From juicy steaks to quick sides, Dave’s recipes bring the heat without the hassle.