Irresistible Red Velvet Cinnamon Rolls Recipe for Sweet Lovers
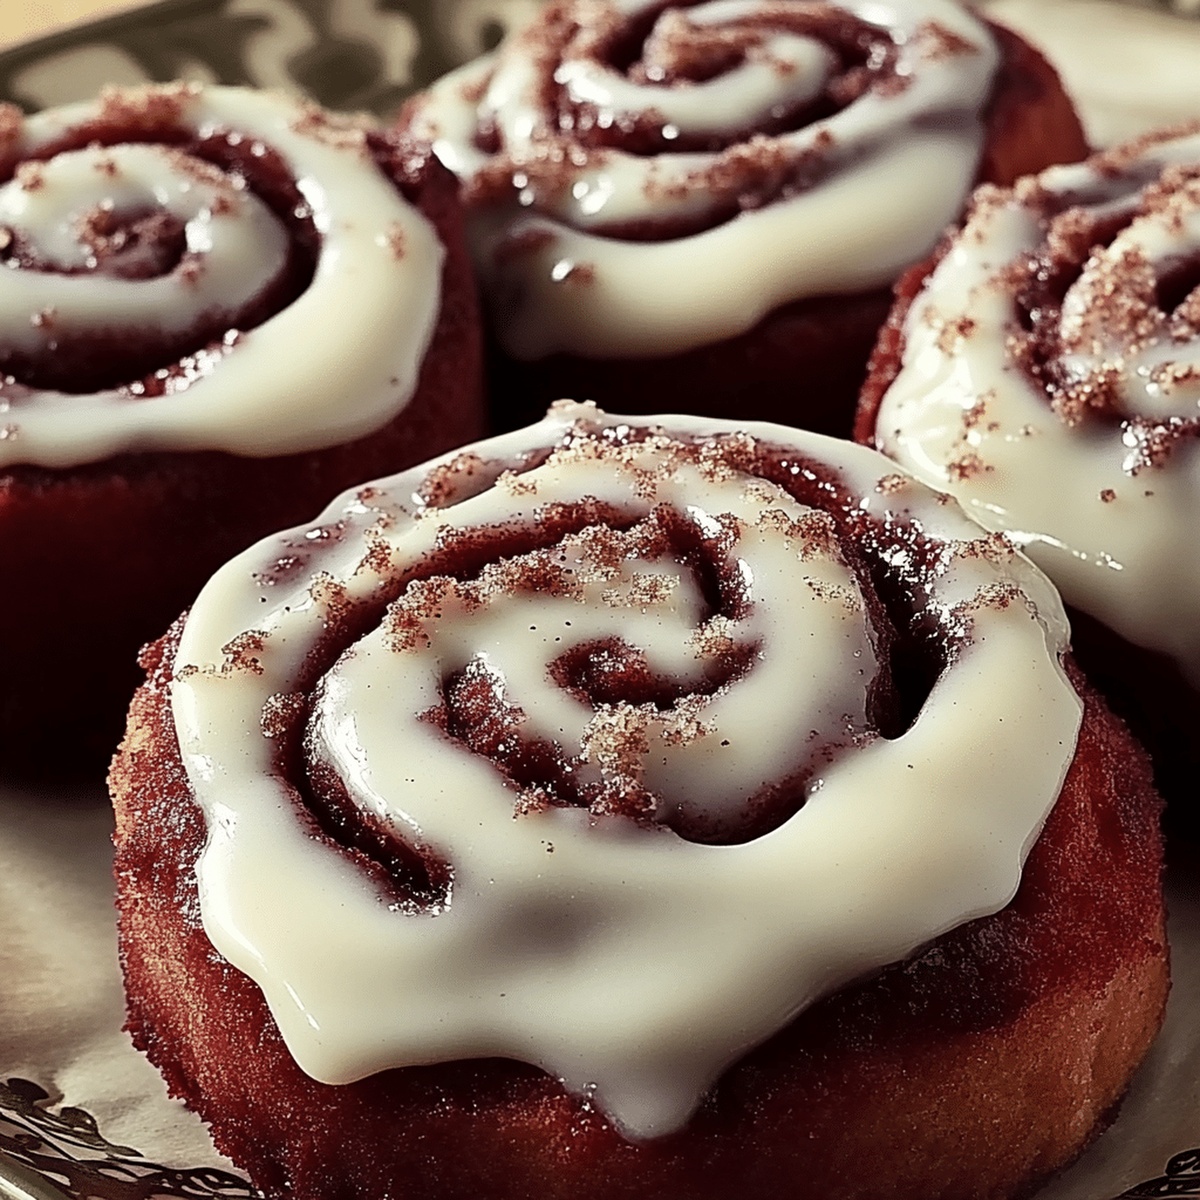
Sweet, soft dough swirled with rich red velvet cinnamon rolls that dance between decadence and comfort.
A bakery-style treat promises pure indulgence with every delicate bite.
These crimson-hued pastries blend classic southern charm with irresistible warmth.
Buttery layers melt into a creamy cream cheese frosting that promises pure bliss.
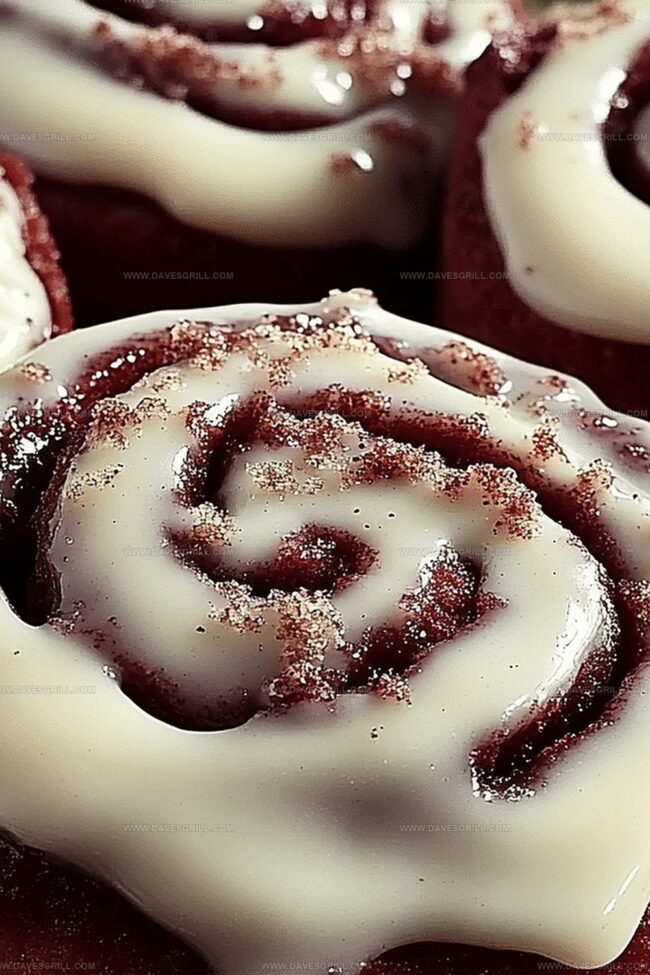
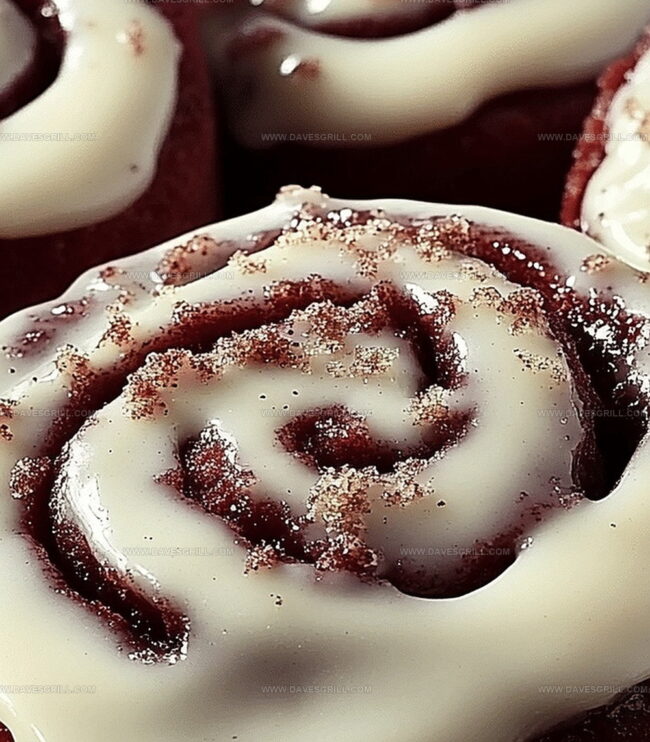
Delicate swirls of cinnamon peek through vibrant red dough, creating a stunning visual and flavor experience.
Weekend brunch or special morning celebrations demand these show-stopping rolls that will make everyone swoon.
Pull these heavenly treats straight from the oven and watch faces light up with pure delight.
Quick Recipe Overview
Ingredients for Rich and Fluffy Red Velvet Cinnamon Rolls
For Dough Base:For Moisture And Binding:For Filling And Topping:Tools to Perfect Red Velvet Cinnamon Rolls from Scratch
Bake Red Velvet Cinnamon Rolls with Sweet Swirls
Stir warm milk, yeast, and a touch of sugar together in a cozy mixing bowl. Watch the happen as the mixture becomes bubbly and alive.
Blend eggs, vanilla, melted butter, and a splash of red food coloring into the yeast mixture. Whisk until everything dances together smoothly.
Slowly fold flour, cocoa powder, and a pinch of salt into the wet ingredients. Knead the dough until it feels soft and springy, working it with love on a floured surface.
Tuck the dough into a greased bowl, cover it gently, and let it rest in a warm spot. Watch it grow and double in size, becoming puffy and full of promise.
Mix softened butter, brown sugar, cinnamon, and cocoa into a luscious, spreadable paste that will make taste buds dance.
Roll out the dough into a beautiful rectangle. Spread the filling generously, then roll it up into a tight, delicious log. Slice into perfect swirls.
Nestle the rolls in a baking dish and let them puff up one last time. Slide them into a 350F oven and bake until golden and irresistible.
Whip up a creamy frosting by blending cream cheese, butter, powdered sugar, and vanilla. Slather it over warm rolls and dive in!
Tips That Boost Flavor in Red Velvet Cinnamon Rolls
Serve Red Velvet Cinnamon Rolls Fresh and Warm
Store Red Velvet Cinnamon Rolls to Keep Them Soft
FAQs
The vibrant red color comes from red food coloring added directly to the dough mixture, creating the classic red velvet appearance while maintaining the traditional cinnamon roll texture.
Yes, you can prepare the dough in advance. After the first rise, you can refrigerate the dough overnight. Just let it come to room temperature and proceed with rolling and filling before the second rise.
Cocoa powder is essential as it provides the subtle chocolate flavor characteristic of red velvet and helps achieve the deep red color by enhancing the food coloring’s intensity.
The dough is ready when it becomes smooth, elastic, and springs back when lightly pressed. It should not be sticky or dry, but soft and pliable.
Print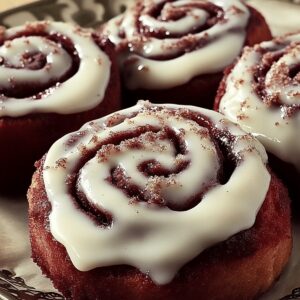
Luscious Red Velvet Cinnamon Rolls Recipe
- Total Time: 55 minutes
- Yield: 13 1x
Description
Red Velvet Cinnamon Rolls combine Southern charm with classic breakfast pastry. Cream cheese frosting and deep crimson dough create an irresistible morning treat you’ll savor with pure delight.
Ingredients
- 3 ½ cups (440 g) all-purpose flour
- 1 cup (240 mL) warm milk
- 2 large eggs
- ½ cup (115 g) unsalted butter
- ¼ cup (50 g) granulated sugar
- 1 teaspoon salt
- 2 ¼ teaspoons (1 packet) active dry yeast
- ¾ cup (150 g) brown sugar
- 2 tablespoons cocoa powder
- 2 tablespoons ground cinnamon
- 12 teaspoons red food coloring
- 1 teaspoon vanilla extract
- 4 oz (115 g) cream cheese
- 1 ½ cups (190 g) powdered sugar
- 3 tbsps milk or heavy cream
- 1 teaspoon vanilla extract
Instructions
- Yeast Activation: Dissolve yeast in warm milk with sugar, allowing it to become frothy for 7-10 minutes, creating a foundation for the dough’s rise.
- Wet Ingredient Fusion: Whisk together remaining sugar, eggs, vanilla, melted butter, and red food coloring into the activated yeast mixture until thoroughly combined, developing a vibrant red base.
- Dry Ingredient Integration: Gradually fold flour, cocoa powder, and salt into the wet ingredients, forming a cohesive, soft dough with a rich chocolate undertone.
- Dough Preparation: Knead the dough on a lightly floured surface for 8-10 minutes, developing its elasticity until it becomes supple and springs back when pressed.
- First Proofing: Transfer the kneaded dough to a greased bowl, cover, and let rise in a draft-free area until it doubles in volume, approximately 1-1.5 hours.
- Filling Creation: Blend softened butter with brown sugar, cinnamon, and cocoa powder to craft a rich, aromatic filling that will infuse the rolls with deep flavor.
- Rolling and Filling: Roll the dough into a rectangular shape, spread the filling evenly, leaving a small margin on one long edge, then carefully roll into a tight log and slice into 12 equal portions.
- Second Proofing: Arrange the rolled segments in a greased baking dish, allowing slight space for expansion, then cover and let rise for 30-45 minutes until puffy and interconnected.
- Baking Process: Preheat the oven to 350°F and bake the rolls for 22-25 minutes, monitoring their golden color and ensuring complete cooking.
- Frosting Finale: Prepare cream cheese frosting by beating cream cheese and butter until smooth, gradually incorporating powdered sugar, vanilla, and milk, then generously spread over warm rolls to create an irresistible, melting glaze.
Notes
- Master Yeast Activation: Ensure milk is precisely warm (110-115°F) to activate yeast without killing it, which guarantees perfect dough rising.
- Knead with Confidence: Develop gluten by kneading vigorously for exact 8-10 minutes, creating elasticity that prevents dense, heavy rolls.
- Control Temperature Zones: Use a warm, draft-free area like a turned-off oven with a pan of hot water to help dough rise consistently and evenly.
- Precise Cutting Technique: Use dental floss or a sharp serrated knife for clean, uniform roll slices that bake evenly and look professionally prepared.
- Prep Time: 30 minutes
- Cook Time: 25 minutes
- Category: Breakfast, Snacks, Desserts
- Method: Baking
- Cuisine: American
Nutrition
- Serving Size: 13
- Calories: 294
- Sugar: 22 g
- Sodium: 182 mg
- Fat: 12 g
- Saturated Fat: 7 g
- Unsaturated Fat: 4 g
- Trans Fat: 0 g
- Carbohydrates: 40 g
- Fiber: 1 g
- Protein: 4 g
- Cholesterol: 62 mg
Emily Lawson
Content Creator & Culinary Specialist
Expertise
Education
Oregon Culinary Institute
Diploma in Culinary Arts
Focus: Emphasis on farm-to-table cooking, sustainable practices, and the fusion of global flavors with traditional grilling methods.
Emily Lawson is the content creator at Daves Grill, turning tasty ideas into clear, easy recipes. Based in Portland, she trained at the Oregon Culinary Institute and loves cooking with fresh, seasonal ingredients, especially grilled veggies and global flavors.
Emily mixes food writing with hands-on cooking to bring you recipes that feel fun, not stressful. Her goal is to make every dish simple, flavorful, and worth coming back to. Together, she and Dave serve up real food, one recipe at a time.