
Enchanting Holiday Cocoa Bombs Recipe: Magical Christmas Sippers
Festive winter nights call for something special, and these magical Christmas hot cocoa bombs deliver pure chocolatey delight.
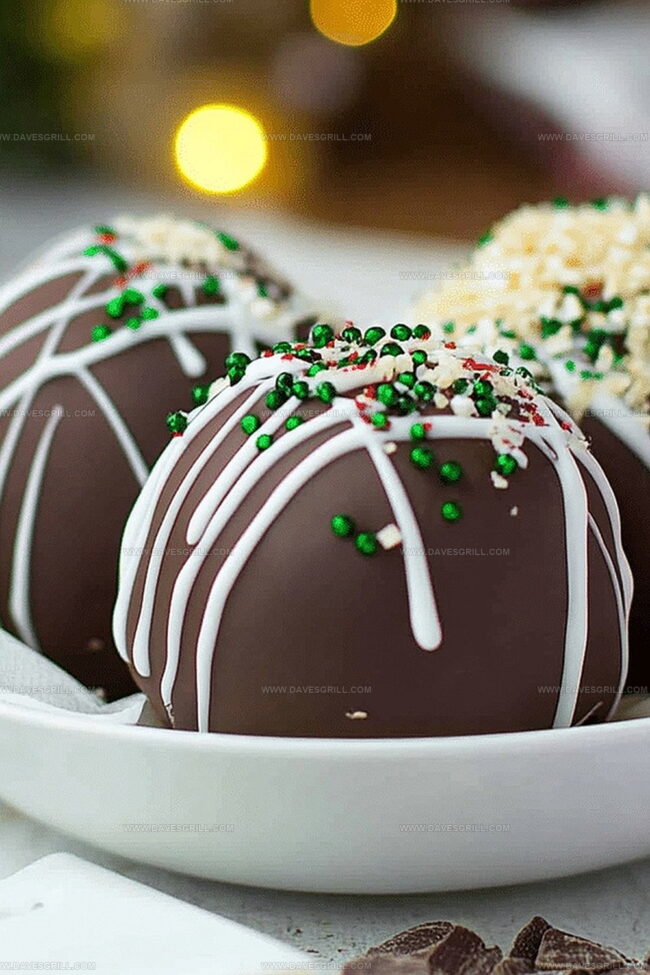
Crafted with rich dark chocolate and filled with sweet marshmallow surprises, these hot cocoa bombs create an enchanting holiday moment.
Melting chocolate shells burst open dramatically when hot milk is poured, releasing a cloud of cocoa and fluffy marshmallows.
Each bomb promises a decadent experience that transforms an ordinary drink into a spectacular treat.
Professional bakers and home cooks alike can master this delightful recipe with simple ingredients and easy techniques.
Chocolate lovers will adore how these bombs turn a classic beverage into a memorable Christmas celebration.
Prepare to unwrap a delicious holiday tradition that sparks joy in every sip.
Quick Recipe Overview
Christmas Hot Cocoa Bomb Ingredient List
For Chocolate Shells:For Cocoa Filling:For Decorative Touches:Tools That Help You Mold Christmas Cocoa Bombs
How to Fill and Seal Christmas Hot Cocoa Bombs
Gently melt chocolate using a double boiler or microwave, stirring until silky smooth. Pour the liquid chocolate into round silicone molds, carefully coating every curve and edge. Use a spoon to spread chocolate evenly, creating delicate shells with multiple thin layers.
Pop chocolate shells out of molds with tender care. Fill half the shells with rich cocoa powder and fluffy marshmallows. Warm a plate slightly and use its heat to soften the edges of another shell. Delicately press the two halves together, creating a perfect sealed sphere.
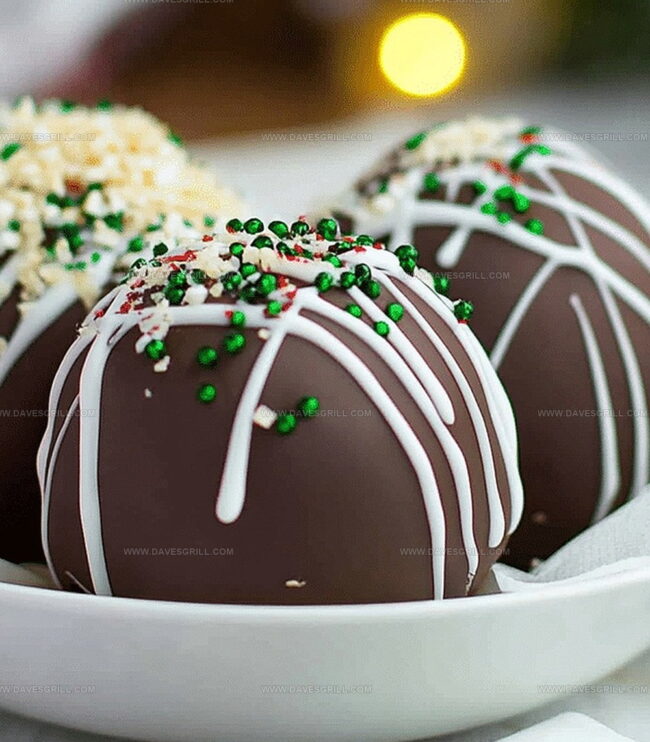
Drizzle white or colored chocolate over the bombs, adding playful sprinkles or crushed candy canes. Make each bomb unique with creative decorations that spark joy and holiday cheer.
Place a cocoa bomb in your favorite mug. Pour steaming hot milk over the top and watch with wonder as the chocolate shell melts away, releasing a cascade of sweet marshmallows and rich cocoa. Stir gently and enjoy youral winter treat.
Tips That Make Cocoa Bombs Festive and Fun
Serve Cocoa Bombs in Mugs with Steamed Milk
Store Cocoa Bombs in Wrappers Until Ready
FAQs
Hot Cocoa Bombs are surprisingly easy to create. With basic chocolate melting skills and some patience, anyone can make them. The key is ensuring your chocolate shells are evenly coated and properly set.
Candy melts or high-quality chocolate with good melting properties work best. Milk chocolate and dark chocolate are popular choices. Avoid chocolate with low cocoa butter content as they might not set properly.
Absolutely! You can prepare Cocoa Bombs several days in advance. Store them in an airtight container at room temperature for up to a week. Just keep them away from direct heat or sunlight to prevent melting.
The only essential tool is a silicone sphere mold. While professional kitchen tools help, home bakers can successfully make Cocoa Bombs with basic kitchen equipment like a microwave, spoon, and basic melting techniques.
Print
Magical Christmas Hot Cocoa Bombs Recipe
- Total Time: 1 hour
- Yield: 7 1x
Description
Magical Christmas hot cocoa bombs blend rich chocolate spheres with festive marshmallows and holiday spices. Cocoa enthusiasts can create these delightful treats that melt into warm, comforting winter beverages.
Ingredients
- 12 oz (340 g) semi-sweet or milk chocolate, finely chopped
- 1 cup (120 g) hot cocoa mix
- ½ cup (50 g) mini marshmallows
- ¼ cup (40 g) holiday sprinkles
- ½ cup (85 g) white chocolate, melted
- Extra sprinkles
- Crushed candy canes
- Edible glitter
Instructions
- Tempering: Melt chocolate meticulously using double boiler technique, achieving silky smooth texture without imperfections.
- Molding: Craft delicate chocolate shells by generously coating silicone molds, ensuring uniform thin layer that completely covers interior surface.
- Setting: Chill chocolate molds in refrigerator for precise 12-15 minutes until shells transform into crisp, sturdy structures.
- Assembly: Extract hardened chocolate hemispheres delicately, then strategically layer hot cocoa mix, mini marshmallows, and crushed candy canes inside one shell.
- Sealing: Employ gentle heat technique on plate’s edge to warm second chocolate hemisphere, then seamlessly attach to filled shell with precise pressure, creating perfect spherical bomb.
- Decorating: Elevate visual presentation by artfully drizzling white or contrasting chocolate over bombs, adorning with festive sprinkles and shimmering edible glitter.
- Serving: Position cocoa bomb gracefully in festive mug, then slowly cascade steaming milk over surface, witnessing dramatic chocolate dissolution and revealing magical interior ingredients.
- Finishing: Stir enthusiastically to blend melted chocolate, cocoa mixture, and marshmallows into luxurious, creamy holiday elixir perfect for seasonal celebration.
Notes
- Chocolate Temperature Control: Melt chocolate carefully at low heat to prevent burning or seizing, which can ruin the smooth texture of your shells.
- Mold Coating Technique: Use a pastry brush or back of a spoon to create an even, thin chocolate layer that ensures structural integrity without being too thick or fragile.
- Chilling Precision: Allow chocolate shells to set completely in refrigerator, but avoid over-chilling to prevent condensation or potential cracking when removing from molds.
- Sealing Mastery: Warm edges of chocolate hemispheres gently on a warm plate, creating a clean, smooth seal that prevents ingredients from spilling and maintains an attractive appearance.
- Prep Time: 30 minutes
- Cook Time: 30 minutes
- Category: Drinks, Snacks, Desserts
- Method: Baking
- Cuisine: American
Nutrition
- Serving Size: 7
- Calories: 260
- Sugar: 30 g
- Sodium: 100 mg
- Fat: 12 g
- Saturated Fat: 7 g
- Unsaturated Fat: 5 g
- Trans Fat: 0 g
- Carbohydrates: 36 g
- Fiber: 1 g
- Protein: 3 g
- Cholesterol: 10 mg
Emily Lawson
Content Creator & Culinary Specialist
Expertise
Education
Oregon Culinary Institute
Diploma in Culinary Arts
Focus: Emphasis on farm-to-table cooking, sustainable practices, and the fusion of global flavors with traditional grilling methods.
Emily Lawson is the content creator at Daves Grill, turning tasty ideas into clear, easy recipes. Based in Portland, she trained at the Oregon Culinary Institute and loves cooking with fresh, seasonal ingredients, especially grilled veggies and global flavors.
Emily mixes food writing with hands-on cooking to bring you recipes that feel fun, not stressful. Her goal is to make every dish simple, flavorful, and worth coming back to. Together, she and Dave serve up real food, one recipe at a time.