
Heavenly Butter Cookies Recipe: Soft Joys That Dissolve Instantly
Sweet aromas of butter cookies dance through kitchens, promising a melt-in-your-mouth butter cookies recipe that whispers comfort.
Delicate and rich, these cookies blend simple ingredients into pure magic.
Generations have cherished this classic treat, passing down secrets of perfect texture and taste.
Soft butter mingles with sugar, creating a golden dough that promises pure delight.
Each bite carries memories of tender moments and warm gatherings.
These cookies transform ordinary afternoons into extraordinary experiences with their irresistible charm.
Prepare to indulge in a treat that speaks directly to your sweet soul.
Quick Recipe Overview
Butter Cookie Ingredient Rundown
For Creaming Base:For Binding and Flavor:For Structure and Texture:Optional Decorative Elements:Bakeware for Classic Butter Cookies
Mix and Bake Butter Cookies with Ease
Grab your mixing bowl and transform butter and sugars into a fluffy cloud by beating them together until they’re super smooth and light. Add an egg and vanilla, mixing until everything blends beautifully.
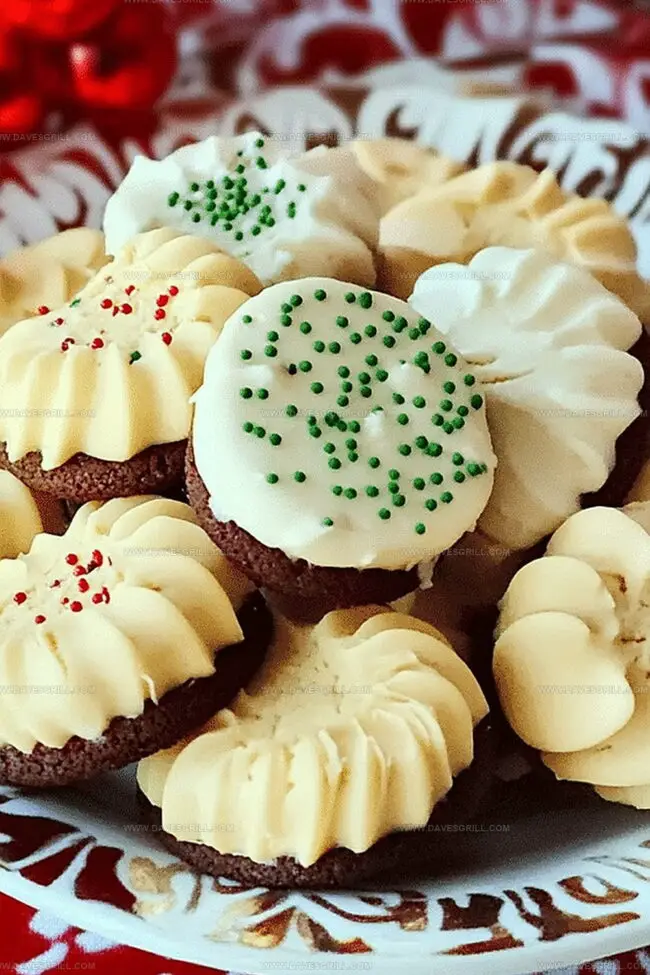
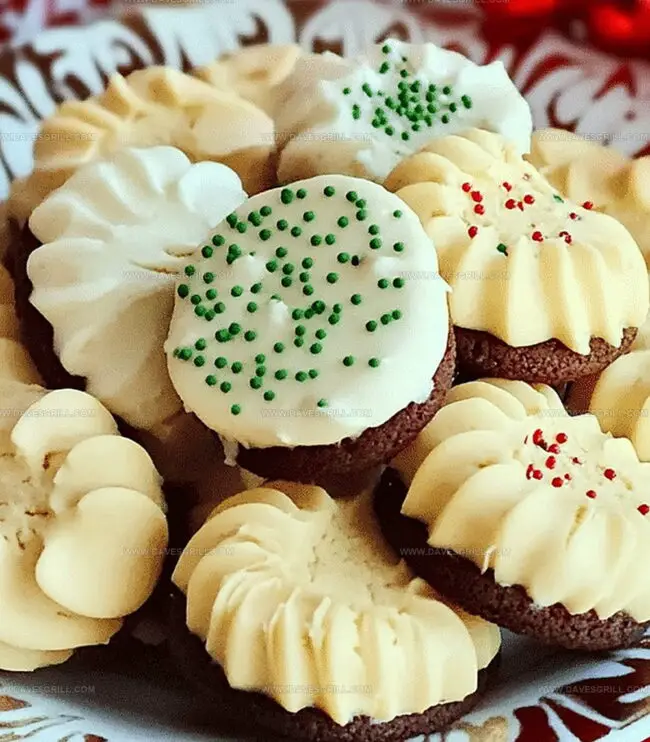
Heat your oven to a toasty 350F. Prepare baking sheets with parchment paper. Scoop or pipe your dough into delightful shapes – whether you prefer classic star-tipped swirls or simple round treasures. Gently press each cookie with a fork for a traditional touch.
Slide your cookie sheet into the warm oven. Watch closely as cookies transform from pale dough to golden-edged delights in about 10-12 minutes. The edges should look just kissed by sunlight.
Let cookies rest on the baking sheet for a few moments, then transfer to a cooling rack. Once completely cool, feel free to drizzle with melted chocolate or sprinkle with sparkly sugar for extra pizzazz.
Keep these buttery treats in an airtight container. They’ll stay fresh and delicious for several days – if they last that long!
Flavor Tricks That Add Richness
Serve Butter Cookies in Style
Store Cookies for Gifting or Snacking
FAQs
Yes, but reduce or omit the added salt in the recipe to prevent the cookies from becoming too salty.
Chill the dough for 30 minutes before shaping and baking. This helps the cookies maintain their shape and prevents excessive spreading.
Use a steady hand and practice on a piece of parchment paper first. Hold the piping bag at a 90-degree angle and apply consistent pressure for uniform cookie shapes.
Look for light golden edges and a set center. The cookies should be firm but not dark brown. They’ll continue to firm up as they cool on the baking sheet.
Print
Melt-in-Your-Mouth Butter Cookies Recipe
- Total Time: 22 minutes
- Yield: 25 1x
Description
Grandma’s Best Butter Cookies embody a delightful Swedish tradition of simple, rich baking. Crisp edges and melt-in-mouth texture invite you to savor each buttery, golden bite.
Ingredients
- 1 large egg
- 1 cup (227 grams) unsalted butter, softened
- 2 ¼ cups (280 grams) all-purpose flour
- ¾ cup (150 grams) granulated sugar
- ¼ cup (30 grams) powdered sugar
- 1 tsp vanilla extract
- ¼ tsp salt
- Sanding sugar or sprinkles
- Melted chocolate for drizzling
Instructions
- Creaming: Whip softened butter with granulated and powdered sugars using an electric mixer until the mixture becomes light, fluffy, and pale, creating a smooth base for the cookies.
- Wet Ingredients Fusion: Incorporate egg and vanilla extract, blending until the mixture achieves a uniform, silky consistency that promises tender cookies.
- Dough Formation: Carefully fold in flour and salt, mixing gently to create a cohesive dough without overworking, which would compromise the delicate texture.
- Chill and Prepare: Refrigerate the dough for 30 minutes to intensify flavors and stabilize the mixture. Meanwhile, preheat the oven to 350F (175C) and line baking sheets with parchment paper.
- Shaping and Decorating: Choose your preferred cookie style – pipe elegant swirls using a star-tipped bag or roll into small rounds and create classic crosshatch patterns with a fork. Sprinkle with sanding sugar for an elegant finish.
- Baking Process: Arrange cookies with minimal spacing on prepared sheets, allowing them to bake for 10-12 minutes until the edges turn a delicate golden brown.
- Cooling and Finishing: Rest cookies on the baking sheet for 5 minutes to set, then transfer to a wire rack. Once completely cooled, optionally embellish with a chocolate drizzle or dip for an indulgent touch.
Notes
Optimize Butter Softness: Use room temperature butter at precisely 65-70°F for perfect creaming, ensuring smooth texture and consistent cookie structure.
Prevent Overmixing: Gently fold flour until just combined, stopping immediately when no flour streaks remain to maintain tender, delicate cookie crumb.
Chill for Success: Refrigerate dough for minimum 30 minutes to prevent excessive spreading, concentrate flavors, and develop rich, buttery characteristics.
Customize Creatively: Experiment with flavor additions like almond extract, citrus zest, or finely chopped nuts to transform classic butter cookie recipe into unique variations.
- Prep Time: 10 minutes
- Cook Time: 12 minutes
- Category: Snacks, Desserts
- Method: Baking
- Cuisine: American
Nutrition
- Serving Size: 25
- Calories: 151
- Sugar: 6.8 g
- Sodium: 0.1 mg
- Fat: 9.5 g
- Saturated Fat: 5.7 g
- Unsaturated Fat: 3.8 g
- Trans Fat: 0 g
- Carbohydrates: 17.4 g
- Fiber: 0.4 g
- Protein: 1.5 g
- Cholesterol: 23 mg
Emily Lawson
Content Creator & Culinary Specialist
Expertise
Education
Oregon Culinary Institute
Diploma in Culinary Arts
Focus: Emphasis on farm-to-table cooking, sustainable practices, and the fusion of global flavors with traditional grilling methods.
Emily Lawson is the content creator at Daves Grill, turning tasty ideas into clear, easy recipes. Based in Portland, she trained at the Oregon Culinary Institute and loves cooking with fresh, seasonal ingredients, especially grilled veggies and global flavors.
Emily mixes food writing with hands-on cooking to bring you recipes that feel fun, not stressful. Her goal is to make every dish simple, flavorful, and worth coming back to. Together, she and Dave serve up real food, one recipe at a time.