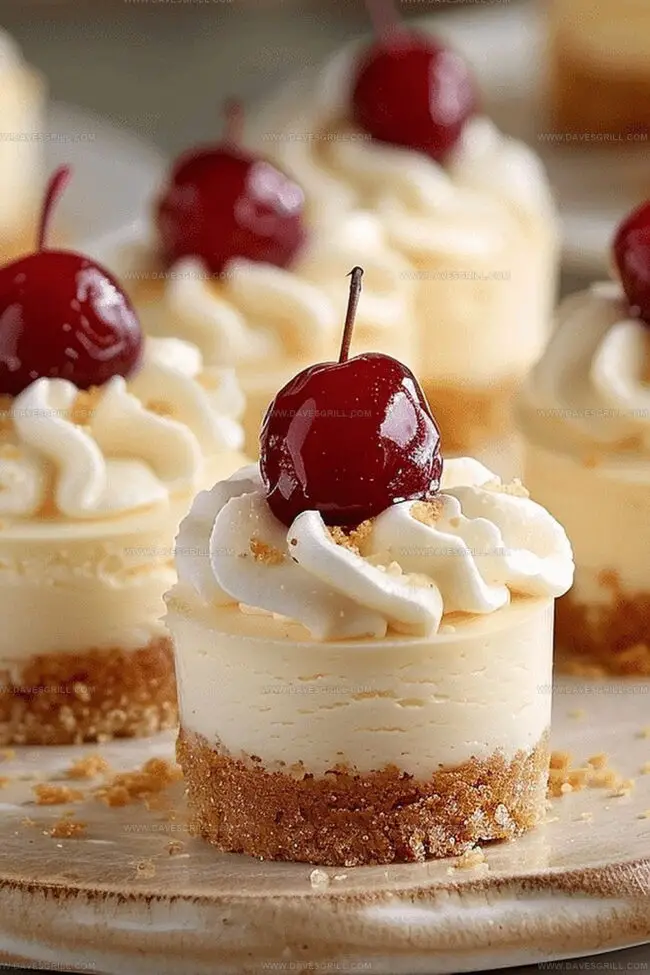
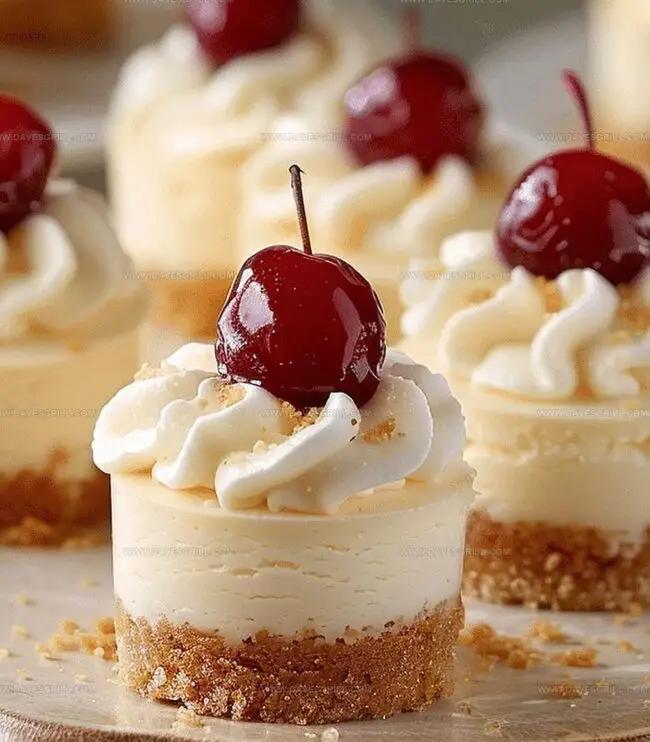
Sweet dreams come alive with these delectable mini cheesecakes that promise pure bliss in every single bite.
Creamy textures melt across your palate like delicate clouds of happiness.
Each miniature dessert carries incredible potential for delighting guests at any gathering.
Small yet spectacular, these tiny treats pack enormous flavor into compact portions.
The magic happens when simple ingredients combine with precise techniques to create something extraordinary.
Silky smooth fillings nestled atop crisp graham cracker crusts guarantee an irresistible experience.
You’ll want to savor every single morsel of these irresistible miniature delights.
Why Mini Cheesecakes Are Always a Hit
Individual servings make sharing and portion control a breeze.
Simple step-by-step instructions guarantee success for novice bakers.
Prepare these treats in advance for stress-free entertaining and guaranteed crowd-pleasing desserts.
Mini Cheesecake Ingredient Checklist
Crust Ingredients:
Graham Cracker Crumbs: A classic base for cheesecake with a buttery, sweet foundation.
Sugar: Adds sweetness and helps bind the crust together.
Butter (Melted): Provides richness and helps crumbs stick, best when unsalted.
Cheesecake Filling Ingredients:
Cream Cheese: The star ingredient, creates smooth and creamy texture, should be full-fat and softened.
Sour Cream: Adds tanginess and helps create a silky consistency, room temperature is ideal.
Sugar: Balances the tanginess and sweetens the cheesecake.
Vanilla Extract: Enhances overall flavor, pure extract recommended for best taste.
Eggs: Provide structure and help set the cheesecake, room temperature works best.
Topping Ingredients:
Fruit Filling, Whipped Cream, Chocolate Sauce: Optional garnishes to personalize the mini cheesecakes, can be homemade or store-bought.
How to Make Mini Cheesecakes
Step 1: Create Crispy Crust Base
Warm up the oven to 325F (163C). Line a muffin pan with cupcake papers. Mix together:
Graham cracker crumbs
Sugar
Melted butter
Press the crumbly mixture into each liner bottom. Slide the pan into the oven and bake for 5 minutes. Let the crust cool down slightly.
Step 2: Whip Creamy Cheesecake Mixture
Grab a mixing bowl and blend:
Softened cream cheese
Sour cream
Whisk until super smooth. Add sugar and vanilla extract, mixing thoroughly. Gently fold in eggs one at a time, keeping the mixer on low speed to avoid overmixing.
Step 3: Fill and Bake Delightful Treats
Pour the cheesecake mixture over each prepared crust, filling almost to the top. Slide the pan into the oven and bake for 17-20 minutes. The centers should look slightly wobbly but mostly set.
Step 4: Cool and Rest
Remove from the oven and let cool inside the pan for one hour. Transfer to the refrigerator and chill for at least 3 hours or overnight.
Step 5: Dress Up Your Cheesecakes
Once completely chilled, add fun toppings like:
Fresh berry compote
Whipped cream
Chocolate drizzle
Caramel sauce
Secrets for Perfect Mini Cheesecakes
Prevent Cracking Technique: Avoid overmixing the batter and beat eggs on low speed to reduce air incorporation, which helps prevent surface cracks on your mini cheesecakes.
Perfect Moisture Hack: Use room temperature ingredients to ensure smooth, lump-free cheesecake filling and better texture integration.
Baking Precision Trick: Check doneness by gently shaking the pan- centers should look slightly jiggly but not liquid, indicating perfectly baked mini cheesecakes.
Liner Pro Tip: Use high-quality, grease-resistant cupcake liners to easily remove cheesecakes and maintain their shape without sticking.
Storage Smart Move: Store mini cheesecakes in an airtight container in the refrigerator for up to 5 days, keeping them fresh and delicious for multiple servings.
Saving and Serving Mini Cheesecakes Later
Store mini cheesecakes in an airtight container with a tight-fitting lid. Place parchment paper between layers to prevent sticking. Keep refrigerated for up to 5 days.
Wrap individual cheesecakes tightly in plastic wrap, then place in a freezer-safe container. Freeze for up to 2 months. Thaw overnight in the refrigerator before serving.
For best texture, enjoy mini cheesecakes cold. If desired, let them sit at room temperature for 10-15 minutes before serving to soften slightly.
When removing from the refrigerator, avoid sudden temperature changes to maintain the cheesecake’s smooth surface and prevent water droplets from forming.
Pairing Ideas for Mini Cheesecakes
Select a late-harvest Riesling or moscato to complement the rich, tangy cheesecake. The wine’s sweetness balances the cream cheese’s smooth texture.
Spread fresh raspberry or strawberry compote on top to add bright, zesty flavors that cut through the cheesecake’s dense richness. This pairing brings vibrant color and refreshing taste.
Serve chilled prosecco or champagne alongside these mini cheesecakes. The sparkling wine’s crisp bubbles cleanse the palate between creamy bites and enhance the dessert’s elegance.
Brew a small shot of espresso or serve a creamy cappuccino. The strong coffee notes provide a robust counterpoint to the sweet, smooth cheesecake, creating a sophisticated dessert experience.
Mini Cheesecake Mix-Up Ideas
Gluten-Free Crust Option: Replace graham cracker crumbs with almond flour or gluten-free cookie crumbs, maintaining the same measurements for a celiac-friendly version.
Vegan Cheesecake Alternative: Substitute cream cheese with cashew-based cream cheese, replace eggs with cornstarch and plant-based egg replacer, and use coconut cream instead of sour cream.
Low-Sugar Modification: Use monk fruit sweetener or stevia in place of regular sugar, reducing overall sugar content while maintaining the creamy texture and classic cheesecake flavor.
Fruit-Infused Variation: Mix in pureed berries or lemon zest directly into the cheesecake batter before baking for a fresh, fruity profile that adds natural sweetness and vibrant color.
Asheville-Buncombe Technical Community College Associate of Applied Science in Culinary Arts Focus: Comprehensive training in culinary techniques, kitchen management, and menu planning, with a special emphasis on grilling and outdoor cooking.
Dave Mitchell is the heart behind Daves Grill, a cook, writer, and lover of all things grilled. He studied Culinary Arts at Asheville-Buncombe Technical Community College and spent years cooking, testing, and sharing recipes that actually work.
Dave started Daves Grill to keep things simple: one great recipe at a time. His food is bold, easy to follow, and made for real people with regular kitchens. From juicy steaks to quick sides, Dave’s recipes bring the heat without the hassle.

Dave Mitchell
Founder & Chief Recipe Developer
Expertise
Education
Asheville-Buncombe Technical Community College
Associate of Applied Science in Culinary Arts
Focus: Comprehensive training in culinary techniques, kitchen management, and menu planning, with a special emphasis on grilling and outdoor cooking.
Dave Mitchell is the heart behind Daves Grill, a cook, writer, and lover of all things grilled. He studied Culinary Arts at Asheville-Buncombe Technical Community College and spent years cooking, testing, and sharing recipes that actually work.
Dave started Daves Grill to keep things simple: one great recipe at a time. His food is bold, easy to follow, and made for real people with regular kitchens. From juicy steaks to quick sides, Dave’s recipes bring the heat without the hassle.