
Dreamy Mini Peppermint Meringue Cookies Recipe for Holiday Joy
Sweet dreams dance with delicate peppermint meringue cookies that melt like sugary clouds on your tongue.
Crisp and airy, these delightful treats capture winter’s magical essence in each delicate bite.
Whispers of peppermint swirl through light-as-air confections that crunch gently between your teeth.
Kitchen magic happens when simple ingredients transform into something extraordinary and elegantly festive.
Delicate egg whites whipped into glossy peaks create a canvas for cool mint magic.
Baking these miniature miracles requires patience and a gentle touch that rewards you with ethereal confections.
You’ll fall in love with how effortlessly these cookies become the star of any dessert spread.
One taste will transport you to a winter wonderland of sweet, minty bliss.
What Makes Mini Peppermint Meringue Cookies a Holiday Favorite
Ingredient Checklist for Peppermint Meringue Cookies
Main Ingredients:
Egg Whites: The base of meringue, provides structure and lightness to the cookies.
Sugar: Sweetens and helps create glossy, stable meringue peaks.
Peppermint Extract: Adds refreshing mint flavor to the cookies.
Stabilizing Ingredients:
Cream of Tartar: Helps stabilize egg whites and create smoother, more consistent meringue.
Salt: Enhances overall flavor and helps control egg white protein structure.
Decorative Ingredients:
Crushed Peppermint Candy: Adds festive crunch and extra peppermint flavor to the surface of meringues.
Parchment Paper or Silicone Mat: Non-stick surface for easy baking and cookie removal.
Instructions for Making Peppermint Meringue Cookies
Step 1: Prepare Baking Surface
Line two baking sheets with parchment paper or silicone mats. Set aside clean workspace with all tools ready.
Step 2: Whip Egg Whites
Pour egg whites into a pristine mixing bowl. Beat on medium speed until soft and foamy. Add:Continue beating until soft peaks develop and mixture looks light and fluffy.
Step 3: Build Meringue Structure
Incrementally add sugar while beating on high speed. Mix until:Gently incorporate peppermint extract using folding technique.
Step 4: Create Delicate Shapes
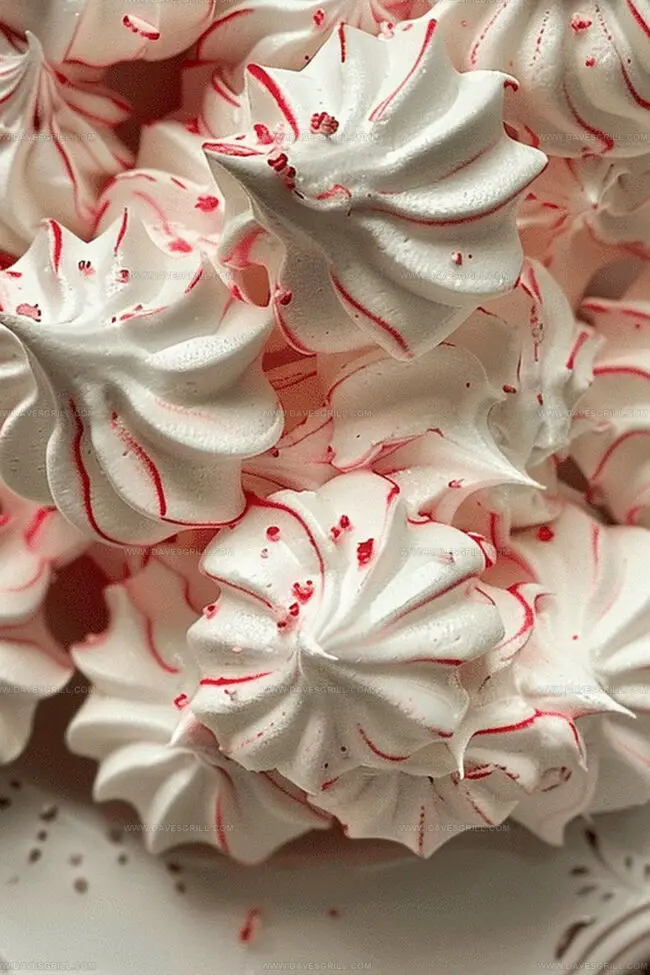
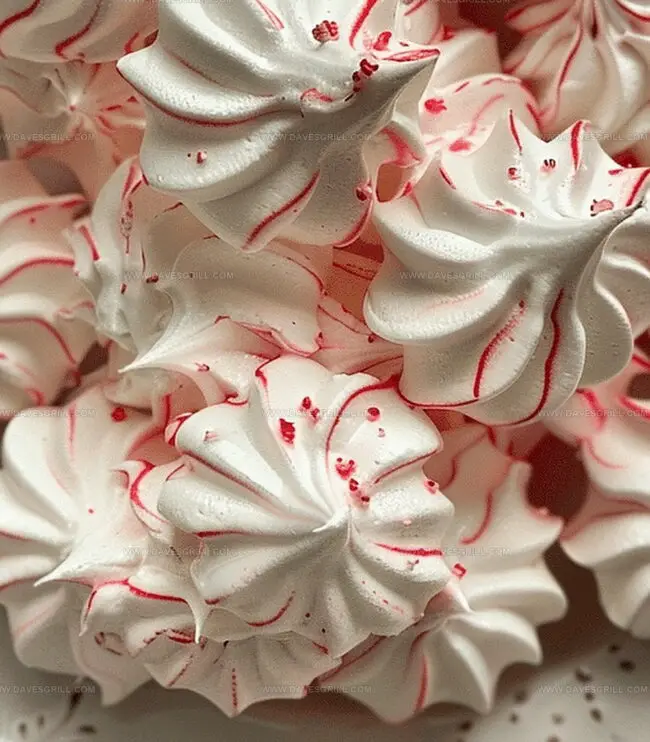
Fill piping bag with star tip. Craft small swirled dollops onto prepared baking sheets. Sprinkle each meringue with crushed peppermint candy.
Step 5: Slow Bake Process
Place baking sheets in oven preheated to 200°F. Bake for one hour. Turn off oven, keeping door closed, and allow cookies to dry for additional hour.
Step 6: Store Delightful Treats
Transfer completely cooled meringues to airtight container. Cookies will remain fresh at room temperature for two weeks.
Expert Tips for Perfect Peppermint Meringues
How to Store Mini Peppermint Meringue Cookies the Right Way
What Goes Well with Peppermint Meringue Cookies
Creative Peppermint Meringue Cookie Variations
Print
Mini Peppermint Meringue Cookies Recipe
- Total Time: 1 hour 15 minutes
- Yield: 24 1x
Description
These delightful mini peppermint meringue cookies melt in your mouth with festive holiday cheer. Crisp, light, and kissed with peppermint essence, they bring sweet magic to dessert tables and winter celebrations.
Ingredients
Main Ingredients:
- 3 egg whites, room temperature
- ⅔ cup (160 ml) granulated sugar
Flavoring Ingredients:
- ½ teaspoon (2.5 ml) peppermint extract
Stabilizing Ingredients:
- ¼ teaspoon (1.25 ml) cream of tartar
- 1/8 teaspoon (0.6 ml) salt
Garnish:
- Crushed peppermint candies
Instructions
- Sanitize equipment by ensuring mixing bowl and beaters are immaculately clean and free from any grease residue, which could hinder egg white volume.
- Separate egg whites into a pristine bowl, allowing them to reach room temperature for optimal volume and texture.
- Initiate whisking egg whites at medium velocity until frothy and translucent, creating a soft, airy foundation.
- Incorporate cream of tartar and salt to stabilize the meringue structure, continuing to whip until soft, pillowy peaks emerge.
- Gradually introduce granulated sugar, one tablespoon at a time, elevating mixer speed to maximum intensity to develop glossy, rigid peaks that maintain their distinctive shape.
- Delicately fold peppermint extract into the luminous meringue, ensuring even distribution without deflating the delicate foam.
- Carefully transfer the ethereal mixture into a piping bag equipped with an elegant star-shaped nozzle.
- Craft miniature, uniform meringue rosettes onto parchment-lined baking sheets, maintaining consistent size and spacing.
- Artfully dust each meringue with crushed peppermint confectionery for a festive, crunchy embellishment.
- Position trays in a low-temperature oven, allowing gentle dehydration for precisely one hour.
- Switch off oven, leaving meringues undisturbed to complete their drying process, creating crisp, melt-in-your-mouth morsels.
- Once thoroughly cooled, preserve these delicate treats in an hermetic container, maintaining their pristine texture for up to two weeks.
Notes
- Choose a grease-free bowl to prevent egg whites from deflating, ensuring perfect meringue texture and height.
- Use room temperature egg whites for better volume and stability when whipping.
- Add cream of tartar gradually to help stabilize the egg whites and create smoother, more consistent peaks.
- Avoid any moisture or oil contamination, which can prevent egg whites from forming stiff peaks.
- Pipe meringues uniformly for even baking and consistent size, using slow, steady pressure on the piping bag.
- Create gluten-free and dairy-free treats by ensuring all ingredients are pure and uncontaminated.
- Customize flavors by swapping peppermint extract with vanilla, almond, or other extracts for variety.
- Store in a cool, dry place to maintain crisp texture and prevent softening from humidity.
- Prep Time: 15 minutes
- Cook Time: 1 hour
- Category: Desserts, Snacks
- Method: Baking
- Cuisine: American
Nutrition
- Serving Size: 24
- Calories: 28
- Sugar: 6 g
- Sodium: 15 mg
- Fat: 0 g
- Saturated Fat: 0 g
- Unsaturated Fat: 0 g
- Trans Fat: 0 g
- Carbohydrates: 7 g
- Fiber: 0 g
- Protein: 1 g
- Cholesterol: 0 mg
Dave Mitchell
Founder & Chief Recipe Developer
Expertise
Education
Asheville-Buncombe Technical Community College
Associate of Applied Science in Culinary Arts
Focus: Comprehensive training in culinary techniques, kitchen management, and menu planning, with a special emphasis on grilling and outdoor cooking.
Dave Mitchell is the heart behind Daves Grill, a cook, writer, and lover of all things grilled. He studied Culinary Arts at Asheville-Buncombe Technical Community College and spent years cooking, testing, and sharing recipes that actually work.
Dave started Daves Grill to keep things simple: one great recipe at a time. His food is bold, easy to follow, and made for real people with regular kitchens. From juicy steaks to quick sides, Dave’s recipes bring the heat without the hassle.