
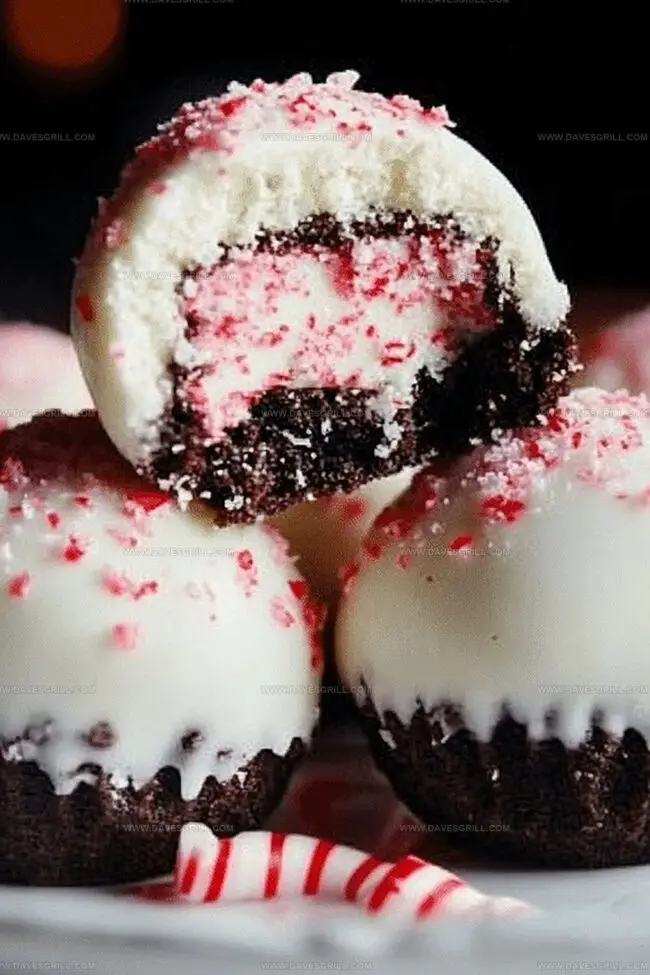
Festive No-Bake Peppermint Bark Snowballs Recipe for the Holidays
Crafting delightful no-bake peppermint bark snowballs brings festive magic right into your kitchen.
These sweet spheres capture winter’s whimsical spirit with minimal effort.
Crushed candy canes and chocolate chips create an irresistible blend of crunch and smoothness.
Rich cream cheese binds the ingredients, ensuring each bite melts perfectly on your tongue.
Cool peppermint notes dance through the creamy mixture, promising a refreshing treat.
Simple ingredients and zero oven time mean you can whip up these delectable morsels in minutes.
Imagine surprising guests with these elegant, frosty delights that look sophisticated yet taste wonderfully playful.
Why No-Bake Peppermint Bark Snowballs Are Holiday Must-Haves
Ingredients for No-Bake Peppermint Bark Snowballs
Base Ingredients:Binding Ingredient:Coating and Finishing Ingredients:Flavor Enhancers:How to Make Peppermint Bark Snowballs Without an Oven
Step 1: Crush Cookie Base
Grab a large mixing bowl and start crushing chocolate sandwich cookies into fine crumbs. Crunch those peppermint candies into tiny pieces alongside the cookies. This will create a delightful festive foundation for your snowballs.
Use a food processor or place cookies in a sealed plastic bag and crush with a rolling pin for even texture.
Step 2: Blend Creamy Mixture
Soften cream cheese at room temperature. Drop the cream cheese into the cookie-candy mixture. Mix thoroughly using a spatula or your hands until everything combines into a smooth, moldable dough. The mixture should hold together when pressed.
Step 3: Drizzle White Chocolate
Melt white chocolate using a double boiler or microwave in short bursts. Pour the silky white chocolate into the cookie mixture. Stir gently to create a uniform consistency that will help your snowballs stick together perfectly.
Step 4: Form Delightful Spheres
Using clean hands or a small cookie scoop, roll the mixture into bite-sized balls. Aim for uniform size, about one inch in diameter. Place each snowball on a parchment-lined baking sheet.
Step 5: Dust with Powdered Sugar
Roll each snowball in powdered sugar, creating a soft, snowy exterior. Make sure the entire surface is covered for that classic winter wonderland look.
Step 6: Chill and Set
Transfer the baking sheet to the refrigerator. Let the snowballs chill for at least one hour. This helps them firm up and enhances their flavor.
Step 7: Serve and Enjoy
Remove snowballs from the refrigerator. Arrange on a festive plate or store in an airtight container. These treats are perfect for holiday gatherings or a sweet personal indulgence.
Peppermint Bark Snowball Tips for Success
How to Store Your No-Bake Peppermint Bark Snowballs
Treats That Go Great with Peppermint Bark Snowballs
Peppermint Bark Snowball Variations to Try
Print
No-Bake Peppermint Bark Snowballs Recipe
- Total Time: 1 hour 20 minutes
- Yield: 12 1x
Description
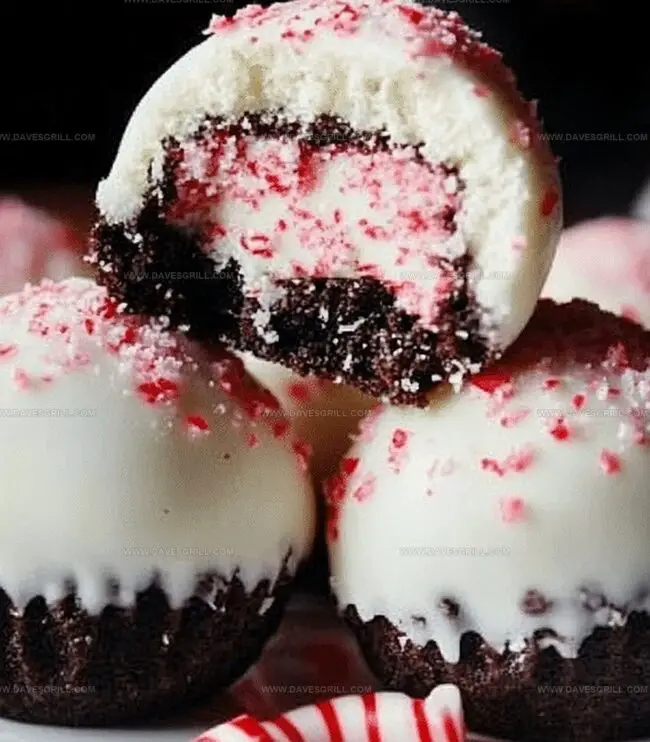
Festive no-bake peppermint bark snowballs bring winter magic to holiday dessert tables with creamy chocolate and cool mint flavors. Cool seasonal treats melt hearts and delight guests with their elegant simplicity and irresistible charm.
Ingredients
Primary Ingredients:
- 1 cup (240 ml) white chocolate chips, melted
- 1 cup (120 g) crushed chocolate sandwich cookies (such as Oreos)
- ¼ cup (60 g) cream cheese, softened
Flavor/Coating Ingredients:
- ½ cup (80 g) crushed peppermint candies or candy canes
- 1 cup (120 g) powdered sugar (for rolling)
Instructions
- Pulverize chocolate sandwich cookies and peppermint candies into fine crumbs within a spacious mixing vessel.
- Introduce softened cream cheese into the cookie-peppermint mixture, kneading thoroughly to create a cohesive, moldable texture.
- Drizzle molten white chocolate throughout the blend, stirring meticulously to ensure uniform distribution of ingredients.
- Craft compact spherical formations using gentle hand pressure or a miniature scoop, aiming for consistent one-inch diameter orbs.
- Delicately enrobe each snowball in a generous dusting of powdered sugar, rotating to achieve complete coverage.
- Arrange the sugar-coated confections onto a parchment-lined tray, then transfer to refrigeration for a minimum of 60 minutes to solidify structural integrity.
- Upon achieving desired firmness, present the chilled peppermint bark snowballs immediately or preserve within a sealed container in the refrigerator for future enjoyment.
Notes
- Swap cookies to accommodate dietary needs like gluten-free or vegan sandwich cookies for a personalized treat.
- Crush peppermint candies finely to ensure smooth texture and even distribution throughout the snowballs.
- Control sweetness by adjusting the amount of powdered sugar coating or using alternative sugar substitutes.
- Enhance flavor complexity by adding a tiny drop of peppermint extract for an extra minty kick in the mixture.
- Prep Time: 20 minutes
- Cook Time: 1 hour
- Category: Desserts, Snacks
- Method: Blending
- Cuisine: American
Nutrition
- Serving Size: 12
- Calories: 180
- Sugar: 20 g
- Sodium: 50 mg
- Fat: 8 g
- Saturated Fat: 5 g
- Unsaturated Fat: 3 g
- Trans Fat: 0 g
- Carbohydrates: 28 g
- Fiber: 1 g
- Protein: 2 g
- Cholesterol: 10 mg
Dave Mitchell
Founder & Chief Recipe Developer
Expertise
Education
Asheville-Buncombe Technical Community College
Associate of Applied Science in Culinary Arts
Focus: Comprehensive training in culinary techniques, kitchen management, and menu planning, with a special emphasis on grilling and outdoor cooking.
Dave Mitchell is the heart behind Daves Grill, a cook, writer, and lover of all things grilled. He studied Culinary Arts at Asheville-Buncombe Technical Community College and spent years cooking, testing, and sharing recipes that actually work.
Dave started Daves Grill to keep things simple: one great recipe at a time. His food is bold, easy to follow, and made for real people with regular kitchens. From juicy steaks to quick sides, Dave’s recipes bring the heat without the hassle.