Magical Christmas Oreo Balls Recipe for Holiday Joy
Sweet memories often start with unexpected chocolate truffles like these oreo balls that sparkle with festive cheer.
Little kitchen miracles can happen when you combine simple ingredients in creative ways.
Creamy, rich, and irresistibly decadent, these no-bake treats blend crushed cookies with smooth cream cheese.
Holiday gatherings deserve something special that looks impressive but takes minimal effort to create.
Kids and adults will swoon over these bite-sized delights that come together in minutes.
Chocolate coating gives these treats a professional finish that makes you look like a dessert expert.
Grab your mixing bowl and let magic happen with this crowd-pleasing recipe that promises to become a new seasonal tradition.
Why Oreo Balls for Christmas Are a No-Bake Hit
Everything You Need for Christmas Oreo Balls
Base Ingredients:Coating Ingredients:Optional Decorative Ingredients:How to Make and Dip Oreo Balls the Way
Step 1: Crush and Mix Oreo Base
Grab your food processor and transform those classic Oreo cookies into fine, delicate crumbs. Blend in softened cream cheese until the mixture looks perfectly smooth and creamy.
Work the ingredients together until they form a consistent, pliable mixture.
Step 2: Roll into Delightful Spheres
Using your hands, carefully scoop and roll the Oreo mixture into small, uniform balls. Gently place each truffle on a parchment-lined baking sheet, creating a delectable winter wonderland of treats.
Step 3: Chill and Firm
Pop the baking sheet into the refrigerator or freezer. Let the Oreo balls rest and solidify for about half an hour, ensuring they hold their shape perfectly.
Step 4: Create Chocolate Magic
Melt chocolate wafers in the microwave, stirring gently between 30-second intervals. Transform each chilled Oreo ball into a chocolate-coated masterpiece by dipping and coating them completely.
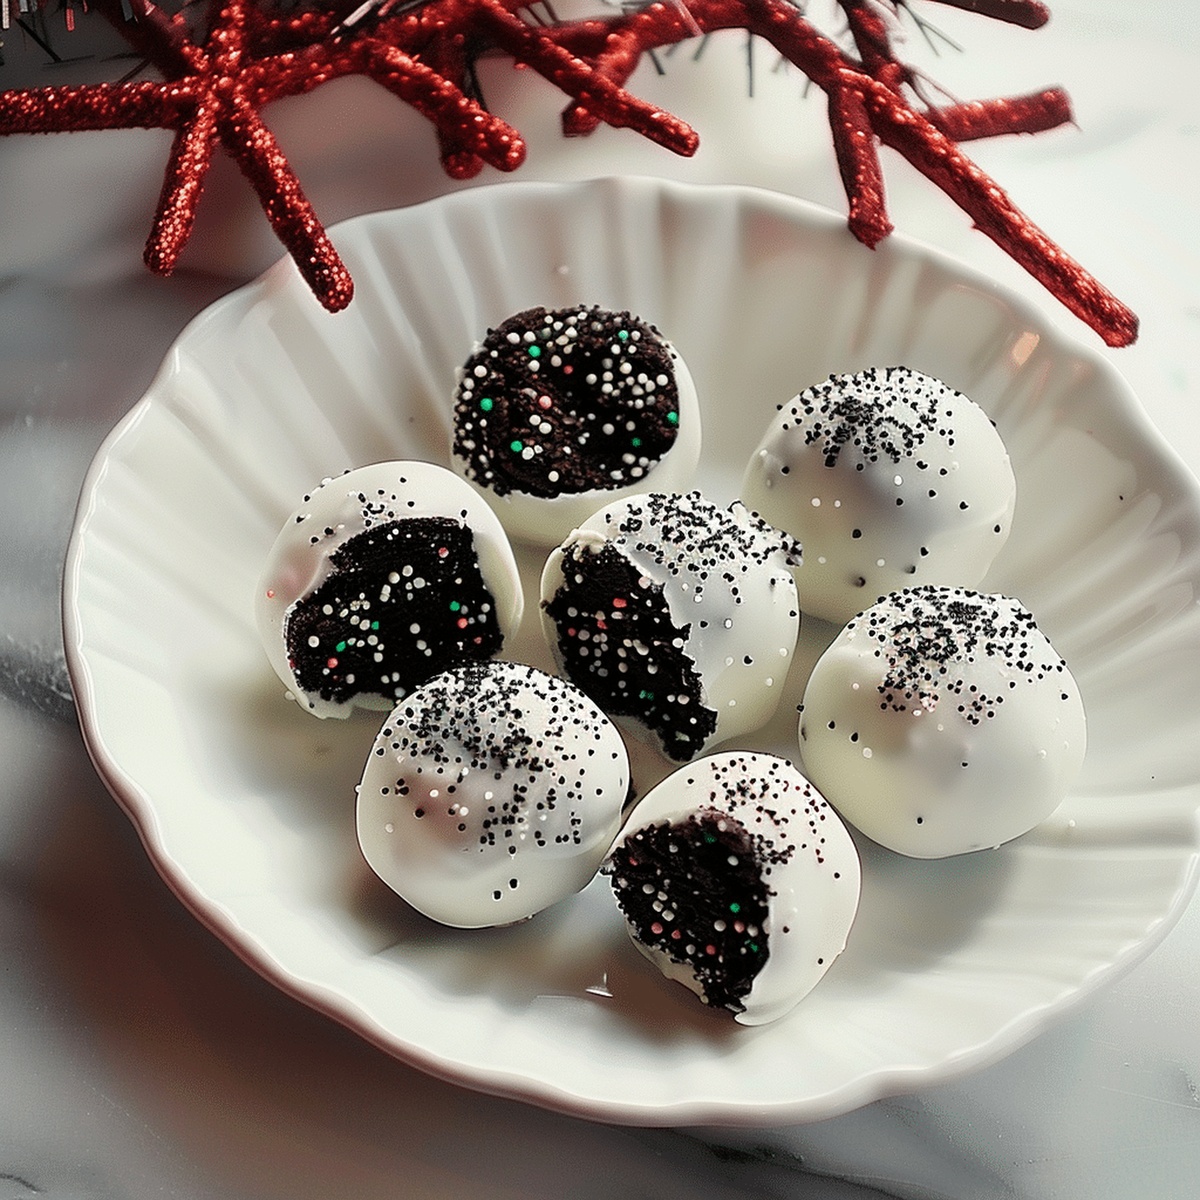
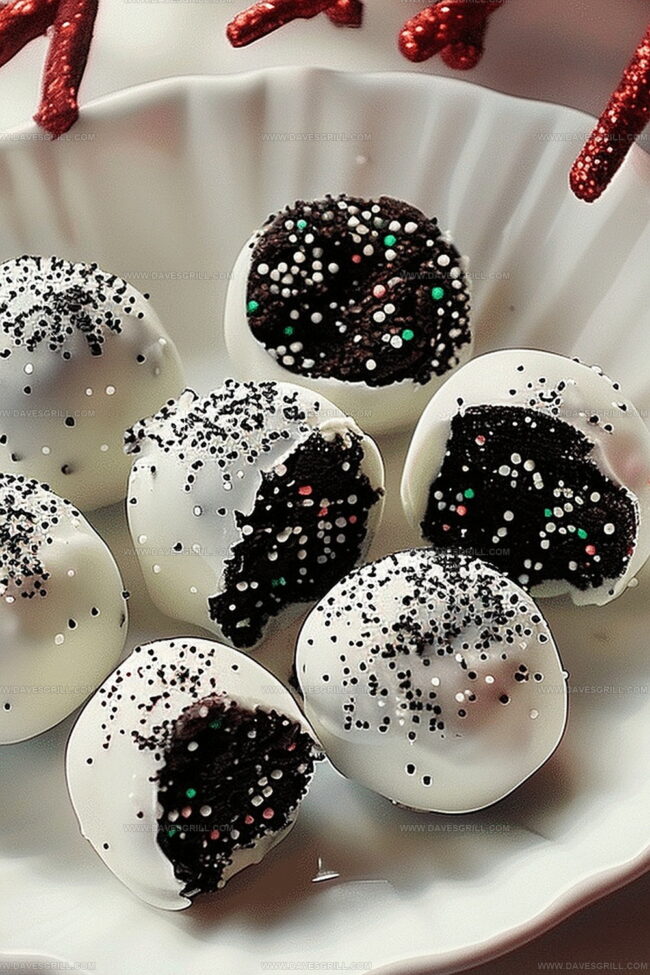
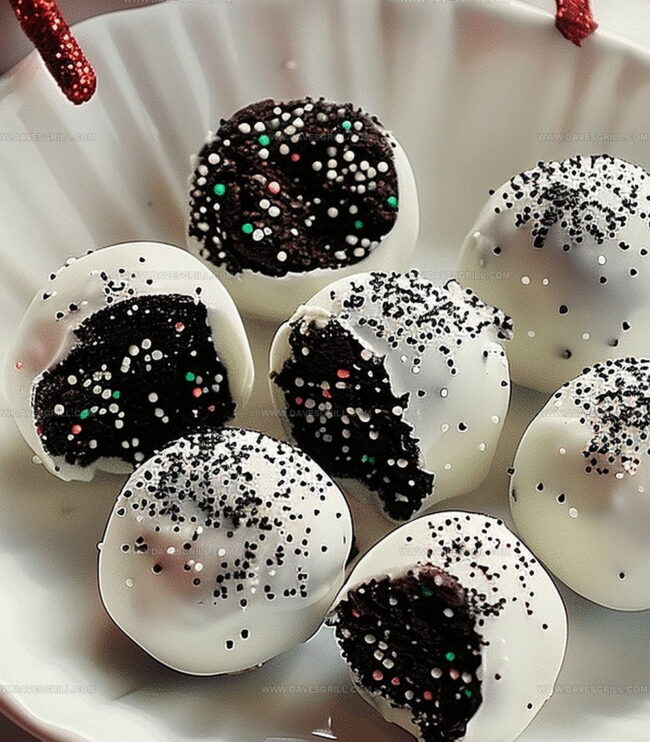
Step 5: Decorate with Holiday Cheer
Instantly add festive flair by sprinkling colorful decorations or drizzling candy melts. Watch as each truffle becomes a miniature work of art right before your eyes.
Step 6: Final Chill and Serve
Return the chocolate-covered truffles to the refrigerator for a final 10-15 minute chill. These delightful Christmas treats are now ready to dazzle your holiday guests!
Tips to Keep Oreo Balls from Cracking or Sweating
How to Store and Serve Christmas Oreo Balls
Festive Add-Ons That Pair with Oreo Balls
Oreo Ball Variations for the Holidays
Print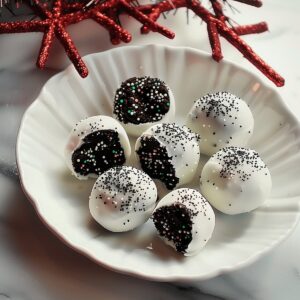
Oreo Balls For Christmas Recipe
- Total Time: 1 hour 15 minutes
- Yield: 36 1x
Description
Festive Oreo balls bring holiday cheer with their chocolatey goodness and delightful crunch. Cookies crumbled, mixed with cream cheese, and dipped in melted chocolate create an irresistible treat you’ll love sharing at Christmas gatherings.
Ingredients
Main Ingredients:
- 36 Oreo cookies, crushed into fine crumbs
- 8 ounces (226 grams) cream cheese, softened
Coating Ingredients:
- 10 ounces (283 grams) dark chocolate melting wafers
- 10 ounces (283 grams) white chocolate melting wafers (optional for variation)
Decoration Ingredients:
- Christmas sprinkles
- Red and green candy melts
Instructions
- Pulverize the Oreo cookies in a food processor until they transform into fine, uniform crumbs, creating a powdery texture that will serve as the base of the festive treat.
- Incorporate softened cream cheese into the Oreo crumbs, blending thoroughly until the mixture becomes a cohesive, smooth consistency that can be easily shaped.
- Carefully craft uniform spheres by scooping small portions of the mixture and rolling between palms, ensuring each ball maintains a consistent size and round shape.
- Transfer the freshly formed orbs onto a parchment-lined tray, arranging them with slight separation to prevent sticking during the chilling process.
- Place the tray in the refrigerator or freezer, allowing the balls to firm up and solidify for approximately 30 minutes, which will enhance their structural integrity.
- Gently melt chocolate wafers using short microwave intervals, stirring between each session to achieve a silky, smooth liquid chocolate coating.
- Delicately immerse each chilled orb into the melted chocolate, using a fork to ensure even coverage and allow excess chocolate to drip away, creating a sleek exterior.
- While the chocolate remains glossy and wet, embellish with festive sprinkles or create artistic drizzles using colored candy melts for a decorative finish.
- Return the adorned treats to the refrigerator for a final 10-15 minute chill, ensuring the chocolate sets completely and the orbs maintain their pristine appearance.
Notes
- Crush Oreos thoroughly to ensure a smooth, uniform texture without large cookie chunks for better binding and consistent flavor.
- Use room temperature cream cheese to easily blend with cookie crumbs, preventing lumpy or uneven mixture.
- Chill balls before coating in chocolate to help them maintain shape and prevent cracking during dipping process.
- Work quickly when coating in chocolate to prevent mixture from softening, which can make dipping challenging.
- Customize by using different chocolate varieties like white, dark, or milk chocolate for diverse flavor profiles.
- Experiment with holiday-themed sprinkles or crushed candy canes for festive Christmas presentation.
- Store in refrigerator for up to one week in an airtight container to maintain freshness and texture.
- Make gluten-free version by using gluten-free Oreo cookies or alternative chocolate sandwich cookies.
- Prep Time: 15 minutes
- Cook Time: 1 hour
- Category: Desserts, Snacks
- Method: Blending
- Cuisine: American
Nutrition
- Serving Size: 36
- Calories: 100
- Sugar: 10 g
- Sodium: 60 mg
- Fat: 6 g
- Saturated Fat: 4 g
- Unsaturated Fat: 2 g
- Trans Fat: 0 g
- Carbohydrates: 12 g
- Fiber: 1 g
- Protein: 1 g
- Cholesterol: 10 mg
Dave Mitchell
Founder & Chief Recipe Developer
Expertise
Education
Asheville-Buncombe Technical Community College
Associate of Applied Science in Culinary Arts
Focus: Comprehensive training in culinary techniques, kitchen management, and menu planning, with a special emphasis on grilling and outdoor cooking.
Dave Mitchell is the heart behind Daves Grill, a cook, writer, and lover of all things grilled. He studied Culinary Arts at Asheville-Buncombe Technical Community College and spent years cooking, testing, and sharing recipes that actually work.
Dave started Daves Grill to keep things simple: one great recipe at a time. His food is bold, easy to follow, and made for real people with regular kitchens. From juicy steaks to quick sides, Dave’s recipes bring the heat without the hassle.