Easy Oreo Cookie Pudding Cups Recipe: Sweet Joy in Every Bite
Sweet meets creamy in these irresistible oreo cookie pudding cups that promise pure indulgence.
Crushing cookies becomes an art form when you blend rich chocolate wafers into silky smooth pudding.
Each spoonful delivers a delightful crunch against velvety cream.
Chocolate lovers will swoon over the intense layers of flavor packed into these simple desserts.
The contrast between soft pudding and crisp cookie fragments creates a textural symphony.
Kids and adults will find themselves reaching for seconds of this playful treat.
This dessert guarantees smiles and satisfied taste buds with every delectable bite.
Why Oreo Cookie Pudding Cups Are Addictive
What Goes Into Oreo Cookie Pudding Cups
Cookie Base:Pudding Layer:Cream Cheese Mixture:Garnish:Instructions for Oreo Cheesecake Cup Perfection
Step 1: Crush Oreo Cookies
Grab a bag of Oreo cookies and transform them into delightful crumbs. You can use a food processor for quick work or place the cookies in a sealed plastic bag and crush them with a rolling pin. Crush until they become fine, delectable crumbs.
Step 2: Whip Up Chocolate Pudding
In a mixing bowl, combine chocolate pudding mix with cold milk. Whisk energetically until the mixture thickens and becomes smooth. Let the pudding sit and set while you prepare other components.
Step 3: Create Creamy Cheese Layer
In another bowl, blend softened cream cheese with powdered sugar until silky and uniform. Gently fold in whipped topping, creating a luxurious and fluffy mixture that will make your taste buds dance.
Step 4: Build Delicious Layers
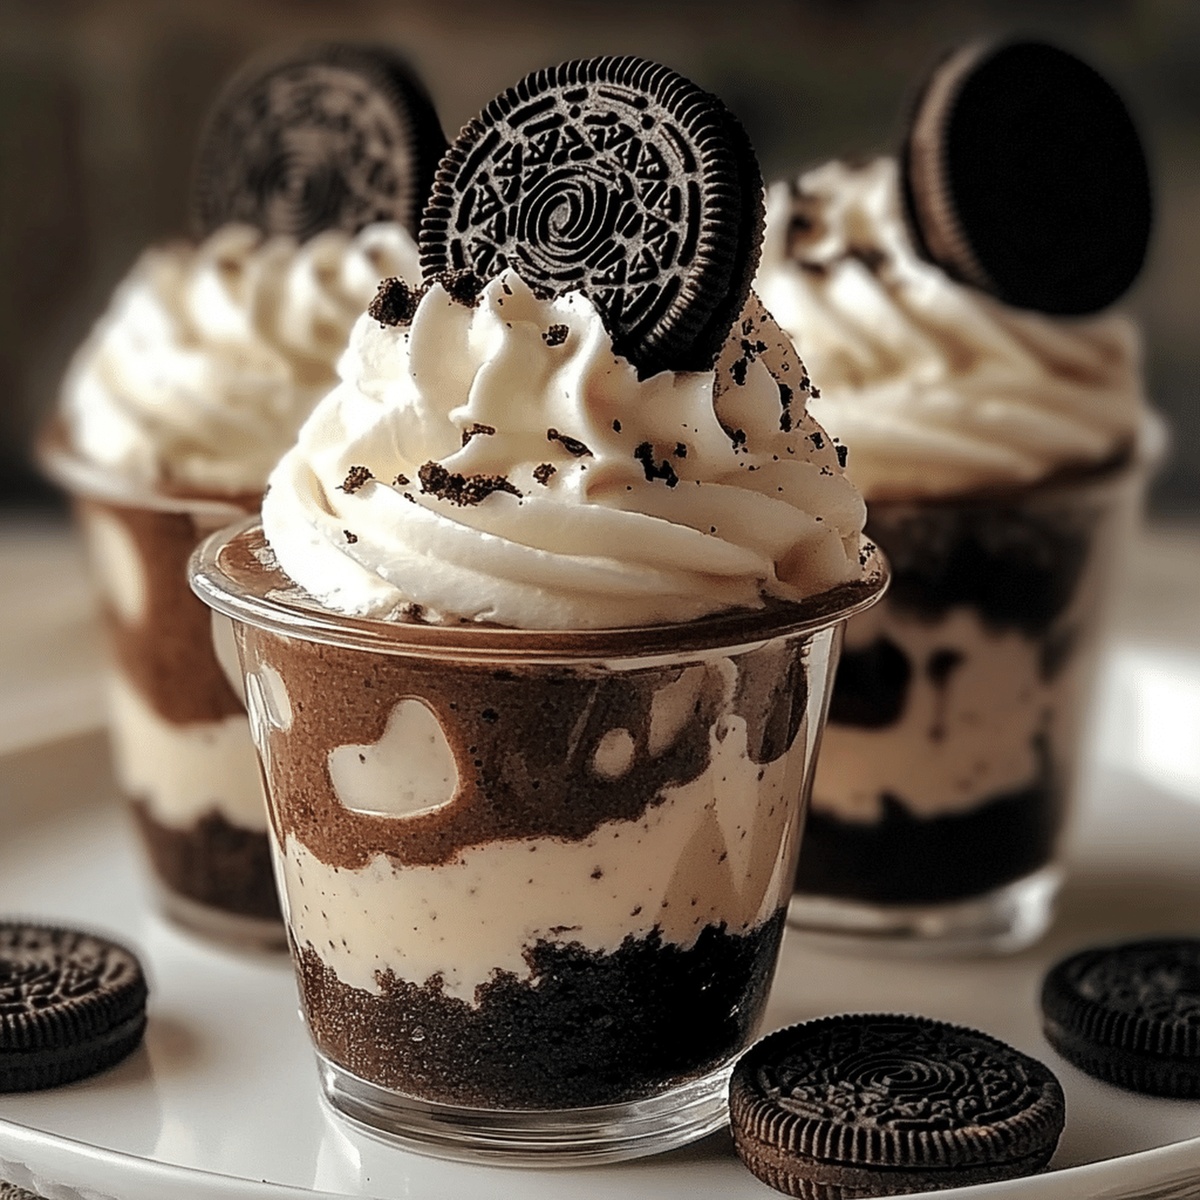
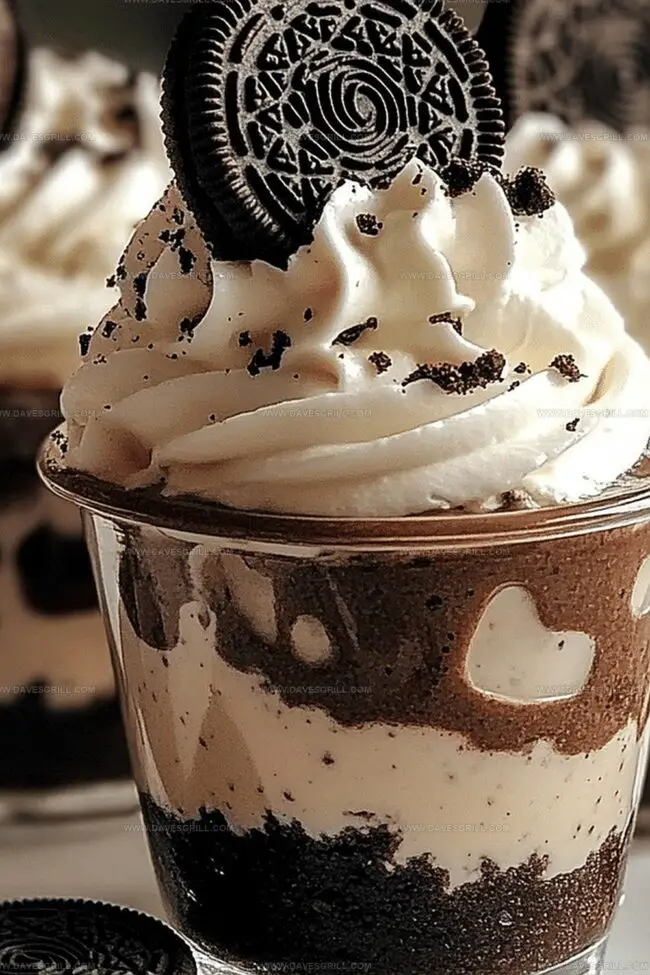
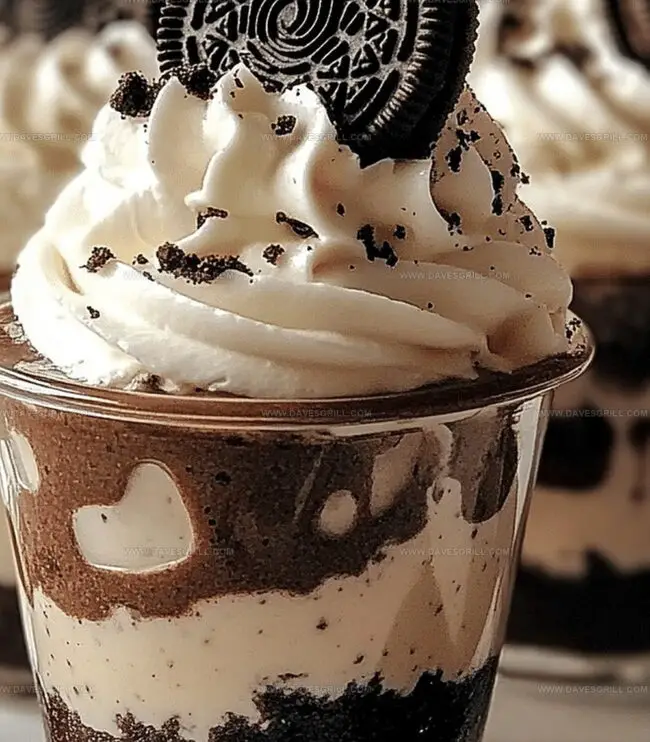
Select clear serving glasses or cups for your dessert masterpiece. Begin the layering magic:Step 5: Decorate with Flair
Top each pudding cup with:Step 6: Chill and Enjoy
Refrigerate the pudding cups for at least one hour. This allows flavors to mingle and create a heavenly dessert experience. Serve cold and watch everyone’s eyes light up!
Pro Tips for Cookies and Cream Lovers
How to Chill and Keep Oreo Cups Just Right
What to Pair With These Oreo Pudding Cups
Creative Twists on Classic Oreo Cups
Gluten-Free Oreo Delight: Replace traditional Oreos with gluten-free chocolate sandwich cookies, using gluten-free pudding mix and ensuring all ingredients are certified gluten-free for those with wheat sensitivities.
Low-Sugar Chocolate Dream: Swap regular Oreos for sugar-free chocolate sandwich cookies, use sugar-free pudding mix, and replace powdered sugar with a stevia-based sweetener to reduce overall sugar content.
Vegan Cookie Parfait: Utilize dairy-free Oreo alternatives, coconut milk-based pudding, cashew cream cheese substitute, and coconut whipped topping to create a completely plant-based version of the dessert.
Keto-Friendly Cookie Cups: Create a low-carb version using almond flour-based chocolate cookies, sugar-free instant pudding, mascarpone cheese instead of cream cheese, and a keto-friendly whipped topping to maintain the dessert’s rich flavor profile while reducing carbohydrates.
Print
Oreo Cookie Pudding Cups Recipe
- Total Time: 1 hour 15 minutes
- Yield: 6 1x
Description
Creamy Oreo cookie pudding cups blend classic chocolate cookies with silky smooth pudding for an irresistible dessert. Chocolate lovers will savor each spoonful of this simple yet indulgent treat that promises pure delight.
Ingredients
Main Ingredients:
- 20 Oreo cookies
- 1 box (3.9 ounces / 110 grams) instant chocolate pudding mix
- 2 cups (480 milliliters) cold milk
Dairy Components:
- 4 ounces (113 grams) cream cheese, softened
- 1 cup (240 milliliters) whipped topping (such as Cool Whip)
- ½ cup (60 grams) powdered sugar
Garnish and Optional Toppings:
- Extra Oreo cookies for garnish
- Optional toppings: mini Oreos, chocolate shavings, or crushed Oreos
Instructions
- Transform crisp Oreo cookies into fine, sandy crumbs using a food processor or by placing them in a sealed bag and crushing with a rolling pin.
- Create a luscious chocolate pudding by vigorously whisking the pudding mix with cold milk until the mixture thickens and achieves a smooth, creamy consistency.
- Craft a velvety cream cheese foundation by beating softened cream cheese with powdered sugar until perfectly blended, then gently incorporate whipped topping for an airy texture.
- Construct delectable layers in clear serving glasses by first sprinkling a generous base of Oreo crumbs to provide a crunchy foundation.
- Carefully spread the cream cheese mixture over the cookie crumbs, ensuring an even and luxurious layer that covers the entire surface.
- Pour the rich chocolate pudding atop the cream cheese layer, creating a decadent contrast of textures and flavors.
- Repeat the layering process with additional Oreo crumbs, cream cheese mixture, and chocolate pudding if the serving vessel allows, creating a visually appealing dessert.
- Crown each pudding cup with a generous swirl of whipped topping, then artfully garnish with additional crushed Oreos or place a whole mini Oreo as a playful finishing touch.
- Refrigerate the assembled desserts for a minimum of one hour, allowing the flavors to meld and the layers to set, resulting in a perfectly chilled and indulgent treat.
Notes
- Crush Oreos thoroughly to create a fine, even texture that blends seamlessly with the creamy layers.
- Use a food processor for more consistent crumbs, which will provide a better base and texture for the pudding cups.
- Ensure cream cheese is fully softened at room temperature to prevent lumps and create a smooth, silky mixture.
- Experiment with different Oreo flavors like mint, peanut butter, or birthday cake to add unique twists to the dessert.
- For a lighter version, substitute full-fat cream cheese with low-fat or Greek yogurt and use sugar-free pudding mix.
- Make these pudding cups ahead of time and store in the refrigerator for up to 3 days, keeping the layers separate until serving.
- Create individual servings in clear glasses to showcase the beautiful layered presentation and tempt dessert lovers.
- Prep Time: 15 minutes
- Cook Time: 1 hour
- Category: Desserts, Snacks
- Method: Blending
- Cuisine: American
Nutrition
- Serving Size: 6
- Calories: 320
- Sugar: 22 g
- Sodium: 300 mg
- Fat: 15 g
- Saturated Fat: 7 g
- Unsaturated Fat: 6 g
- Trans Fat: 0 g
- Carbohydrates: 42 g
- Fiber: 1 g
- Protein: 4 g
- Cholesterol: 30 mg
Dave Mitchell
Founder & Chief Recipe Developer
Expertise
Education
Asheville-Buncombe Technical Community College
Associate of Applied Science in Culinary Arts
Focus: Comprehensive training in culinary techniques, kitchen management, and menu planning, with a special emphasis on grilling and outdoor cooking.
Dave Mitchell is the heart behind Daves Grill, a cook, writer, and lover of all things grilled. He studied Culinary Arts at Asheville-Buncombe Technical Community College and spent years cooking, testing, and sharing recipes that actually work.
Dave started Daves Grill to keep things simple: one great recipe at a time. His food is bold, easy to follow, and made for real people with regular kitchens. From juicy steaks to quick sides, Dave’s recipes bring the heat without the hassle.