Perfect Peanut Butter and Jelly Cookies Recipe for Sweet Joy
My childhood memories burst with the delightful peanut butter and jelly cookies that always brought pure comfort.
These nostalgic treats connect generations through simple, sweet ingredients.
Soft, pillowy cookies blend familiar flavors into one irresistible bite.
Classic sandwich memories emerge in each delectable morsel.
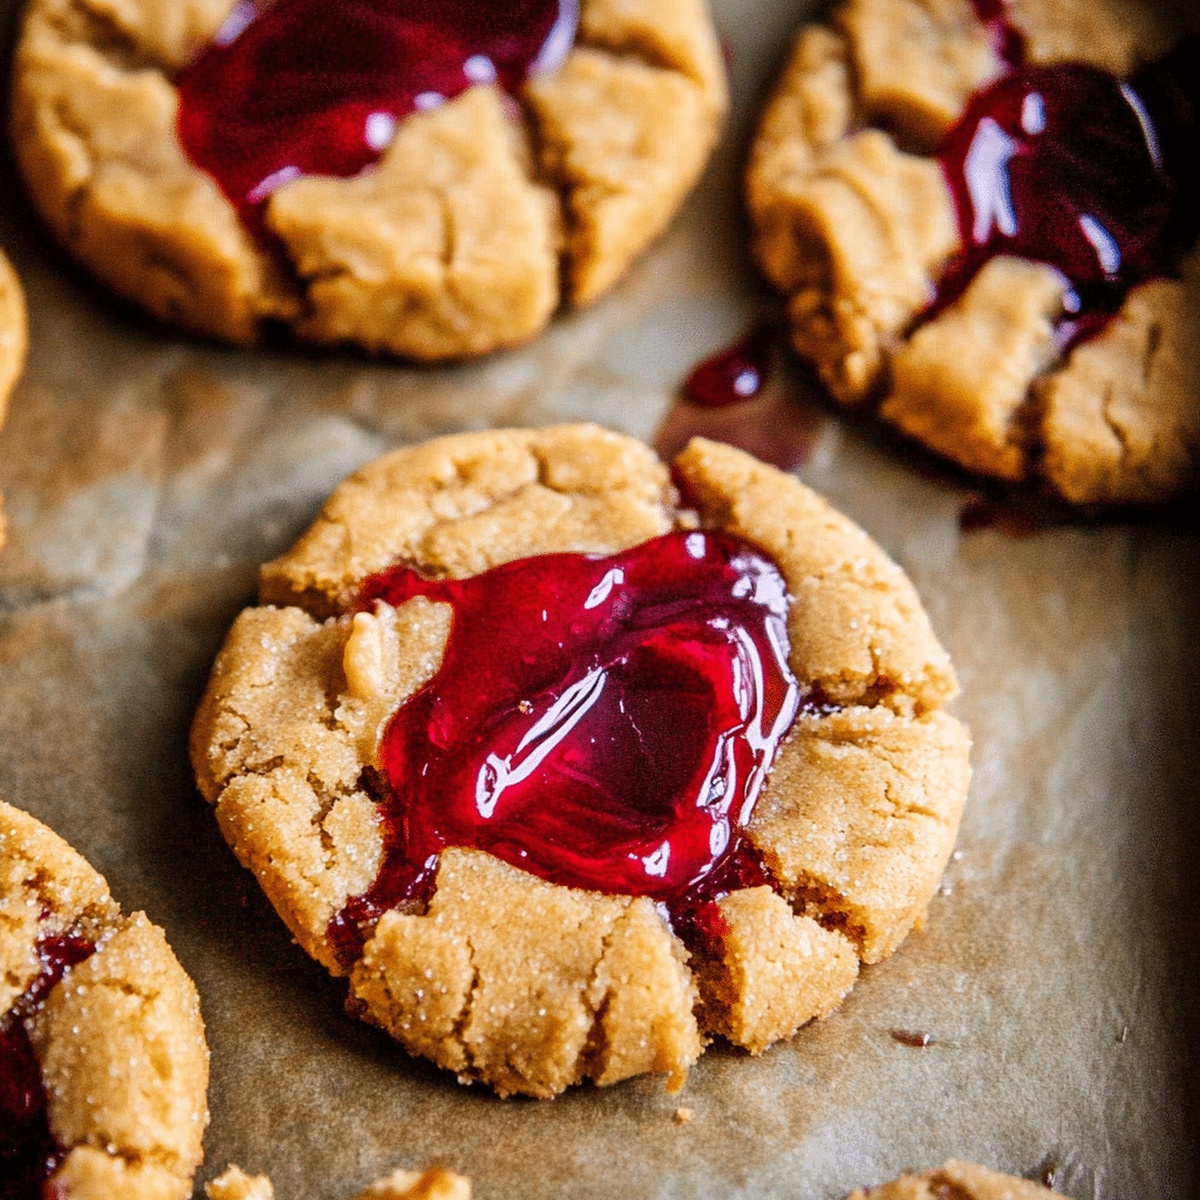
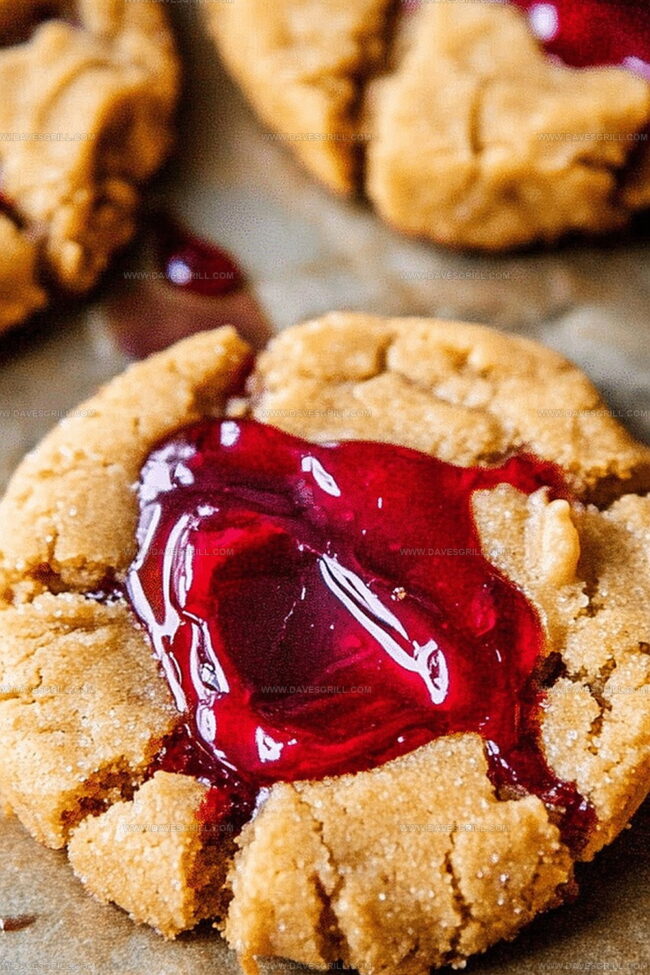
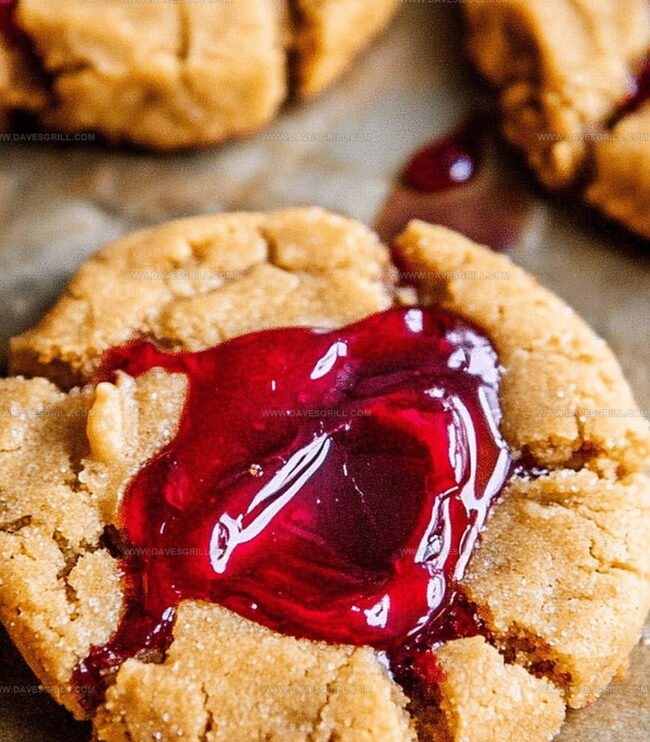
Sweet jam swirls create beautiful patterns across golden brown surfaces.
Baking these cookies feels like wrapping yourself in a warm, affectionate hug.
You’ll find this recipe transforms an everyday snack into something magical.
Dive into baking and create memories that last.
Why Peanut Butter and Jelly Cookies Are Nostalgic
All the Essentials for PB&J Cookies
Base Ingredients:Binding and Flavoring Ingredients:Dry Ingredients:Filling Ingredient:How to Make Peanut Butter and Jelly Cookies Easily
Step 1: Warm Up the Oven
Set your oven to 350F (175C). Cover a baking sheet with parchment paper or spray with cooking oil.
Step 2: Create Creamy Cookie Base
Grab a mixing bowl and blend:Whip these ingredients with a mixer until they become smooth and silky.
Step 3: Introduce Moisture and Flavor
Drop in an egg and vanilla extract. Mix thoroughly until everything looks uniform.
Step 4: Combine Dry Components
In another bowl, mix together:Slowly fold dry ingredients into wet mixture until a soft dough forms.
Step 5: Shape Delightful Cookies
Scoop out dough and roll into small balls. Place on prepared baking sheet. Press down gently with fork tines to create classic crosshatch design. Make a small indent in center of each cookie.
Step 6: Splash of Sweet Surprise
Dollop your favorite jelly into cookie centers. Grape, strawberry, and raspberry work wonderfully.
Step 7: Bake to Golden Perfection
Slide cookies into oven. Bake for 10-12 minutes until edges turn golden brown.
Step 8: Cool and Devour
Let cookies rest on baking sheet briefly. Transfer to wire rack. Enjoy with cold milk or as a quick treat!
Tips That Make PB&J Cookies Even Better
Storing and Reheating Peanut Butter and Jelly Cookies
Great Pairings for Peanut Butter and Jelly Cookies
Unique Variations of PB&J Cookies
Print
Peanut Butter And Jelly Cookies Recipe
- Total Time: 27 minutes
- Yield: 12 1x
Description
Nostalgic childhood memories swirl through classic Peanut Butter and Jelly Cookies, blending sweet nostalgia with comforting flavors. Homemade treats promise delightful moments of pure cookie happiness for friends and family gathering around the table.
Ingredients
Peanut Butter:
- ½ cup creamy peanut butter
Sugars:
- ½ cup granulated sugar
- ½ cup packed light brown sugar
Main Ingredients:
- 1 large egg
- ½ cup unsalted butter, softened
- 1 ¼ cups all-purpose flour
Binding and Flavor Agents:
- 1 teaspoon vanilla extract
- ½ teaspoon baking soda
- ¼ teaspoon salt
Filling:
- ⅓ cup jam or jelly (strawberry, grape, or your favorite flavor)
Instructions
- Warm the oven to 350F (175C) and prepare a baking sheet with parchment paper or a light grease coating to prevent cookie adhesion.
- Whip peanut butter, softened butter, granulated sugar, and brown sugar in a large mixing bowl until the mixture transforms into a silky, uniform texture using an electric mixer.
- Incorporate the egg and vanilla extract, blending thoroughly until the ingredients merge seamlessly.
- Sift flour, baking soda, and salt into a separate container, then gradually fold these dry components into the creamy mixture until a cohesive dough forms.
- Craft uniform cookie portions by scooping and rolling the dough into spherical shapes. Arrange them on the prepared baking sheet, gently pressing each with a fork to create signature crisscross textures and craft a central well using your thumb.
- Delicately fill each cookie’s indentation with a dollop of jelly, selecting from vibrant options like grape, strawberry, or raspberry to enhance the flavor profile.
- Slide the tray into the preheated oven and bake for 10-12 minutes, watching for edges to turn a golden-brown hue. Remember that cookies will continue firming as they cool, so avoid excessive baking.
- Allow cookies to rest momentarily on the baking sheet before transferring to a cooling rack. Once completely cooled, these delectable treats are ready to be savored with a refreshing milk accompaniment.
Notes
- Experiment with different nut butters like almond or cashew for unique flavor profiles.
- Swap traditional jelly with fruit preserves or homemade compotes for a gourmet twist.
- Reduce sugar content by using natural sweeteners like honey or maple syrup for a healthier version.
- Ensure all ingredients are at room temperature for smoother, more consistent cookie dough.
- Prep Time: 15 minutes
- Cook Time: 10-12 minutes
- Category: Desserts, Snacks
- Method: Baking
- Cuisine: American
Nutrition
- Serving Size: 12
- Calories: 190
- Sugar: 10 g
- Sodium: 90 mg
- Fat: 9 g
- Saturated Fat: 3 g
- Unsaturated Fat: 5 g
- Trans Fat: 0 g
- Carbohydrates: 26 g
- Fiber: 1 g
- Protein: 4 g
- Cholesterol: 15 mg
Dave Mitchell
Founder & Chief Recipe Developer
Expertise
Education
Asheville-Buncombe Technical Community College
Associate of Applied Science in Culinary Arts
Focus: Comprehensive training in culinary techniques, kitchen management, and menu planning, with a special emphasis on grilling and outdoor cooking.
Dave Mitchell is the heart behind Daves Grill, a cook, writer, and lover of all things grilled. He studied Culinary Arts at Asheville-Buncombe Technical Community College and spent years cooking, testing, and sharing recipes that actually work.
Dave started Daves Grill to keep things simple: one great recipe at a time. His food is bold, easy to follow, and made for real people with regular kitchens. From juicy steaks to quick sides, Dave’s recipes bring the heat without the hassle.