
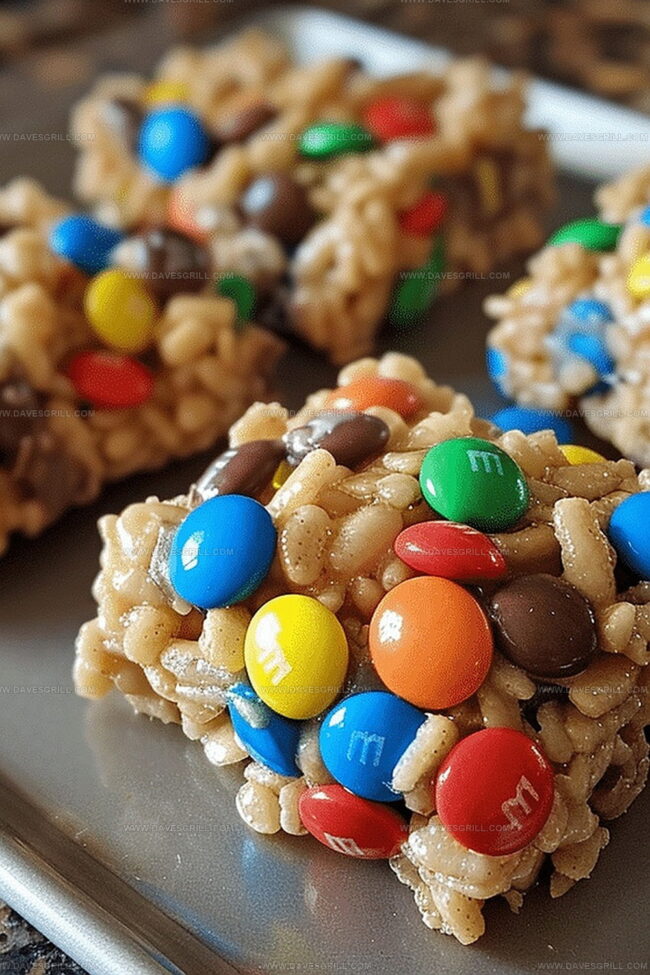
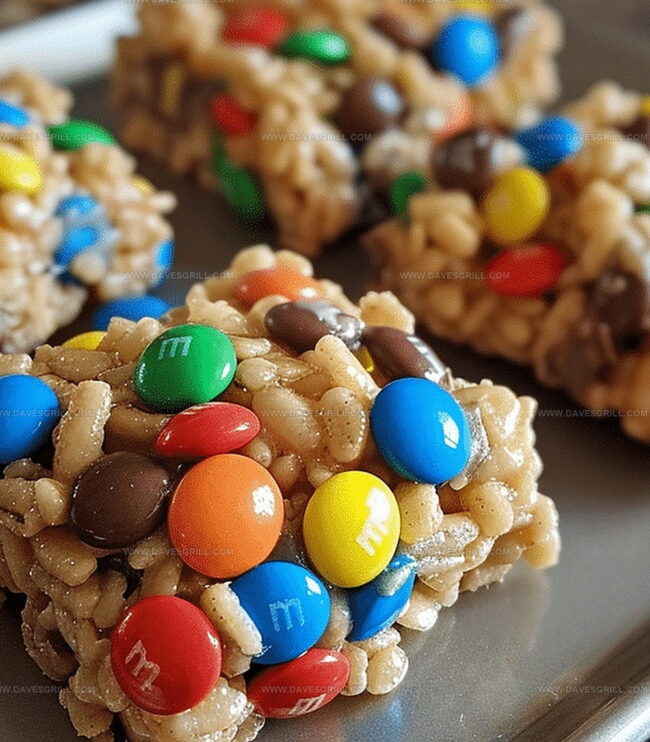
Irresistible Peanut Butter Rice Krispie Treats with M&Ms Recipe
Hey there, these peanut butter rice krispie treats spark serious childhood nostalgia!
Sweet memories rush back with every colorful m&m-studded bite.
Crunchy cereal meets smooth, creamy peanut butter in a divine combination.
Simple ingredients dance together to create magic in your kitchen.
Each square promises a perfect balance of texture and flavor.
Melted marshmallows bind everything into delightful, chewy squares that pop with chocolate candy color.
Why Peanut Butter Rice Krispie Treats with M&Ms Are a Crowd Favorite
Ingredients for Colorful Peanut Butter Krispie Treats
Cereal Base:Sweet Binding Ingredients:Decoration and Flavor Enhancers:How to Make Peanut Butter Rice Krispies with M&Ms
Step 1: Grease The Baking Dish
Use cooking spray or butter to coat a 9×13-inch pan completely, ensuring smooth removal of treats later.
Step 2: Create Creamy Peanut Butter Base
In a large saucepan over medium heat, combine:Stir constantly until mixture becomes smooth and fully blended, approximately 2-3 minutes.
Step 3: Incorporate Marshmallow Magic
Add mini marshmallows to the peanut butter mixture. Stir continuously until marshmallows melt completely and create a silky texture, about 3-5 minutes. Optional: Sprinkle salt or splash vanilla for enhanced flavor.
Step 4: Fold In Crispy Goodness
Remove saucepan from heat. Quickly mix Rice Krispies cereal into marshmallow blend, ensuring even coating of every single crisp.
Step 5: Add Colorful Candy Crunch
Gently fold half of the M&Ms into the mixture. Be delicate to prevent candy from melting.
Step 6: Press Into Perfect Shape
Transfer mixture to prepared pan. Use spatula or wax paper to firmly press treats, creating compact and uniform surface.
Step 7: Decorate With Candy Topping
Sprinkle remaining M&Ms across the top for vibrant appearance.
Step 8: Allow Treats To Set
Let treats cool at room temperature for 1-2 hours. For faster results, place in refrigerator.
Step 9: Slice And Enjoy
Cut treats into squares or rectangles. Serve and savor delightful creation!
Tips for the Chewiest Peanut Butter Cereal Bars
Keeping Rice Krispie Treats Fresh Longer
What Goes Well with M&M Peanut Butter Krispies
Twists to Make Peanut Butter Rice Krispies Extra Fun
Print
Peanut Butter Rice Krispie Treats With M&Ms Recipe
- Total Time: 20 minutes
- Yield: 12 1x
Description
Sweet memories collide with classic Peanut Butter Rice Krispie Treats studded with colorful M&Ms. Gooey marshmallow magic binds crispy cereal and rich peanut butter, creating nostalgic comfort you can’t resist.
Ingredients
Primary Ingredients:
- 6 cups Rice Krispies cereal
- ¾ cup (177 ml) creamy peanut butter
- 1 bag (10 ounces / 283 grams) mini marshmallows
Binding/Flavoring Ingredients:
- 3 tablespoons (45 ml) unsalted butter
- ½ teaspoon (2.5 ml) vanilla extract
Topping:
- 1 cup (170 grams) M&Ms (freeze for 30 minutes to prevent melting)
Instructions
- Coat a 9×13-inch pan thoroughly with non-stick spray to ensure effortless treat removal.
- Combine butter and peanut butter in a large saucepan over medium heat, whisking continuously until the mixture transforms into a silky, uniform consistency.
- Introduce mini marshmallows to the melted mixture, stirring persistently until they dissolve completely and create a glossy, smooth texture.
- Immediately remove from heat and rapidly fold Rice Krispies cereal into the marshmallow blend, ensuring every crisp morsel gets thoroughly coated.
- Carefully incorporate half of the M&Ms into the mixture, gently folding to distribute color and prevent candy melting.
- Transfer the sticky concoction into the prepared pan, using a spatula or wax paper to firmly compress the mixture, creating an even layer with compact edges.
- Artfully scatter remaining M&Ms across the surface, creating a vibrant and decorative topping.
- Allow treats to stabilize at room temperature for approximately 1-2 hours, or expedite the process by chilling in the refrigerator.
- Once set, slice into uniform squares or rectangles, revealing the colorful, crunchy interior.
Notes
- Choose a sturdy, non-stick pan to prevent sticking and ensure easy cleanup during the melting process.
- Work quickly when mixing Rice Krispies to maintain the perfect texture and prevent the mixture from becoming too dense or hard.
- Adjust marshmallow quantity for softer or firmer treats depending on personal preference and desired consistency.
- Use room temperature ingredients to help ingredients blend smoothly and prevent uneven melting.
- Store treats in an airtight container at room temperature for maximum freshness, keeping them soft and chewy for 2-3 days.
- Experiment with different chocolate candies like Reese’s Pieces or chopped peanut butter cups for unique flavor variations.
- For gluten-free option, use gluten-free Rice Krispies or similar crispy rice cereal to make the recipe celiac-friendly.
- Create a healthier version by using natural peanut butter and reducing marshmallow quantity for less sugar content.
- Prep Time: 10 minutes
- Cook Time: 10 minutes
- Category: Snacks, Desserts
- Method: None
- Cuisine: American
Nutrition
- Serving Size: 12
- Calories: 150
- Sugar: 10 g
- Sodium: 80 mg
- Fat: 7 g
- Saturated Fat: 3.5 g
- Unsaturated Fat: 3.5 g
- Trans Fat: 0 g
- Carbohydrates: 20 g
- Fiber: 1 g
- Protein: 2 g
- Cholesterol: 10 mg
Dave Mitchell
Founder & Chief Recipe Developer
Expertise
Education
Asheville-Buncombe Technical Community College
Associate of Applied Science in Culinary Arts
Focus: Comprehensive training in culinary techniques, kitchen management, and menu planning, with a special emphasis on grilling and outdoor cooking.
Dave Mitchell is the heart behind Daves Grill, a cook, writer, and lover of all things grilled. He studied Culinary Arts at Asheville-Buncombe Technical Community College and spent years cooking, testing, and sharing recipes that actually work.
Dave started Daves Grill to keep things simple: one great recipe at a time. His food is bold, easy to follow, and made for real people with regular kitchens. From juicy steaks to quick sides, Dave’s recipes bring the heat without the hassle.