Cozy Peppermint Fudge Recipe: Sweet Holiday Magic in Minutes
Sweet winter memories dance through this creamy peppermint fudge that melts like childhood dreams.
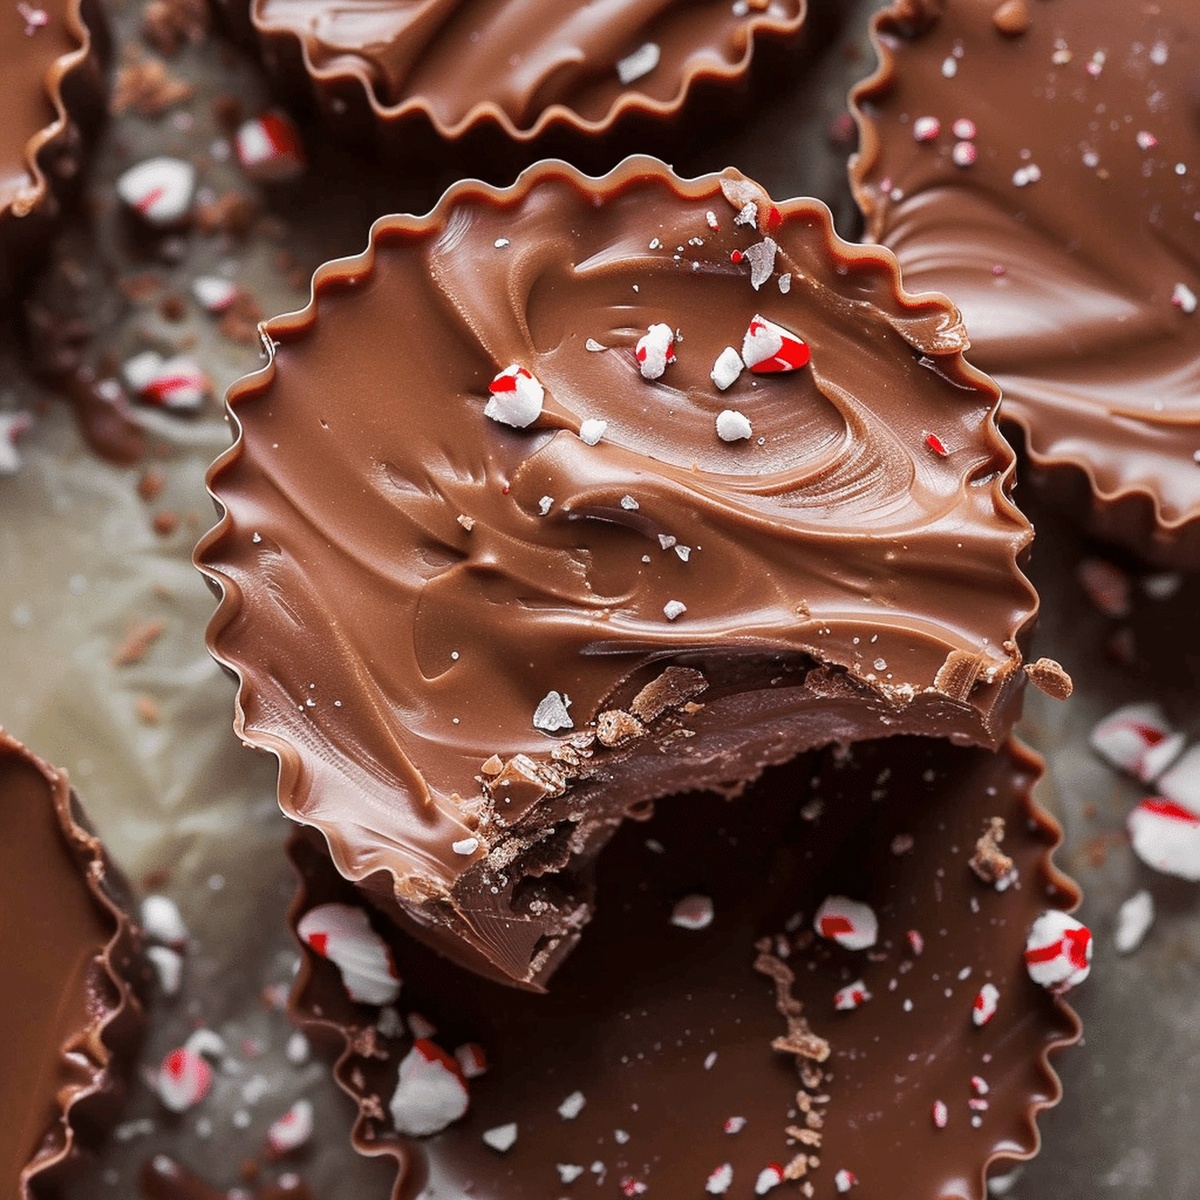
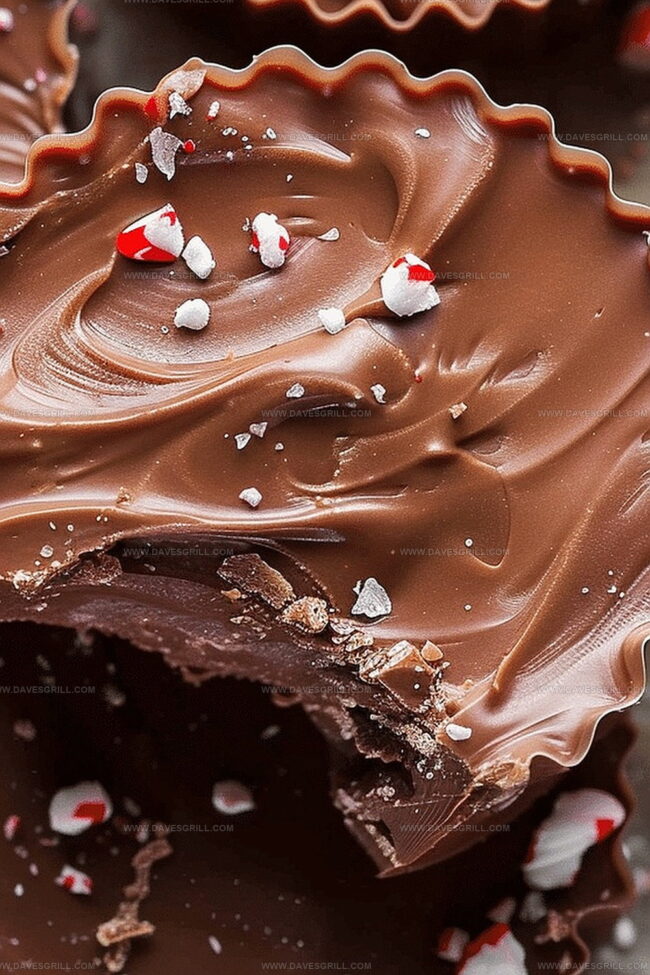
Chocolate and mint create magic in every single bite.
Cold nights feel warmer with this delectable treat waiting on your kitchen counter.
Holiday gatherings sparkle when you present this rich, smooth confection alongside coffee or tea.
Layers of deep chocolate swirl with cool peppermint essence, promising pure indulgence.
Crafting this dessert becomes a delightful moment of culinary creativity that connects generations.
Whip up this simple recipe and watch smiles spread across expectant faces.
Why Peppermint Fudge Is a Holiday Staple
What You’ll Need for Peppermint Fudge
Chocolate Base:White Chocolate Layer:Garnish and Texture:Simple Steps to Make Peppermint Fudge
Step 1: Prepare Baking Canvas
Line an 8-inch square baking dish with parchment paper, allowing extra paper hanging over the edges for easy lifting later.
Step 2: Craft Chocolate Foundation
In a microwave-safe bowl, combine:Microwave at half power, stirring every 30 seconds until chocolate melts completely and mixture becomes glossy. Add vanilla and half the peppermint extract. Pour into prepared pan, creating a smooth chocolate base. Refrigerate while preparing next layer.
Step 3: Create White Chocolate Topping
In another bowl, mix:Microwave at half power, stirring every 15-20 seconds until silky smooth. Fold in remaining peppermint extract and half the crushed candy canes.
Step 4: Layer and Decorate
Pour white chocolate mixture over chocolate layer. Spread evenly across surface. Sprinkle remaining crushed candy canes on top for festive crunch.
Step 5: Chill and Set
Refrigerate fudge for minimum 2 hours until completely firm and solid.
Step 6: Slice and Serve
Remove fudge from pan using parchment paper. Cut into bite-sized squares. Enjoy the cool, minty chocolate treat!
Peppermint Fudge Tips for the Right Balance of Mint
How to Keep Peppermint Fudge Fresh for Gifting
What to Pair with Peppermint Fudge for a Sweet Spread
Peppermint Fudge Flavor Twists You Should Try
Print
Peppermint Fudge Recipe
- Total Time: 2 hours 10 minutes
- Yield: 12 1x
Description
Creamy peppermint fudge brings winter magic to dessert tables with its rich chocolate base and cool mint essence. Sweet indulgence meets holiday cheer, creating a delightful treat you’ll want to share with friends and family.
Ingredients
Main Chocolate Ingredients:
- 1 ½ cups semi-sweet chocolate chips
- 1 ½ cups white chocolate chips
Milk and Flavor Enhancers:
- 1 (14 ounces / 396 grams) can sweetened condensed milk
- 1 teaspoon peppermint extract
- 1 teaspoon vanilla extract
Topping:
- ½ cup crushed candy canes or peppermint candies
Instructions
- Prepare a rectangular baking vessel by lining it with parchment paper, ensuring extended edges for effortless extraction of the finished confection.
- Create the chocolate foundation by melting semi-sweet chocolate chips with a portion of sweetened condensed milk, utilizing gentle microwave techniques to achieve a silky consistency.
- Incorporate vanilla and half the peppermint extract into the molten chocolate mixture, then carefully distribute the glossy layer across the prepared pan’s surface.
- Temporarily refrigerate the chocolate base while transitioning to the white chocolate stratum.
- Repeat the melting process with white chocolate chips and remaining condensed milk, gently heating until achieving a smooth, uniform texture.
- Blend the remaining peppermint extract and half of the crushed candy canes into the white chocolate mixture.
- Delicately cascade the white chocolate layer atop the chilled chocolate foundation, ensuring an even distribution.
- Generously sprinkle the remaining crushed candy canes across the surface, creating a festive and textural topping.
- Allow the confection to solidify completely within the refrigerator for approximately two hours.
- Once set, lift the fudge from the pan using parchment paper edges and slice into elegant, bite-sized squares ready for indulgence.
Notes
- Crush candy canes finely for an even distribution of peppermint flavor throughout the fudge, ensuring each bite has a delightful minty crunch.
- Use high-quality chocolate chips to elevate the richness and smoothness of the fudge, creating a more luxurious texture and taste.
- Experiment with different extract intensities to customize the peppermint strength, allowing you to control the minty punch according to your preference.
- Store the fudge in an airtight container in the refrigerator for up to two weeks, making it a perfect make-ahead holiday treat or gift.
- Prep Time: 10 minutes
- Cook Time: 2 hours
- Category: Desserts, Snacks
- Method: Blending
- Cuisine: American
Nutrition
- Serving Size: 12
- Calories: 245
- Sugar: 22 g
- Sodium: 45 mg
- Fat: 12 g
- Saturated Fat: 7 g
- Unsaturated Fat: 4 g
- Trans Fat: 0 g
- Carbohydrates: 32 g
- Fiber: 1 g
- Protein: 2 g
- Cholesterol: 5 mg
Dave Mitchell
Founder & Chief Recipe Developer
Expertise
Education
Asheville-Buncombe Technical Community College
Associate of Applied Science in Culinary Arts
Focus: Comprehensive training in culinary techniques, kitchen management, and menu planning, with a special emphasis on grilling and outdoor cooking.
Dave Mitchell is the heart behind Daves Grill, a cook, writer, and lover of all things grilled. He studied Culinary Arts at Asheville-Buncombe Technical Community College and spent years cooking, testing, and sharing recipes that actually work.
Dave started Daves Grill to keep things simple: one great recipe at a time. His food is bold, easy to follow, and made for real people with regular kitchens. From juicy steaks to quick sides, Dave’s recipes bring the heat without the hassle.