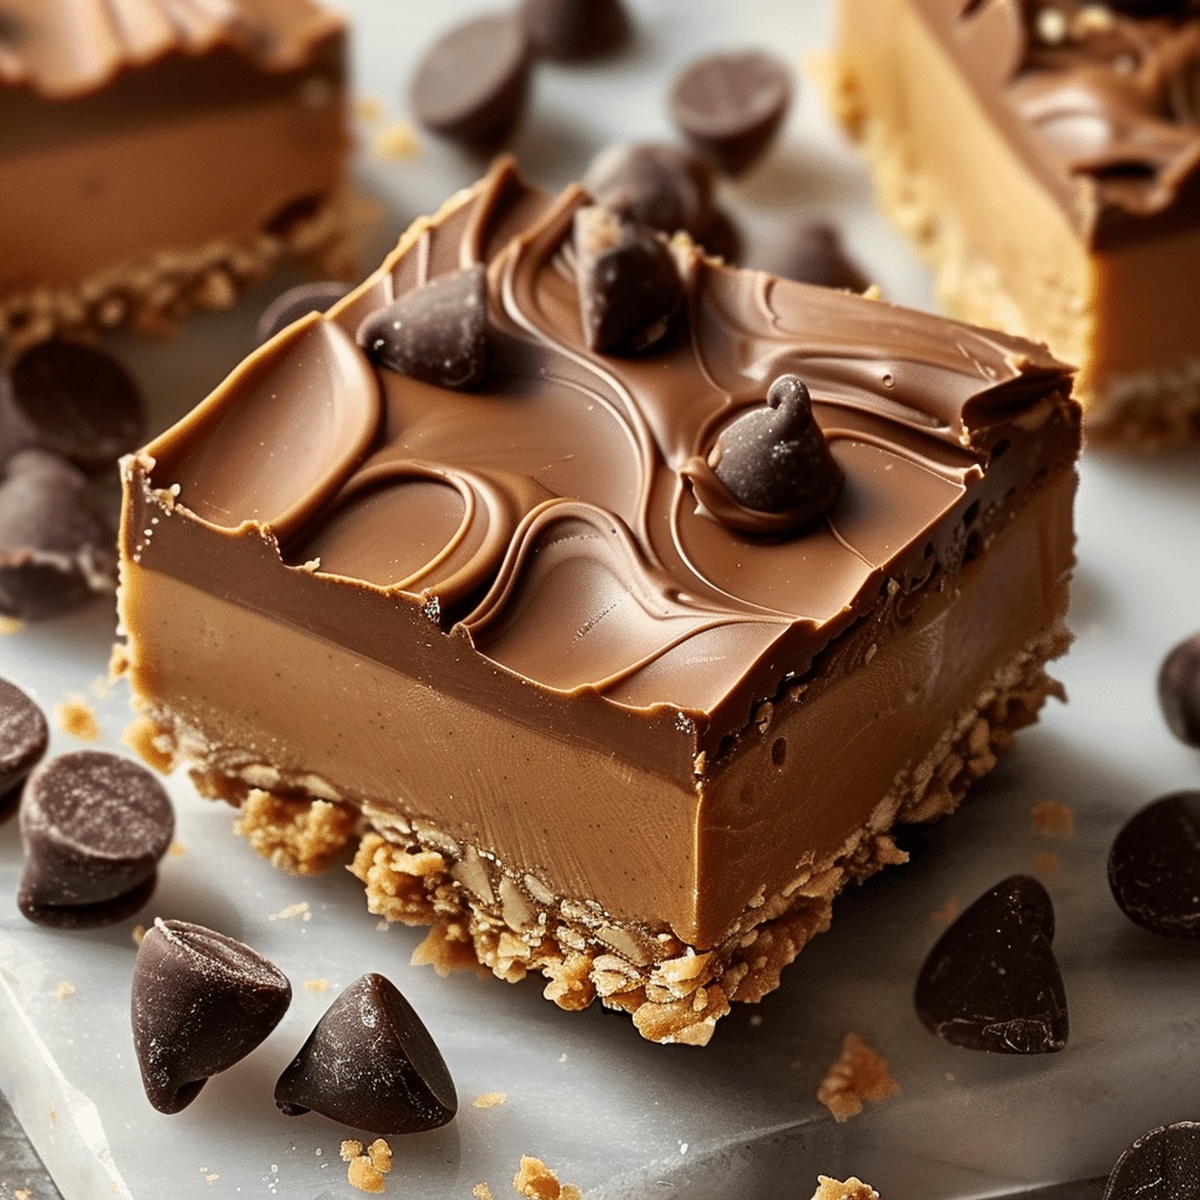
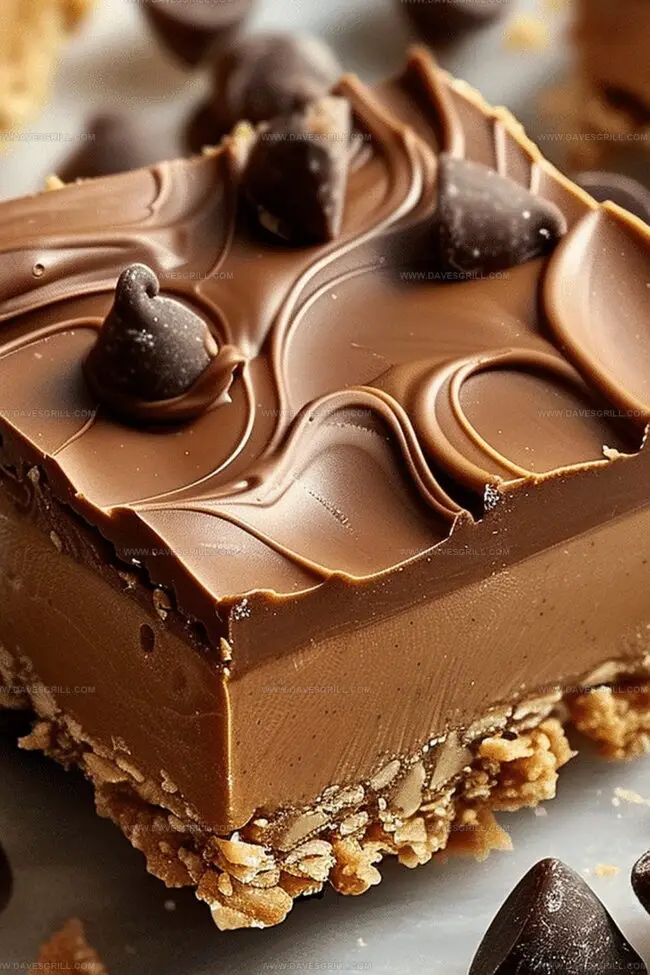
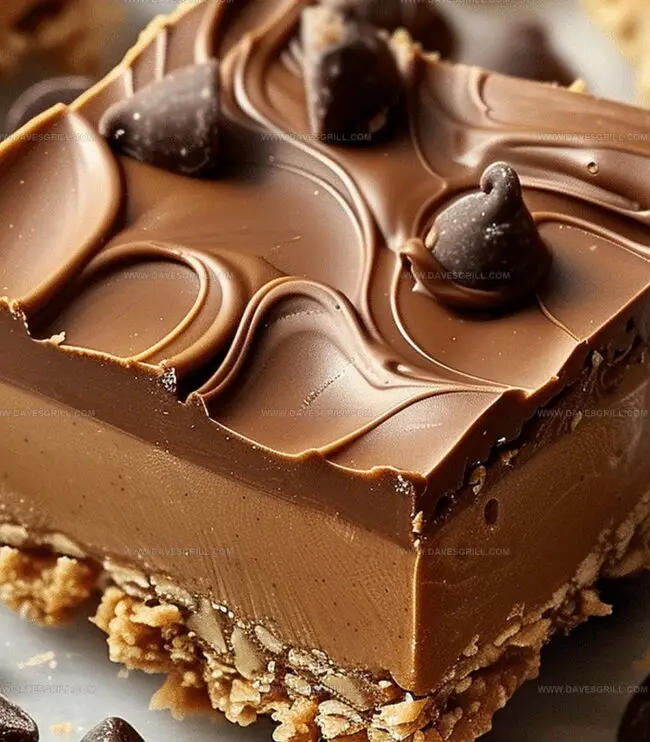
No-Bake Reese’s Peanut Butter Bars Recipe for Ultimate Indulgence
Whipping up these delectable reeses peanut butter no-bake bars will transport you straight to dessert heaven.
Sweet chocolate and creamy peanut butter create an irresistible combination that melts in your mouth.
Rich layers promise pure indulgence without turning on the oven.
My family always requests these easy treats during summer gatherings.
Minimal ingredients and simple steps mean anyone can craft these delightful bars.
Chilling time allows the flavors to meld perfectly into a decadent snack.
Grab a glass of cold milk and prepare for a blissful chocolate-peanut butter experience that will make you swoon.
Why These Reese’s Bars Hit the Spot
What’s in Reese’s No-Bake Bars
Base Layer Ingredients:Chocolate Topping Ingredients:Preparation Ingredient:Step-by-Step for Reese’s Bars
Step 1: Create Peanut Butter Base
Mix everything until super smooth and creamy
Grab an 8×8-inch baking pan
Line with parchment paper
Press mixture firmly and evenly across bottom of pan
Step 2: Whip Up Chocolate Topping
Place ingredients in microwave-safe bowl
Zap in short 20-second bursts
Stir between each heating cycle
Continue until mixture transforms into silky chocolate goodness
Step 3: Layer Chocolate Magnificence
Drizzle melted chocolate over peanut butter base
Use spatula to spread evenly across surface
Ensure complete chocolate coverage
Step 4: Chill and Solidify
Slide pan into refrigerator
Let bars rest and firm up for one hour
Chocolate should become solid and glossy
Step 5: Slice and Devour
Remove pan from refrigerator
Lift bars using parchment paper edges
Slice into perfect square portions
Serve immediately
Enjoy your homemade treat!
No-Bake Tips for Better Reese’s Bars
Storage & Reheating Reese’s Bars
Reese’s Bars with Toppings and Pairings
Reese’s Bar Variations to Try
Print
Reeses Peanut Butter No-Bake Bars Recipe
- Total Time: 1 hour 10 minutes
- Yield: 12 1x
Description
Indulgent Reeses Peanut Butter No-Bake Bars blend creamy peanut butter with chocolate in a quick, no-oven dessert. Chocolate lovers will savor each rich, no-fuss bite of this irresistible sweet treat that promises pure comfort and deliciousness.
Ingredients
Main Ingredients:
- 1 ½ cups (270 grams) semi-sweet or milk chocolate chips
- 1 cup (240 grams) creamy peanut butter
- 1 ½ cups (180 grams) crushed graham crackers
Base and Binding Ingredients:
- ½ cup (115 grams) unsalted butter, melted
- 1 ¼ cups (150 grams) powdered sugar
Topping Ingredient:
- 2 tablespoons creamy peanut butter
Instructions
- Craft the foundational peanut butter layer by thoroughly blending creamy peanut butter with melted butter, powdered sugar, and finely crushed graham crackers until achieving a uniform, silky consistency.
- Transfer the mixed peanut butter mixture into a parchment-paper-lined 8×8-inch baking pan, carefully pressing and smoothing the layer to create an even, compact base.
- Create the luxurious chocolate topping by gently melting chocolate chips together with additional peanut butter, using short microwave intervals and stirring between each to ensure a glossy, smooth texture.
- Carefully cascade the molten chocolate mixture over the prepared peanut butter foundation, using a spatula to distribute the topping evenly and create a seamless, glossy surface.
- Place the assembled dessert into the refrigerator, allowing it to chill and solidify for approximately 60-90 minutes until the bars become completely firm and cohesive.
- Once fully set, extract the dessert from the pan by lifting the parchment paper edges, then slice into clean, precise squares using a sharp knife.
- Serve the chilled bars at room temperature for optimal flavor and texture, presenting a decadent, no-bake treat that combines rich chocolate and creamy peanut butter.
Notes
- Swap standard peanut butter with almond or cashew butter for a different nutty flavor profile and to accommodate nut allergies.
- Use gluten-free graham crackers to make the recipe completely gluten-free, ensuring everyone can enjoy these delectable treats.
- Melt chocolate carefully to prevent burning by using low microwave power and stirring frequently during the melting process.
- Add a sprinkle of sea salt on top of the chocolate layer for an enhanced flavor complexity and gourmet touch that elevates the entire dessert.
- Prep Time: 10 minutes
- Cook Time: 1 hour
- Category: Snacks, Desserts
- Method: None
- Cuisine: American
Nutrition
- Serving Size: 12
- Calories: 310
- Sugar: 20g
- Sodium: 150mg
- Fat: 22g
- Saturated Fat: 10g
- Unsaturated Fat: 12g
- Trans Fat: 0g
- Carbohydrates: 27g
- Fiber: 2g
- Protein: 6g
- Cholesterol: 15mg
Dave Mitchell
Founder & Chief Recipe Developer
Expertise
Education
Asheville-Buncombe Technical Community College
Associate of Applied Science in Culinary Arts
Focus: Comprehensive training in culinary techniques, kitchen management, and menu planning, with a special emphasis on grilling and outdoor cooking.
Dave Mitchell is the heart behind Daves Grill, a cook, writer, and lover of all things grilled. He studied Culinary Arts at Asheville-Buncombe Technical Community College and spent years cooking, testing, and sharing recipes that actually work.
Dave started Daves Grill to keep things simple: one great recipe at a time. His food is bold, easy to follow, and made for real people with regular kitchens. From juicy steaks to quick sides, Dave’s recipes bring the heat without the hassle.