Rustic No-Knead Rosemary Garlic Bread Recipe for Homestyle Warmth
Crafting homemade rosemary garlic bread without complex kneading techniques sparks pure kitchen joy.
Fragrant herbs and robust garlic create an irresistible aroma that fills every corner of your home.
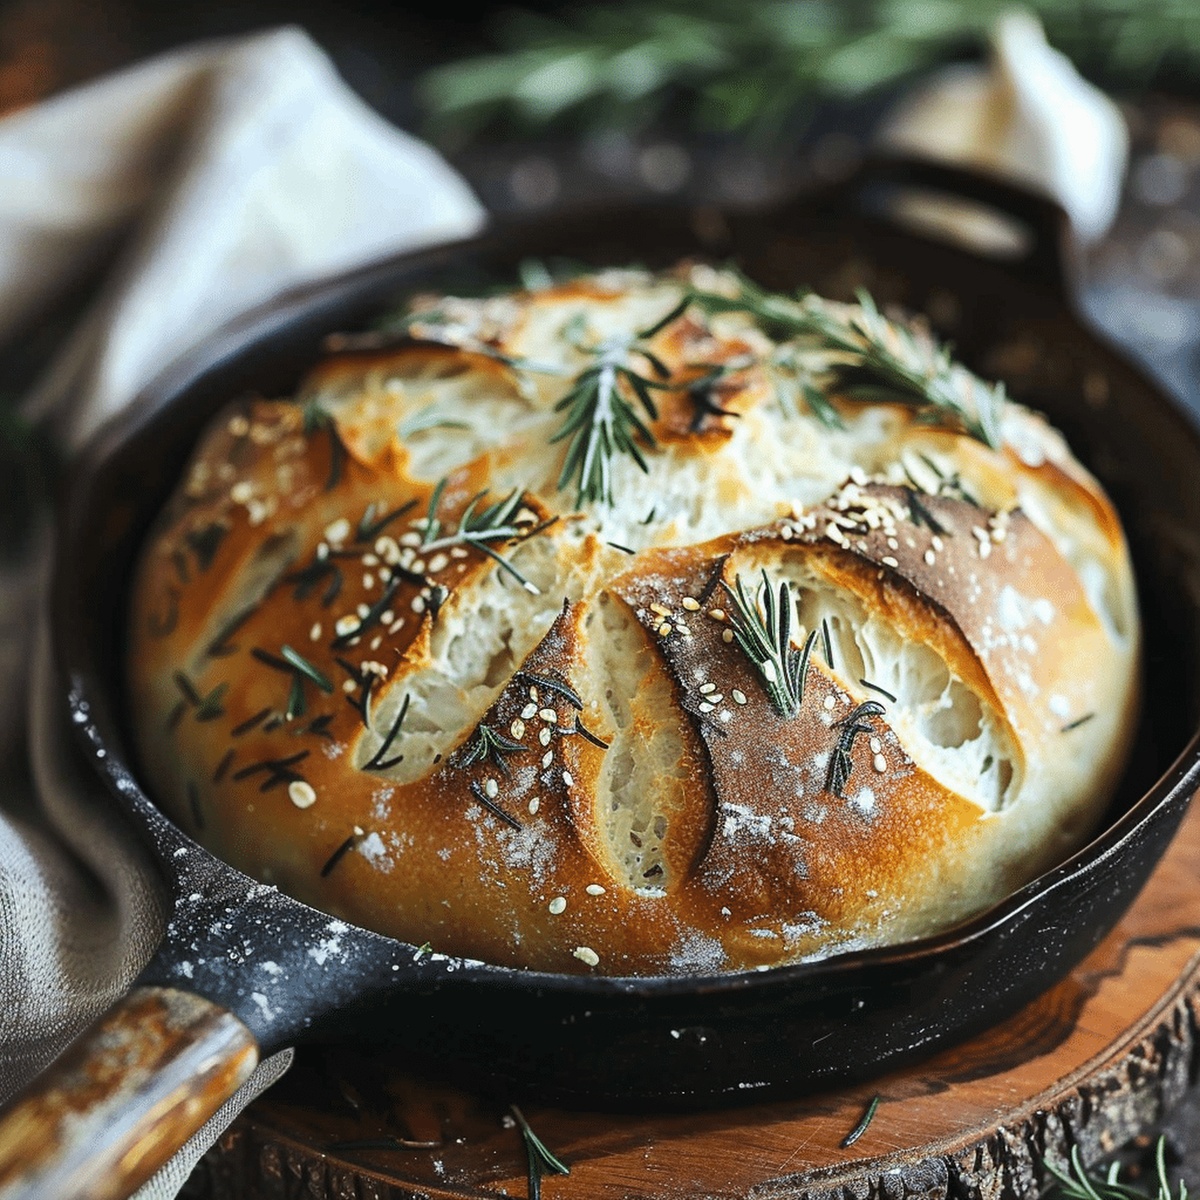
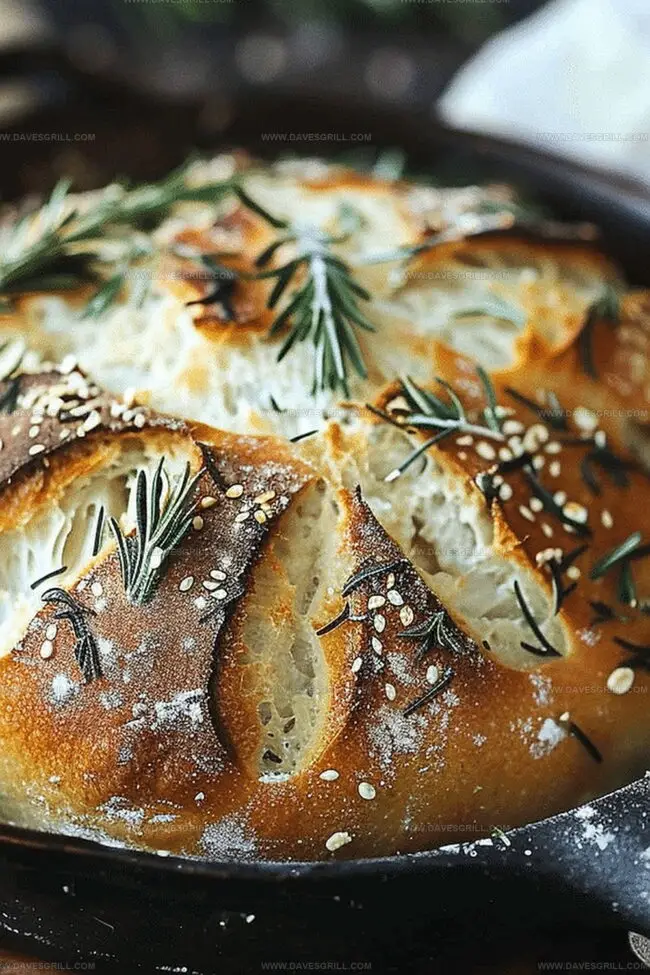
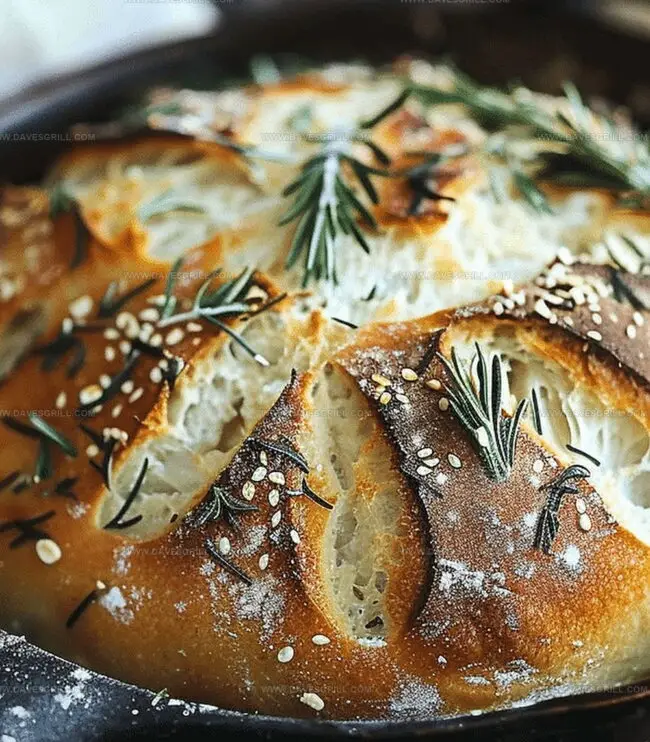
Nothing beats the satisfaction of pulling a golden-crusted loaf from the oven with minimal effort.
Simple ingredients transform into something magical through this straightforward method.
Each slice promises a rustic texture with crisp edges and a soft, pillowy center.
The minimal hands-on time makes this recipe perfect for busy home cooks seeking delicious results.
You’ll feel like a professional baker after mastering this effortless bread that looks and tastes extraordinary.
Warm slices paired with olive oil will make you an instant bread-baking hero.
What’s Special About Rustic No Knead Rosemary Garlic Bread
Ingredients for Rustic No Knead Rosemary Garlic Bread
Bread Base:Flavor Enhancers:Binding and Preparation:How to Make Rustic No Knead Rosemary Garlic Bread Easily
Step 1: Create Magical Dough Mixture
In a spacious mixing bowl, blend:Pour water into the dry ingredients and stir until a shaggy, wet mixture forms. Mix for about 30 seconds until everything combines beautifully.
Step 2: Let Dough Transform
Cover the bowl with plastic wrap and allow the dough to rest at room temperature for 18-24 hours. During this time, magical fermentation happens- bubbles will develop across the surface, creating incredible flavor.
Step 3: Prepare Baking Surface
Lightly coat a cast iron skillet or Dutch oven with oil and sprinkle cornmeal. Gently transfer the puffy dough onto a flour-dusted surface, carefully maintaining its airy texture. Shape into a round loaf without deflating the precious bubbles.
Step 4: Second Rising Adventure
Transfer the shaped dough into the prepared skillet. Drape a clean kitchen towel over the top and let it rise again for approximately 2 hours until it doubles in volume.
Step 5: Bake to Golden Perfection
Heat the oven to 450F (230C). Slide the skillet directly into the hot oven. Bake for 30-40 minutes until the bread transforms into a gorgeous golden-brown color. Test doneness by tapping the bottom- it should sound hollow and crisp.
Step 6: Welcome Fresh Bread
Remove from oven and let the bread cool slightly. Slice and serve warm alongside soups, salads, or with a generous spread of butter or olive oil. Enjoy the incredible aroma and rustic texture of your homemade creation!
Expert Tips for Rustic Bread Texture and Crust
Store and Reheat Rustic No Knead Rosemary Garlic Bread
Great Pairings for Rustic No Knead Garlic Bread
Flavor Add-Ins for Rustic No Knead Rosemary Garlic Bread
Gluten-Free Herb Bread: Replace regular flour with a gluten-free blend, adding xanthan gum for better texture and binding. Perfect for those with wheat sensitivities.
Whole Wheat Rustic Loaf: Substitute half the all-purpose flour with whole wheat flour for a nuttier flavor and increased fiber content. Add seeds like sunflower or flax for extra nutrition.
Vegan Rosemary Focaccia: Swap water with plant-based milk and add nutritional yeast for a richer taste. Sprinkle additional herbs like thyme or oregano on top before baking for enhanced aromatics.
Low-Sodium Herb Bread: Reduce salt quantity and incorporate dried herbs like basil or parsley. Use low-sodium yeast and consider adding roasted garlic for depth of flavor without extra sodium.
Print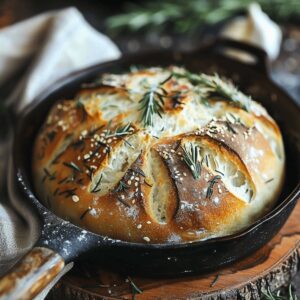
Rustic No Knead Rosemary Garlic Bread Recipe
- Total Time: 50 minutes
- Yield: 8 1x
Description
Homemade “Rustic No Knead Rosemary Garlic Bread” brings Italian countryside comfort straight to kitchen counters. Fragrant herbs and roasted garlic create a mouthwatering loaf you cannot resist breaking apart and sharing with loved ones.
Ingredients
Main Ingredients:
- 3 cups (375 grams) all-purpose flour
- 1 ½ cups (360 milliliters) room-temperature water
- ½ teaspoon instant yeast
Flavor Enhancers:
- 3 cloves garlic, minced
- 1 tablespoon fresh rosemary, chopped (or 1 teaspoon dried)
Seasonings:
- 1 ¼ teaspoons kosher salt
- ¾ teaspoon black pepper
Coating:
- 2 tablespoons cornmeal (for dusting the pan)
Instructions
- In a spacious mixing vessel, amalgamate flour, minced garlic, fragrant rosemary, seasoning, and active dry yeast. Gently incorporate these dry components to ensure even distribution.
- Pour lukewarm water into the dry mixture, stirring vigorously until a ragged, ultra-moist dough emerges. The texture should appear uneven and slightly shaggy.
- Encase the bowl with transparent film, allowing the dough to rest and ferment at ambient temperature for approximately 18-24 hours. During this period, expect the mixture to become bubbly and expand.
- Generously coat a cast iron skillet or Dutch oven with culinary oil and dust with cornmeal to prevent sticking.
- Transfer the proofed dough onto a lightly dusted surface, handling it delicately to preserve its airy structure. Softly mold the dough into a rustic, rounded configuration.
- Nestle the shaped loaf into the prepared cooking vessel. Drape a pristine kitchen towel over the dough and permit a secondary rise for roughly two hours until visibly expanded.
- Heat the oven to 450F (230C), ensuring complete temperature stabilization before introducing the bread.
- Slide the skillet containing the dough into the heated oven. Bake for 35-40 minutes, monitoring until the crust achieves a rich golden-brown complexion.
- Verify doneness by tapping the bottom of the loaf – a hollow resonance indicates perfect baking.
- Allow the bread to cool momentarily before slicing. Serve alongside complementary dishes or enjoy with a drizzle of olive oil or softened butter.
Notes
- Enhance flavor intensity by toasting minced garlic and rosemary in a dry skillet before adding to the dough for deeper, more robust herbal notes.
- Experiment with alternative flour types like whole wheat or rye for added nutritional complexity and unique texture variations.
- Ensure precise hydration by measuring water weight instead of volume to maintain consistent dough moisture and achieve perfect bread structure.
- Create a gluten-free version by substituting regular flour with a high-quality gluten-free bread flour blend and adding xanthan gum for improved binding.
- Prep Time: 10 minutes
- Cook Time: 40 minutes
- Category: Snacks, Dinner, Appetizer
- Method: Baking
- Cuisine: Italian
Nutrition
- Serving Size: 8
- Calories: 150
- Sugar: 0.2 g
- Sodium: 190 mg
- Fat: 0.5 g
- Saturated Fat: 0.1 g
- Unsaturated Fat: 0.4 g
- Trans Fat: 0 g
- Carbohydrates: 31 g
- Fiber: 1 g
- Protein: 4 g
- Cholesterol: 0 mg
Dave Mitchell
Founder & Chief Recipe Developer
Expertise
Education
Asheville-Buncombe Technical Community College
Associate of Applied Science in Culinary Arts
Focus: Comprehensive training in culinary techniques, kitchen management, and menu planning, with a special emphasis on grilling and outdoor cooking.
Dave Mitchell is the heart behind Daves Grill, a cook, writer, and lover of all things grilled. He studied Culinary Arts at Asheville-Buncombe Technical Community College and spent years cooking, testing, and sharing recipes that actually work.
Dave started Daves Grill to keep things simple: one great recipe at a time. His food is bold, easy to follow, and made for real people with regular kitchens. From juicy steaks to quick sides, Dave’s recipes bring the heat without the hassle.