
Cozy Homemade Rustic Stovetop Bread Recipe for Beginners
Baking fresh homemade stovetop bread without an oven sparks pure culinary magic.
Rustic bread techniques passed down through generations offer delightful alternatives to traditional baking methods.
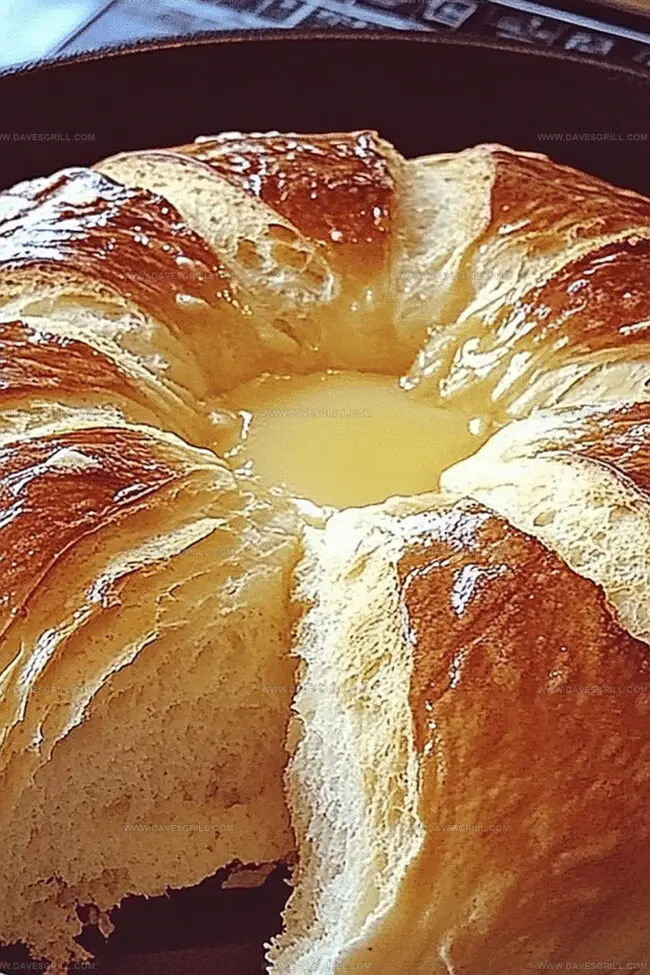
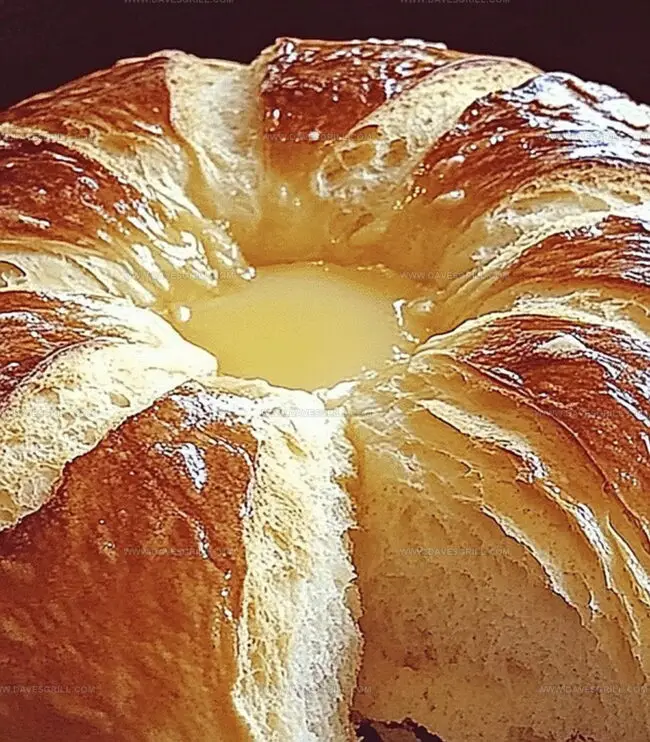
Crisp golden edges emerge from careful pan cooking, creating a delectable aroma that fills the kitchen.
This stovetop bread recipe delivers a simple yet satisfying approach to crafting warm, crusty goodness.
Bold flavors and perfect texture await your cooking adventure.
The method requires minimal equipment and basic ingredients anyone can handle.
Bread making becomes an accessible joy that connects you to time-honored cooking traditions.
Quick Recipe Overview
Stovetop Bread Ingredient List
For The Dough Base:For Yeast Activation:For Moisture and Binding:Tools That Help You Bake Without an Oven
Cook Bread on the Stove With a Golden Finish
Warm up your water and wake up those sleepy yeast particles with a sprinkle of sugar. Let them dance and bubble for a few minutes until they’re all frothy and alive.
Blend flour and salt in a spacious bowl. Pour in your activated yeast, drizzle some oil, and add warm water. Mix until a scrumptious dough emerges. Knead the dough on a flour-dusted surface, transforming it into a smooth, stretchy wonder.
Tuck your dough into a lightly oiled bowl, drape a damp cloth over it, and let it relax in a cozy spot. Watch it puff up and double in size over about an hour.
Gently deflate the puffy dough and mold it into a beautiful round or oval shape that’ll fit snugly in your skillet.
Fire up a nonstick skillet or heavy pot on low heat. Slip your dough into the pan, cover with a lid, and let the happen. Cook one side for 12-15 minutes, then flip and cook the other side until it turns a gorgeous golden brown.
Rescue your bread from the heat, let it chill on a wire rack, then slice and enjoy your homemade stovetop creation.
Tips for Dough That Rises in a Pan
Serve Warm With Butter or Jam
Store Loaf Tightly Wrapped
FAQs
Letting yeast sit in warm water with sugar helps activate it, ensuring the yeast is alive and ready to make the bread rise properly. This step creates bubbles that indicate the yeast is working and will help your bread become light and fluffy.
The dough is ready when it becomes smooth, elastic, and doesn’t stick to your hands. After 8-10 minutes of kneading, the gluten develops, which gives bread its structure and helps it rise well during cooking.
Yes, you can use a heavy-bottomed pot or cast-iron skillet with a tight-fitting lid. The key is to use a pan that distributes heat evenly and has a lid to trap steam, which helps cook the bread thoroughly.
Look for a golden-brown color on both sides and tap the bottom of the bread – it should sound hollow. If you’re unsure, you can use a food thermometer; the internal temperature should reach about 190-200°F (88-93°C).
Print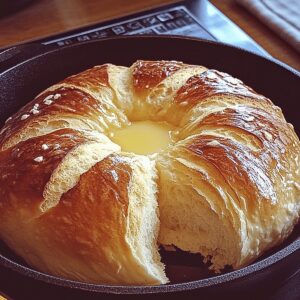
Rustic Stovetop Bread Recipe
- Total Time: 40 minutes
- Yield: 5 1x
Description
Easy homemade No-Oven Stovetop Bread brings Mediterranean comfort to kitchen counters with minimal equipment. Rustic, warm slices invite you to savor simple pleasures of traditional cooking methods.
Ingredients
- 2 ½ cups (591 ml) all-purpose flour
- ¾ cup (177 ml) warm water
- 2 tbsps (30 ml) vegetable oil or melted butter
- 2 teaspoons (10 ml) instant yeast (or active dry yeast)
- 1 teaspoon (5 ml) salt
- 2 teaspoons (10 ml) sugar
Instructions
- Yeast Activation: Dissolve yeast in warm, sweetened liquid, letting it bloom into a frothy mixture, signaling optimal fermentation readiness.
- Dough Formation: Merge flour and salt in a large bowl, creating a foundation for the artisan loaf. Pour in activated yeast, oil, and warm liquid, mixing until a unified dough develops.
- Kneading Process: Transfer dough to a floured surface, massaging and stretching with rhythmic motions. Work the mixture persistently, developing elastic gluten strands until the texture becomes smooth and resilient.
- First Proofing: Place dough in an oiled container, cover with a damp cloth. Rest in a warm environment, allowing the dough to expand and mature, nearly doubling its original volume.
- Shaping and Preparation: Deflate the risen dough, redistributing internal gases. Shape into a compact, symmetrical form sized perfectly for the cooking vessel. Simultaneously, warm a nonstick skillet or heavy-bottomed pot over low heat.
- Initial Cooking Stage: Gently position the shaped dough in the prepared skillet, covering with a tight-fitting lid to trap moisture. Cook patiently, allowing the exterior to transform into a golden, crisp landscape over 12-15 minutes.
- Final Cooking and Browning: Carefully flip the bread to ensure uniform caramelization, cooking the alternate side for an additional 10-12 minutes while monitoring color and internal doneness.
- Cooling and Serving: Remove bread from the cooking surface, transferring to a wire rack. Allow natural cooling to stabilize the internal structure before slicing and presenting the artisan creation.
Notes
- Activate Yeast Precisely: Ensure water temperature is between 100-110°F to wake up yeast without killing it, creating a frothy, alive mixture that guarantees perfect bread rising.
- Control Moisture Carefully: Adjust liquid quantities based on flour absorption; humid days might require less liquid, while dry environments need slightly more to maintain ideal dough consistency.
- Monitor Heat Strategically: Use the lowest possible flame setting to prevent burning, creating even golden-brown crust without scorching the bread’s exterior or leaving raw interior sections.
- Rest Dough Completely: Allow bread to cool for at least 15-20 minutes after cooking, enabling internal steam to redistribute and preventing gummy texture when slicing.
- Prep Time: 15 minutes
- Cook Time: 25 minutes
- Category: Breakfast, Snacks
- Method: Frying
- Cuisine: American
Nutrition
- Serving Size: 5
- Calories: 190
- Sugar: 1 g
- Sodium: 200 mg
- Fat: 6 g
- Saturated Fat: 1 g
- Unsaturated Fat: 5 g
- Trans Fat: 0 g
- Carbohydrates: 32 g
- Fiber: 1 g
- Protein: 4 g
- Cholesterol: 0 mg
Emily Lawson
Content Creator & Culinary Specialist
Expertise
Education
Oregon Culinary Institute
Diploma in Culinary Arts
Focus: Emphasis on farm-to-table cooking, sustainable practices, and the fusion of global flavors with traditional grilling methods.
Emily Lawson is the content creator at Daves Grill, turning tasty ideas into clear, easy recipes. Based in Portland, she trained at the Oregon Culinary Institute and loves cooking with fresh, seasonal ingredients, especially grilled veggies and global flavors.
Emily mixes food writing with hands-on cooking to bring you recipes that feel fun, not stressful. Her goal is to make every dish simple, flavorful, and worth coming back to. Together, she and Dave serve up real food, one recipe at a time.