
Creamy Dream White Trash Sliders Recipe: Fun Backyard Bite!
Sliders have a way of stealing the spotlight at any casual white trash sliders gathering, bringing unbeatable flavor and crowd-pleasing charm to the table.
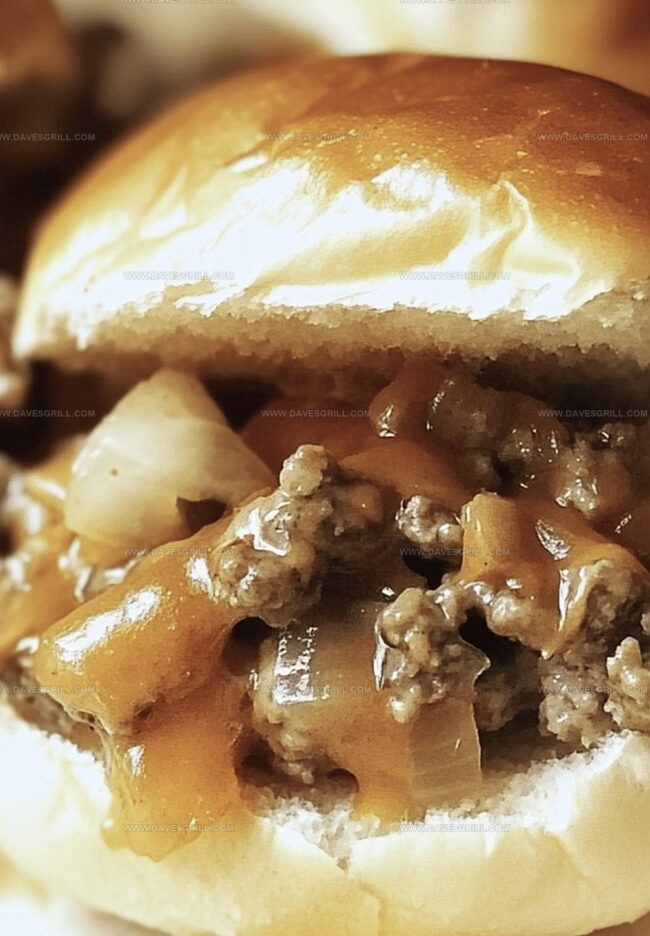
These mini sandwiches pack a serious punch of deliciousness that keeps everyone coming back for more.
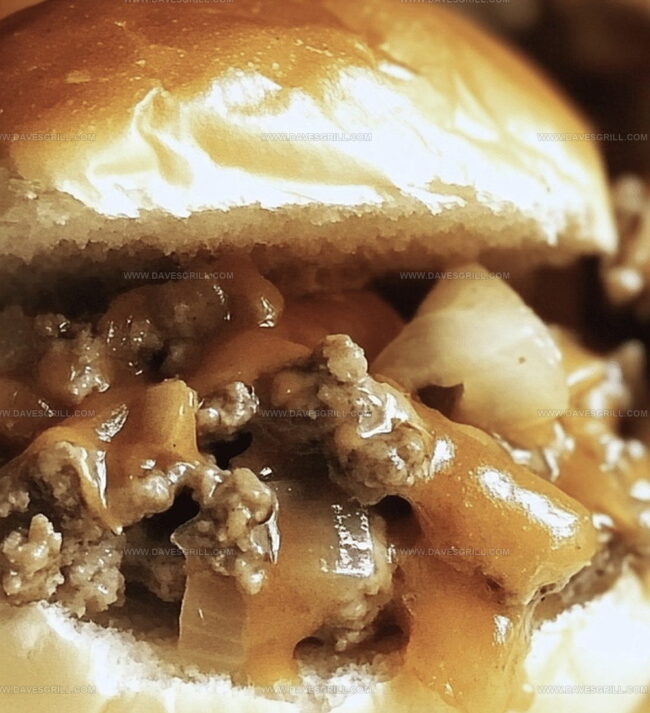
Each bite delivers a perfect blend of savory meat, melted cheese, and soft rolls that melt in your mouth.
The recipe combines simple ingredients with bold flavors that scream comfort food.
Small but mighty, these sliders transform an ordinary meal into a memorable feast.
You’ll love how quickly they come together and how everyone raves about their irresistible taste.
Prepare to become the hero of your next party with these mouthwatering little sandwiches.
Quick Recipe Overview
Ingredients for White Trash Sliders That Pack a Punch
For Meat Base:For Seasoning Blend:For Slider Components:Gear Up to Make White Trash Sliders at Home
How to Assemble Bold and Tasty White Trash Sliders
Flavor Tips for Juicy White Trash Sliders
Best Ways to Serve White Trash Sliders
How to Store and Prep White Trash Sliders Ahead
FAQs
A casual party food made with ground beef, served on small slider buns with simple seasonings, perfect for quick gatherings or game day snacks.
Yes, ground turkey or ground pork work great as alternative protein options for this recipe.
Brown the meat thoroughly, drain excess fat, and mix in seasonings to help bind the meat mixture together before assembling the sliders.
No, this recipe uses basic seasonings like garlic powder, salt, and pepper, creating a mild and crowd-pleasing flavor profile that most people will enjoy.
Print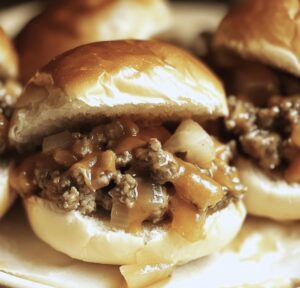
Saucy White Trash Sliders
- Total Time: 35 minutes
- Yield: 9 1x
Description
Hearty white trash sliders combine southern comfort with zesty appetizer magic. Quick party snacks deliver bold flavors and irresistible charm for hungry guests.
Ingredients
- 1 lb (450 g) ground beef
- 8 slider buns
- 8 slices American cheese
- ¼ cup (60 g) unsalted butter, melted
- 1 small onion, finely diced
- 2 tbsps Worcestershire sauce
- 1 tsp garlic powder
- 1 tsp dried parsley
- ½ tsp sesame seeds (optional)
- Pickle slices
- Salt, to taste
- Pepper, to taste
- Ketchup, to taste
- Mustard, to taste
Instructions
- Meat Preparation: Heat a large skillet over medium-high flame and introduce ground beef with finely chopped onions, sautéing until beef browns completely and onions turn translucent.
- Seasoning Fusion: Drain excess fat, then incorporate Worcestershire sauce, garlic powder, salt, and black pepper, stirring thoroughly to distribute flavors evenly throughout the meat mixture.
- Slider Assembly: Split slider buns and layer with the seasoned meat mixture, ensuring each mini sandwich receives an equal portion of the flavorful protein.
- Cheese Melting: Place a slice of American cheese atop the warm meat, allowing residual heat to gently melt the cheese and create a creamy, indulgent texture.
- Final Garnishing: Top each slider with optional condiments like pickles, mustard, or additional seasonings to enhance the overall taste profile and provide textural contrast.
- Serving Technique: Arrange sliders on a serving platter, cutting them diagonally if desired, and present immediately while the meat remains warm and cheese stays soft.
Notes
- Master Meat Browning: Achieve deep, caramelized flavor by cooking ground beef on medium-high heat, allowing natural sugars to develop a rich, golden-brown color without burning.
- Drain Fat Strategically: Use a slotted spoon or carefully tilt the skillet to remove excess grease, ensuring a lighter, less greasy slider filling that maintains optimal meat texture.
- Season Generously: Layer Worcestershire sauce and spices while meat is still hot to maximize flavor absorption and create a more intense, well-rounded taste profile.
- Customize for Dietary Needs: Swap ground beef with ground turkey or plant-based meat alternatives for lighter versions, adjusting seasoning to complement the alternative protein’s unique characteristics.
- Prep Time: 15 minutes
- Cook Time: 20 minutes
- Category: Lunch, Dinner, Snacks
- Method: Sautéing
- Cuisine: American
Nutrition
- Serving Size: 9
- Calories: 350
- Sugar: 2 g
- Sodium: 650 mg
- Fat: 20 g
- Saturated Fat: 10 g
- Unsaturated Fat: 8 g
- Trans Fat: 0 g
- Carbohydrates: 30 g
- Fiber: 1 g
- Protein: 15 g
- Cholesterol: 50 mg
Emily Lawson
Content Creator & Culinary Specialist
Expertise
Education
Oregon Culinary Institute
Diploma in Culinary Arts
Focus: Emphasis on farm-to-table cooking, sustainable practices, and the fusion of global flavors with traditional grilling methods.
Emily Lawson is the content creator at Daves Grill, turning tasty ideas into clear, easy recipes. Based in Portland, she trained at the Oregon Culinary Institute and loves cooking with fresh, seasonal ingredients, especially grilled veggies and global flavors.
Emily mixes food writing with hands-on cooking to bring you recipes that feel fun, not stressful. Her goal is to make every dish simple, flavorful, and worth coming back to. Together, she and Dave serve up real food, one recipe at a time.