Irresistible Peanut Butter Cookies Recipe: Addictively Sweet Bites
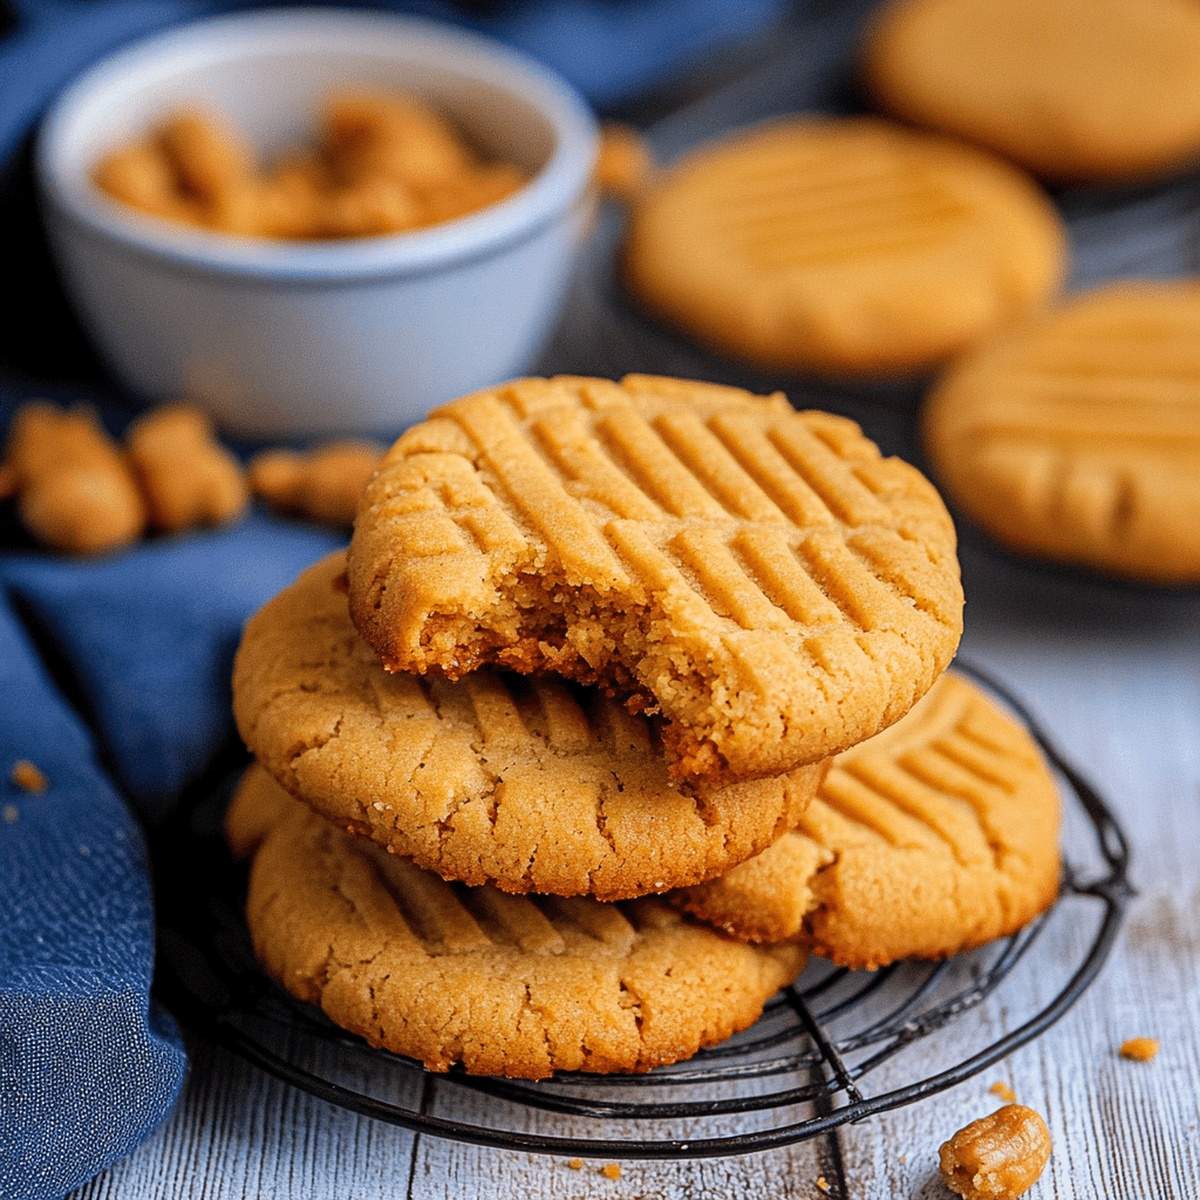
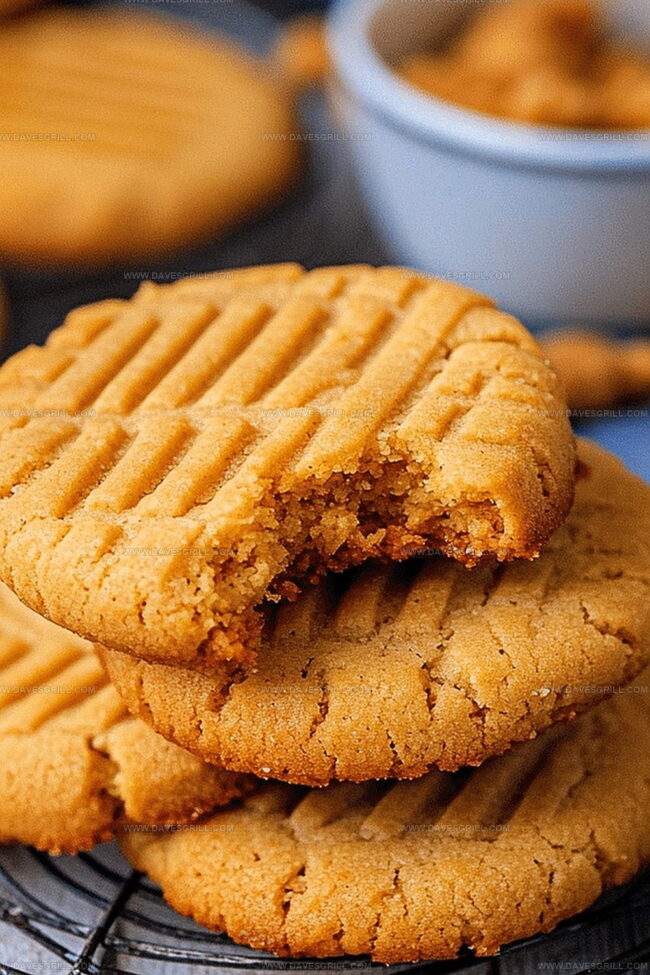
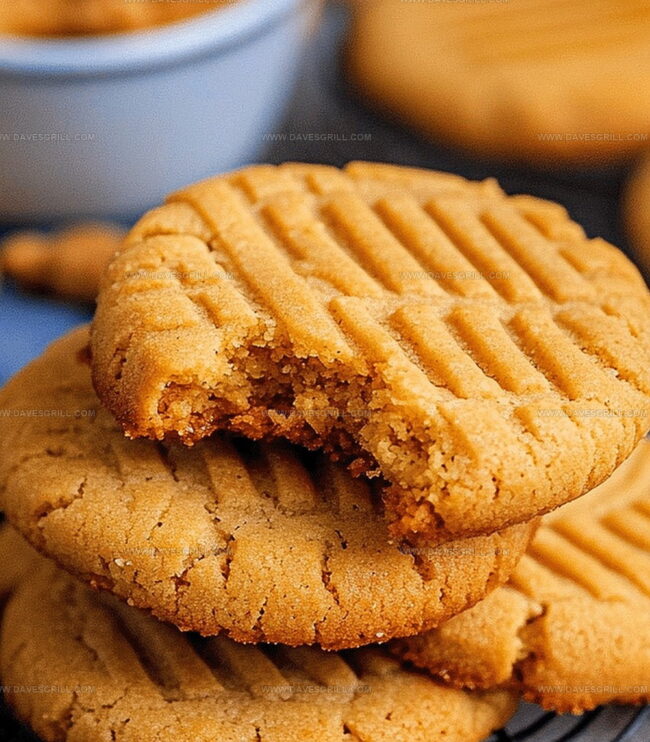
Warm, freshly baked peanut butter cookies with classic American butter have a way of melting hearts faster than they melt in your mouth.
These delectable treats blend sweet and nutty flavors into an irresistible comfort food that draws everyone to the kitchen.
Soft, chewy, and packed with rich peanut butter goodness, each cookie promises a delightful experience.
The simple ingredients come together with minimal effort, creating a timeless dessert that never disappoints.
Crisp edges and tender centers make these cookies a perfect companion to a cold glass of milk.
Whether you’re a seasoned baker or just starting out, this recipe guarantees a batch of crowd-pleasing cookies that will vanish within moments of cooling.
Prepare to savor every delicious bite of these homemade peanut butter classics.
Quick Recipe Overview
Key Ingredients for Old-Fashioned Peanut Butter Cookies
For Base Ingredients:For Fat and Flavor Ingredients:For Sweetening and Binding Ingredients:Tools to Get Old-Fashioned Peanut Butter Cookies Just Right
How to Make Old-Fashioned Peanut Butter Cookies Soft
Get your kitchen ready by heating the oven to 350F and lining baking sheets with parchment paper.
Blend butter, sugars, and peanut butter until super creamy. Toss in an egg and vanilla, stirring until silky smooth. In another bowl, whisk flour, baking soda, powder, and salt. Slowly combine wet and dry mixtures until just blended.
Grab chunks of dough and roll into cute little balls. Place them on baking sheets with some breathing room. Grab a fork and gently press down on each ball, creating a classic crisscross pattern.
Pop the sheets into the oven and bake for 10-12 minutes. Watch for golden edges and a light, tempting color. Don’t let them get too dark!
Let cookies rest on the baking sheet for a few minutes, then transfer to a cooling rack. Once they’ve chilled out, grab a glass of milk and indulge in your homemade peanut butter goodness.
Tips for the Best Texture in Peanut Butter Cookies
Creative Ways to Serve Old-Fashioned Peanut Butter Cookies
Storing Old-Fashioned Peanut Butter Cookies Without Drying Out
FAQs
Yes, you can use natural peanut butter, but it might slightly change the texture. Stir the peanut butter well before measuring to ensure even consistency.
The classic crisscross fork pattern helps flatten the cookies and creates the traditional peanut butter cookie texture. It also allows the cookies to bake more evenly.
Look for lightly golden edges and a set appearance. The centers might seem slightly soft, but they’ll firm up as they cool. Avoid overbaking to keep the cookies soft and tender.
For best results, stick to the original recipe. However, you can swap white sugar with coconut sugar, and use gluten-free flour if needed for dietary restrictions.
Print
Scrumptious Peanut Butter Cookies Recipe
- Total Time: 27 minutes
- Yield: 25 1x
Description
Classic Old-Fashioned Peanut Butter Cookies blend nostalgic childhood flavors with rich, creamy comfort. Simple ingredients and traditional techniques create a timeless treat that connects generations of bakers.
Ingredients
- ½ cup (113 g/4 oz) unsalted butter, softened
- ½ cup (125 g/4.4 oz) creamy peanut butter
- ½ cup (100 g/3.5 oz) granulated sugar
- ½ cup (100 g/3.5 oz) brown sugar, packed
- 1 large egg
- 1 ¼ cups (155 g/5.5 oz) all-purpose flour
- 1 tsp vanilla extract
- ½ tsp baking soda
- ¼ tsp baking powder
- ¼ tsp salt
Instructions
- Preparation: Preheat oven to 350F (175C) and line baking sheets with parchment paper for optimal non-stick performance.
- Creaming: Vigorously mix softened butter with white and brown sugars until the mixture becomes light and fluffy, creating a smooth foundation for the cookies.
- Wet Ingredient Integration: Blend in creamy peanut butter, egg, and vanilla extract, whisking until the mixture achieves a consistent, silky texture that promises rich flavor.
- Dry Ingredient Combination: Thoroughly combine flour, baking soda, baking powder, and salt in a separate bowl, ensuring an even distribution of leavening agents and preventing potential clumping.
- Dough Formation: Delicately fold dry ingredients into the wet mixture, minimizing stirring to preserve the cookies’ tender crumb and maintaining a light, delectable consistency.
- Shaping and Decorating: Scoop uniform portions of dough, rolling into perfect spheres and positioning on prepared trays with strategic spacing; create classic crisscross patterns using fork tines to enhance visual appeal and traditional texture.
- Baking and Cooling: Bake for 10-12 minutes until edges turn a golden-brown, then allow cookies to rest on baking sheets for five minutes before transferring to wire racks for complete cooling and optimal texture development.
Notes
- Butter Temperature Matters: Use room temperature butter for smoother mixing and better cookie texture, ensuring even incorporation with sugars.
- Minimal Mixing Technique: Gently fold dry ingredients to prevent overworking the dough, which can lead to tough, dense cookies.
- Fork Pattern Precision: Apply consistent pressure when creating crisscross marks to ensure uniform thickness and even baking across all cookies.
- Storage Secret: Store cookies in an airtight container to maintain softness and prevent them from becoming dry or crumbly.
- Prep Time: 12 minutes
- Cook Time: 15 minutes
- Category: Desserts, Snacks
- Method: Baking
- Cuisine: American
Nutrition
- Serving Size: 25
- Calories: 140
- Sugar: 8 g
- Sodium: 80 mg
- Fat: 7 g
- Saturated Fat: 3.5 g
- Unsaturated Fat: 2.5 g
- Trans Fat: 0 g
- Carbohydrates: 18 g
- Fiber: 0.5 g
- Protein: 3 g
- Cholesterol: 15 mg
Emily Lawson
Content Creator & Culinary Specialist
Expertise
Education
Oregon Culinary Institute
Diploma in Culinary Arts
Focus: Emphasis on farm-to-table cooking, sustainable practices, and the fusion of global flavors with traditional grilling methods.
Emily Lawson is the content creator at Daves Grill, turning tasty ideas into clear, easy recipes. Based in Portland, she trained at the Oregon Culinary Institute and loves cooking with fresh, seasonal ingredients, especially grilled veggies and global flavors.
Emily mixes food writing with hands-on cooking to bring you recipes that feel fun, not stressful. Her goal is to make every dish simple, flavorful, and worth coming back to. Together, she and Dave serve up real food, one recipe at a time.