Seven-Layer Taco Salad Recipe for Fiesta Nights
One bite of this seven-layer taco salad transports you straight to flavor paradise.
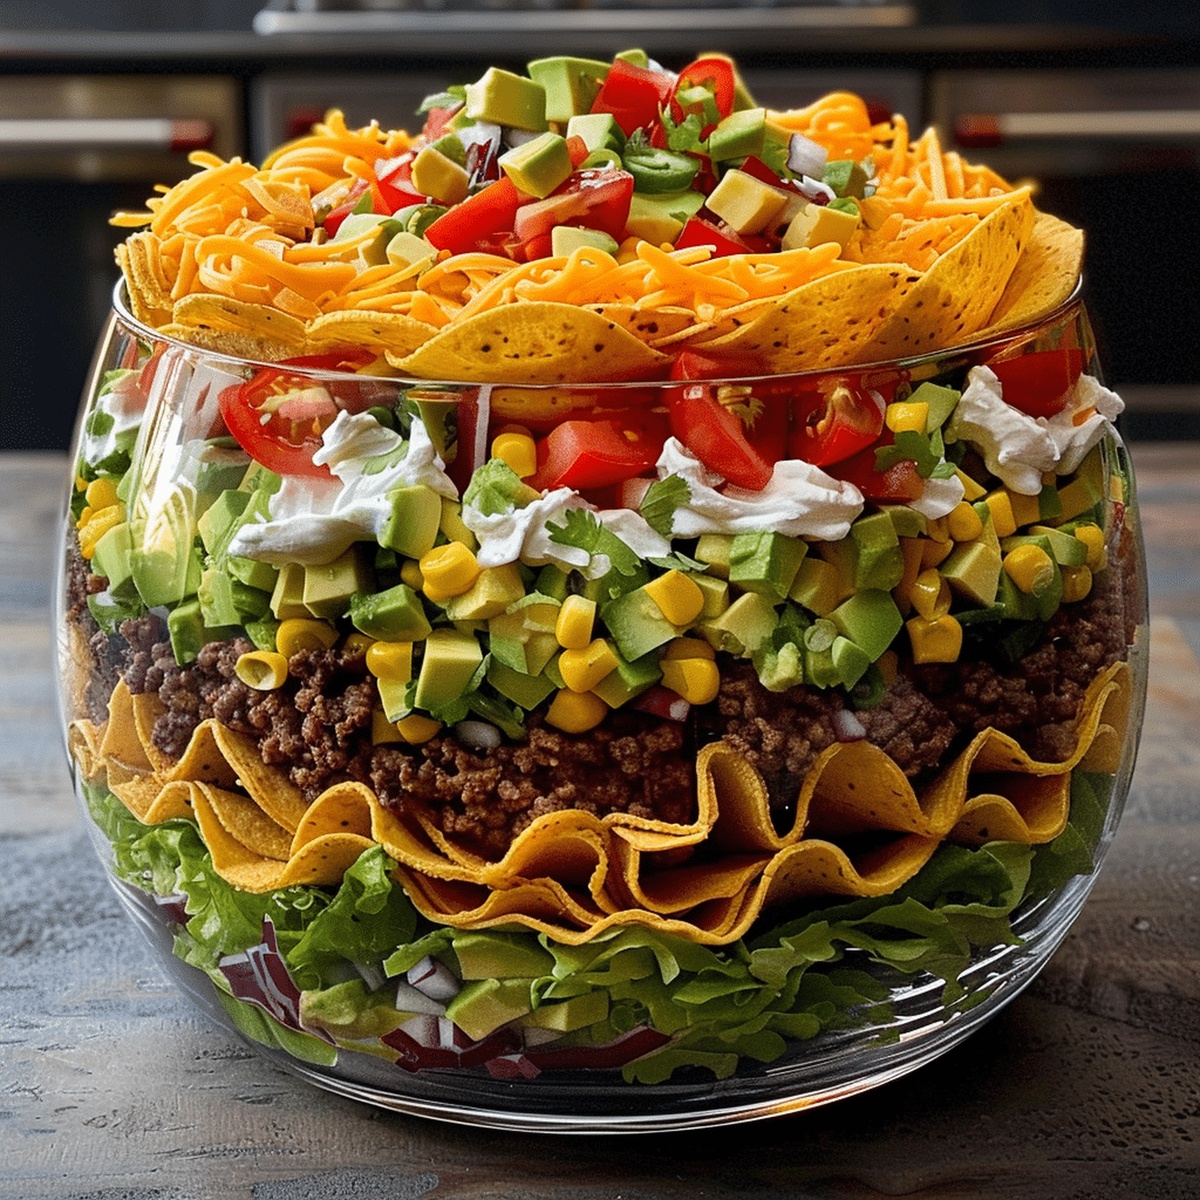
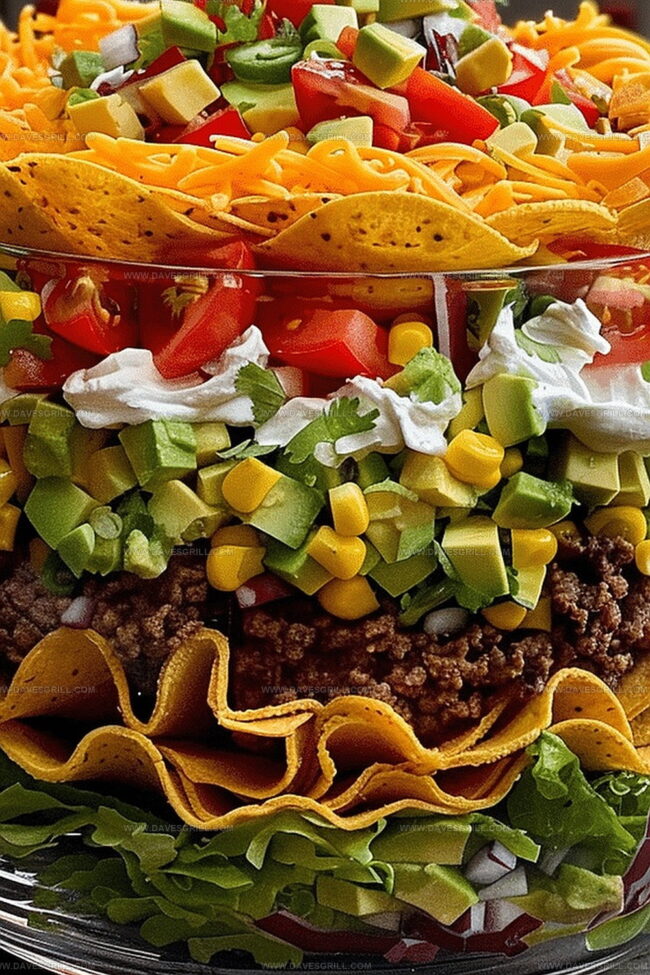
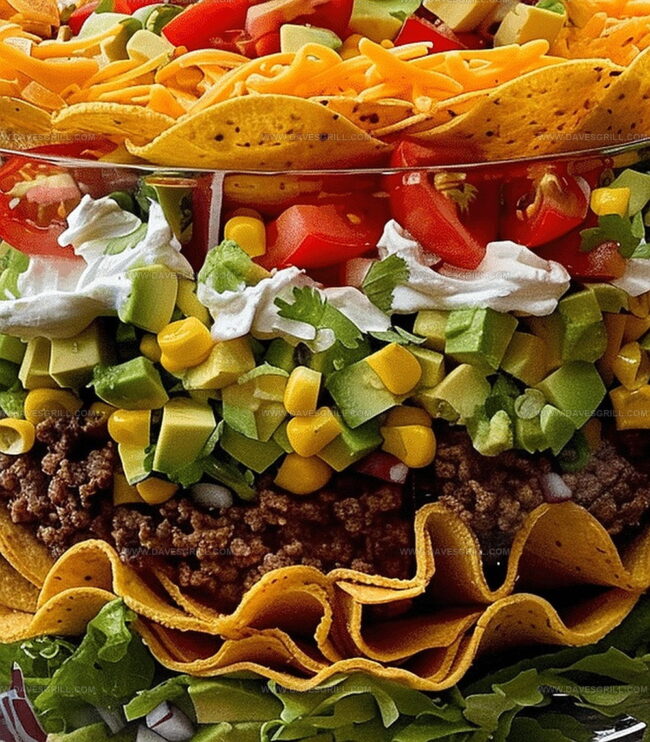
Layers of crisp ingredients stack up like delicious edible art.
Colorful vegetables dance between zesty proteins and creamy textures.
Mexican-inspired culinary magic bursts from each carefully constructed bite.
Fresh ingredients intermingle with savory seasonings that spark excitement.
Crunchy tortilla chips provide the perfect crisp foundation for this vibrant dish.
Hungry friends will devour this crowd-pleasing creation in minutes.
Dig into a salad that promises pure deliciousness with every forkful.
Why This Taco Salad Is Always a Crowd-Pleaser
What You Need for Seven-Layer Taco Salad
Meat Base Layer:.
Protein and Creamy Layers:Seasoning and Flavor Enhancers:Fresh Vegetable Toppings:Cheese Layer:Serving Accompaniment:Sauce Layer:How to Assemble Taco Salad Layers
Step 1: Brown The Meat
Step 2: Build The Flavor Foundation
Step 3: Create Colorful Vegetable Layers
Step 4: Chill And Prepare For Serving
Taco Salad Tips for Every Layer
Saving and Serving Taco Salad Later
Toppings to Try with Seven-Layer Salad
Fun Variations of the Classic Taco Salad
Print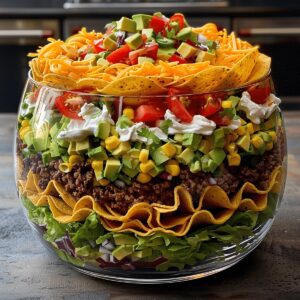
Seven-Layer Taco Salad Recipe
- Total Time: 1 hour 20 minutes
- Yield: 8 1x
Description
Mexican-inspired seven-layer taco salad delivers a fiesta of flavors and textures in one delightful dish. Crisp lettuce, zesty salsa, seasoned ground beef, and creamy toppings create a perfect balance that will make hunger disappear with each refreshing bite.
Ingredients
Main Ingredients:
- 1 lb (454 grams) ground beef
- 1 cup (240 milliliters) salsa
- 1 can (16 ounces/454 grams) refried beans
- 2 cups (470 milliliters) shredded lettuce (iceberg or romaine)
Cheese and Dairy Ingredients:
- 1 cup (240 milliliters) sour cream
- 1 cup (240 milliliters) shredded cheddar cheese
- 1 cup (240 milliliters) guacamole
Garnish and Seasoning Ingredients:
- 1 packet taco seasoning mix
- 1 cup (240 milliliters) diced tomatoes
- ½ cup (120 milliliters) sliced black olives
- ¼ cup (60 milliliters) chopped green onions
- Tortilla chips (for serving, optional)
Instructions
- Transform ground beef into a savory taco-seasoned mixture by browning thoroughly in a skillet, draining excess fat, and mixing with spice blend until perfectly coated.
- Create a flavor foundation in a transparent serving vessel by spreading a smooth, creamy layer of warm refried beans across the bottom.
- Carefully distribute the seasoned beef evenly over the bean foundation, ensuring complete coverage.
- Apply a silky sour cream layer, followed by a vibrant, fresh guacamole spread to enhance depth and richness.
- Generously drizzle zesty salsa across the creamy landscape, introducing a tangy dimension to the composition.
- Construct a crisp foundation of finely chopped lettuce, providing a refreshing textural contrast to the preceding layers.
- Embellish the salad with a generous cascade of sharp cheddar cheese, allowing it to cascade naturally across the lettuce.
- Punctuate the layers with vibrant diced tomatoes, creating bursts of color and juicy freshness.
- Scatter black olives and delicate green onion rings, adding complexity and visual intrigue to the assembled masterpiece.
- Refrigerate the completed salad for a minimum of one hour, permitting the flavors to harmonize and intensify.
- Present the chilled creation alongside crisp tortilla chips, inviting guests to scoop and savor each magnificent layer.
Notes
- Use lean ground beef or turkey to reduce fat content and create a healthier version of the salad.
- Drain beef thoroughly to prevent excess grease and soggy layers in the final dish.
- Customize the spice level by choosing mild, medium, or hot taco seasoning based on personal preference.
- Prepare components ahead of time and assemble just before serving to maintain crisp vegetable textures.
- For gluten-free option, verify taco seasoning ingredients and use corn tortilla chips instead of wheat-based ones.
- Enhance protein by adding black beans or grilled chicken as alternative meat options.
- Opt for Greek yogurt instead of sour cream to reduce calories and increase protein content.
- Layer ingredients strategically to prevent liquid ingredients from making bottom layers soggy.
- Serve immediately after chilling to preserve fresh vegetable crunch and vibrant colors.
- Consider vegetarian adaptation by replacing meat with roasted vegetable or plant-based protein alternatives.
- Prep Time: 20 minutes
- Cook Time: 1 hour
- Category: Lunch, Dinner, Appetizer
- Method: Frying
- Cuisine: Mexican
Nutrition
- Serving Size: 8
- Calories: 450
- Sugar: 3 g
- Sodium: 800 mg
- Fat: 30 g
- Saturated Fat: 12 g
- Unsaturated Fat: 15 g
- Trans Fat: 0 g
- Carbohydrates: 30 g
- Fiber: 5 g
- Protein: 20 g
- Cholesterol: 70 mg
Dave Mitchell
Founder & Chief Recipe Developer
Expertise
Education
Asheville-Buncombe Technical Community College
Associate of Applied Science in Culinary Arts
Focus: Comprehensive training in culinary techniques, kitchen management, and menu planning, with a special emphasis on grilling and outdoor cooking.
Dave Mitchell is the heart behind Daves Grill, a cook, writer, and lover of all things grilled. He studied Culinary Arts at Asheville-Buncombe Technical Community College and spent years cooking, testing, and sharing recipes that actually work.
Dave started Daves Grill to keep things simple: one great recipe at a time. His food is bold, easy to follow, and made for real people with regular kitchens. From juicy steaks to quick sides, Dave’s recipes bring the heat without the hassle.