
Velvety Amish Baked Custard Recipe: Simple Country Bliss!
Creamy, rich custards have always held a special place in traditional dessert recipes, and this silky Amish baked custard recipe promises pure comfort.
Generations of home cooks have perfected this delicate sweet treat with simple ingredients that speak volumes about classic culinary traditions.
The smooth, velvety texture of Amish baked custard whispers memories of grandma’s kitchen and warm family gatherings.
Eggs, milk, and sugar dance together to create a dessert that melts effortlessly on your tongue.
Each spoonful carries a gentle sweetness that feels like a warm embrace from the heartland.
The magic of this recipe lies in its simplicity and time-honored techniques passed down through Amish kitchens.
Prepare to fall in love with a dessert that embodies pure, unadulterated deliciousness.
Quick Recipe Overview
Amish Custard Ingredient Rundown
For Base Ingredients:For Liquid Base:For Baking Preparation:Tools That Help with Silky Custard Texture
Bake a Classic Custard That’s Simple and Sweet
Crank your oven to a cozy 325 degrees, creating the perfect toasty environment for this creamy delight.
Grab a mixing bowl and whirl together eggs, sugar, a pinch of salt, and vanilla until the mixture looks silky and uniform, like liquid sunshine.
Slowly stream in warm milk, gently stirring to marry all the ingredients into a luxurious, smooth mixture that promises pure comfort.
Tenderly transfer your dreamy custard into a baking dish, making sure every drop finds its place.
Slide the dish into the waiting oven and let it bake for about 45-50 minutes. You’ll know it’s ready when the center has a gentle wobble but looks set, like a soft cloud waiting to be enjoyed.
Remove from the oven and let the custard cool down, allowing its flavors to settle and become even more irresistible. Serve at room temperature or chilled for a heavenly treat that whispers comfort with every spoonful.
Tips to Avoid Overbaking or Cracking
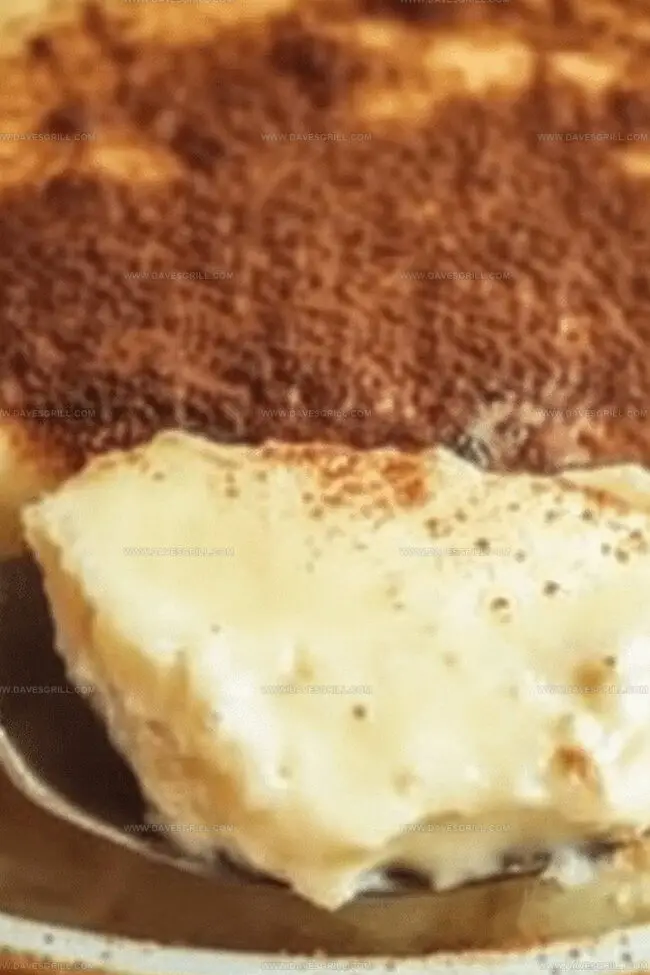
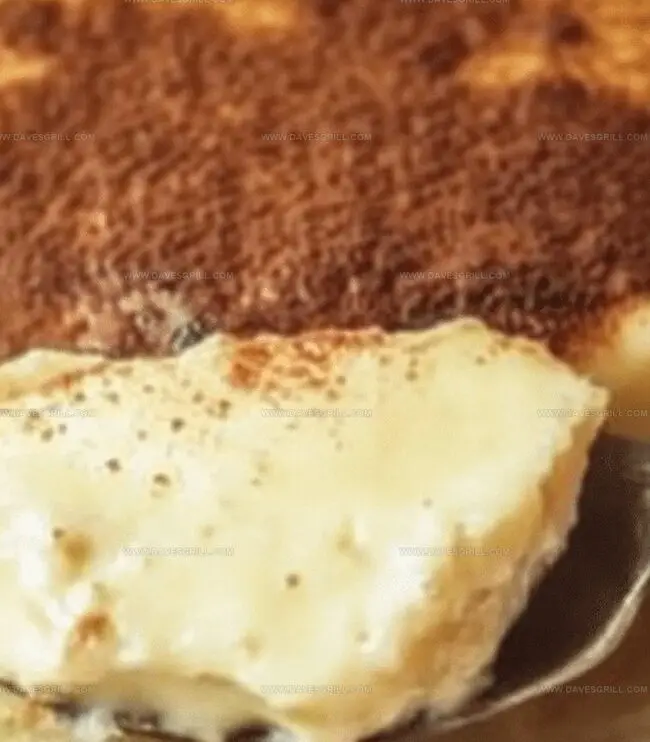
Serve Chilled with a Dusting of Nutmeg
Store Covered in the Fridge
FAQs
Amish Baked Custard is a traditional recipe that focuses on simple, high-quality ingredients and a delicate, smooth texture achieved through careful mixing and gentle baking.
No, it’s surprisingly easy. The recipe requires basic ingredients and simple techniques like whisking and tempering eggs, making it accessible for home cooks of all skill levels.
While traditional Amish Baked Custard uses whole milk, you can experiment with alternatives like almond or coconut milk, but the texture and richness might be slightly different from the original recipe.
The custard is done when it’s set but still slightly jiggly in the center. A knife inserted near the edge should come out clean, indicating it’s ready to be removed from the oven.
Print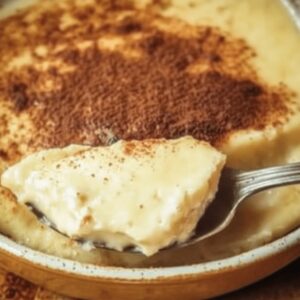
Silky Amish Baked Custard Recipe
- Total Time: 1 hour
- Yield: 7 1x
Description
Silky Amish Baked Custard delights dessert enthusiasts with its rich, creamy texture from Pennsylvania Dutch kitchens. Warm milk, eggs, and sugar blend into a smooth, comforting treat that satisfies sweet cravings with simple, traditional ingredients you’ll savor.
Ingredients
- 3 cups (720 ml) whole milk (warm, not hot)
- 4 large eggs
- ½ cup (100 g) granulated sugar
- 2 teaspoons (10 ml) vanilla extract
- ¼ teaspoon (1.5 g) salt
- ¼ teaspoon (0.5 g) ground nutmeg (optional, for topping)
Instructions
- Mixing: Combine eggs, sugar, salt, and vanilla extract in a large bowl, whisking thoroughly until the mixture becomes smooth and homogeneous.
- Milk Integration: Slowly incorporate warm milk into the egg mixture, stirring constantly to create a uniform, creamy base that prevents any potential curdling.
- Water Bath Preparation: Place the custard mixture into a baking dish positioned within a deep roasting pan, carefully adding scalding water to reach halfway up the sides of the custard container, ensuring gentle and even heat distribution.
- Baking Process: Transfer the prepared pan to an oven preheated to 325°F, allowing the custard to bake for 45-50 minutes without disturbance, creating a silky, delicate texture.
- Doneness Check: Test the custard’s readiness by inserting a clean knife near the center; it should emerge with a minimal, slightly moist residue, indicating perfect creamy consistency.
- Cooling and Setting: Carefully remove the pan from the oven, extract the custard from the water bath, and let it cool to room temperature before refrigerating for at least two hours to enhance flavor and achieve optimal set.
- Serving: Present the chilled custard, optionally garnishing with a light sprinkle of ground nutmeg or cinnamon for an aromatic and visually appealing finish.
Notes
- Prevent Curdling: Slowly add warm milk to eggs while constant whisking to maintain smooth, silky texture without scrambling ingredients.
- Master Water Bath Technique: Ensure water reaches exactly midway up custard dish sides, creating consistent heat distribution for even, creamy baking.
- Precision Temperature Matters: Maintain 325°F oven temperature strictly; slight variations can cause cracking or uneven custard consistency.
- Knife Test Mastery: When testing doneness, look for minimal moisture on knife – wet but not liquid indicates perfect custard texture.
- Prep Time: 10 minutes
- Cook Time: 50 minutes
- Category: Desserts, Breakfast
- Method: Baking
- Cuisine: American
Nutrition
- Serving Size: 7
- Calories: 190
- Sugar: 10 g
- Sodium: 70 mg
- Fat: 7 g
- Saturated Fat: 4 g
- Unsaturated Fat: 2 g
- Trans Fat: 0 g
- Carbohydrates: 24 g
- Fiber: 0 g
- Protein: 6 g
- Cholesterol: 130 mg
Emily Lawson
Content Creator & Culinary Specialist
Expertise
Education
Oregon Culinary Institute
Diploma in Culinary Arts
Focus: Emphasis on farm-to-table cooking, sustainable practices, and the fusion of global flavors with traditional grilling methods.
Emily Lawson is the content creator at Daves Grill, turning tasty ideas into clear, easy recipes. Based in Portland, she trained at the Oregon Culinary Institute and loves cooking with fresh, seasonal ingredients, especially grilled veggies and global flavors.
Emily mixes food writing with hands-on cooking to bring you recipes that feel fun, not stressful. Her goal is to make every dish simple, flavorful, and worth coming back to. Together, she and Dave serve up real food, one recipe at a time.