
Smooth Heavenly Delight: Silky Divinity Candy Recipe
Sweet-tooth enthusiasts stumble upon this decadent divinity candy recipe that promises pure confectionery bliss.
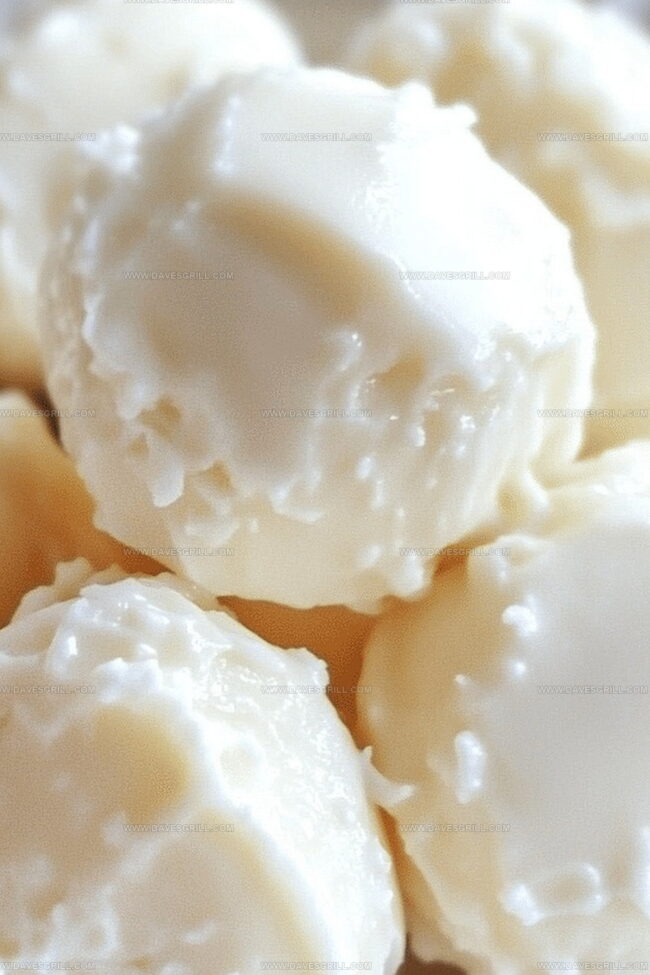
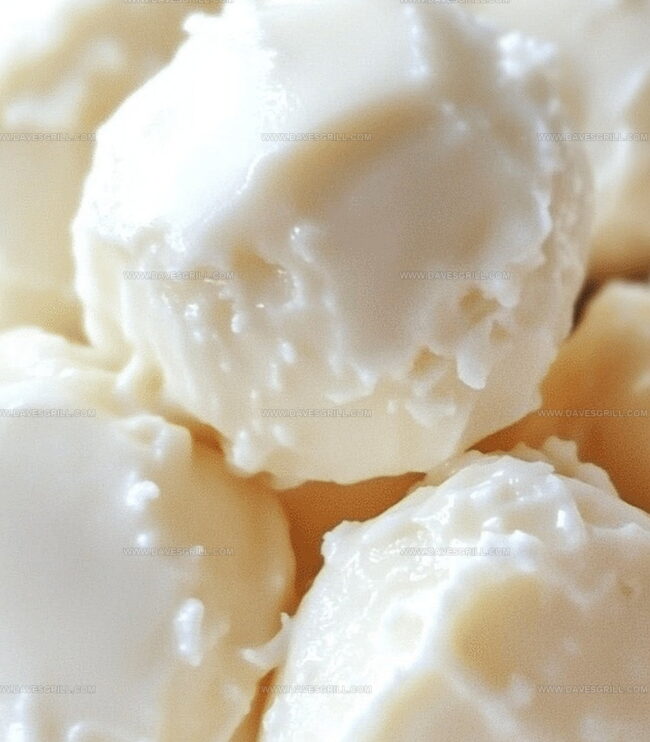
Southern kitchens have long cherished this classic treat with its cloud-like texture and melt-in-your-mouth goodness.
Crafted with simple ingredients, this delightful candy demands patience and precision.
Generations of home bakers have perfected the art of whipping egg whites and sugar into a heavenly mixture.
The smooth, marshmallow-like consistency emerges from careful beating and precise temperature control.
Each bite transports you to a nostalgic world of homemade sweetness.
Unleash your inner confectioner and create a treat that will become a cherished family favorite.
Quick Recipe Overview
Divinity Candy Ingredient List
For Sugar Base:For Protein Structure:For Flavor and Texture Enhancement:Tools That Make This Old-Fashioned Candy Work
Whip a Cloud-Like Candy with Crunchy Bites
Grab a baking sheet and line it with parchment paper, creating a smooth surface for your sweet creations.
Pour sugar, corn syrup, and water into a saucepan. Heat gently, stirring until sugar melts completely. Let the mixture bubble away without touching it until it hits 250F – this is where the candy chemistry happens.
Grab your mixer and transform egg whites into billowy peaks that stand tall and proud. This is where the of texture begins.
Carefully stream the scorching syrup into the egg whites while mixing. Watch as they dance together, creating a glossy, thick mixture that looks like marshmallow dreams.
Splash in vanilla and sprinkle nuts if you’re feeling adventurous. Give a quick mix to distribute the goodness evenly.
Use two spoons to drop dollops of the mixture onto your prepared sheet. Move fast – this candy sets quickly!
Allow your divinity to chill at room temperature for about two hours. Once firm, transfer to an airtight container and enjoy your homemade treat.
Tips for Sugar Temperature and Shaping
Serve in Wrappers or on Dessert Trays
Store in Tins to Keep It Crisp
FAQs
The key ingredients are sugar, corn syrup, egg whites, salt, vanilla extract, and optional nuts like pecans or walnuts.
Divinity candy requires precise temperature control and careful technique, making it a bit challenging for beginners but achievable with practice and patience.
A candy thermometer ensures the sugar syrup reaches exactly 250F (hard-ball stage), which is crucial for the right candy texture and consistency.
While possible with a hand mixer, a stand mixer is recommended because it allows continuous mixing while you slowly pour hot syrup, which is essential for achieving the right candy texture.
Print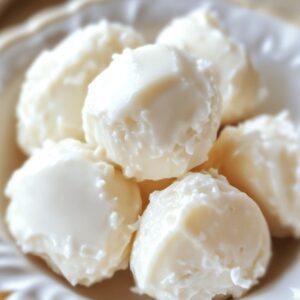
Silky Divinity Candy Recipe
- Total Time: 25 minutes
- Yield: 13 1x
Description
Southern holiday classic Divinity Candy delights with its cloud-like meringue texture and sweet marshmallow essence. Delicate white confection provides festive pleasure for holiday gatherings and special family celebrations.
Ingredients
- 2 large egg whites (at room temperature)
- 2 ½ cups (590 ml/20 fl oz) granulated sugar
- ½ cup (120 ml/4 fl oz) light corn syrup
- ½ cup (120 ml/4 fl oz) water
- 1 tsp (5 ml) vanilla extract
- ¼ tsp (1.25 ml) salt
- ½ cup (60 g/2 oz) chopped pecans or walnuts (optional)
Instructions
- Preparation: Line a baking sheet with parchment paper, creating an ideal surface for candy formation.
- Syrup Creation: Merge sugar, corn syrup, and water in a saucepan, gently heating until sugar dissolves completely, then allow to boil without stirring until reaching 250F on a candy thermometer.
- Egg White Transformation: Simultaneously whip egg whites and salt in a stand mixer at high speed until forming stiff, glossy peaks.
- Mixture Fusion: Gradually stream hot syrup into whipped egg whites while mixing at medium speed, then increase to high, beating until the mixture becomes thick and maintains a sturdy shape.
- Flavor Enhancement: Incorporate vanilla extract and chopped nuts, folding gently to ensure even distribution throughout the candy mixture.
- Shaping and Setting: Quickly deposit dollops of divinity onto the prepared baking sheet using two spoons, working swiftly before the mixture sets.
- Cooling and Storage: Allow candies to rest at room temperature for 2 hours, then transfer to an airtight container to preserve their delicate texture and flavor.
Notes
- Control Syrup Temperature: Precise heat management is crucial; even a few degrees can transform candy texture from creamy to grainy or hard.
- Manage Humidity Carefully: Avoid making divinity on humid days, as moisture prevents proper setting and can cause sticky, soft results.
- Master Egg White Technique: Whip egg whites to stiff peaks with clean, dry beaters to ensure maximum volume and stable candy structure.
- Pour Syrup Gradually: Stream hot sugar syrup slowly into egg whites while mixing to prevent scrambling and maintain smooth, glossy consistency.
- Prep Time: 15 minutes
- Cook Time: 10 minutes
- Category: Desserts, Snacks
- Method: Boiling
- Cuisine: American
Nutrition
- Serving Size: 13
- Calories: 143
- Sugar: 33 g
- Sodium: 14 mg
- Fat: 3 g
- Saturated Fat: 0.5 g
- Unsaturated Fat: 2.5 g
- Trans Fat: 0 g
- Carbohydrates: 34 g
- Fiber: 0.5 g
- Protein: 1 g
- Cholesterol: 0 mg
Emily Lawson
Content Creator & Culinary Specialist
Expertise
Education
Oregon Culinary Institute
Diploma in Culinary Arts
Focus: Emphasis on farm-to-table cooking, sustainable practices, and the fusion of global flavors with traditional grilling methods.
Emily Lawson is the content creator at Daves Grill, turning tasty ideas into clear, easy recipes. Based in Portland, she trained at the Oregon Culinary Institute and loves cooking with fresh, seasonal ingredients, especially grilled veggies and global flavors.
Emily mixes food writing with hands-on cooking to bring you recipes that feel fun, not stressful. Her goal is to make every dish simple, flavorful, and worth coming back to. Together, she and Dave serve up real food, one recipe at a time.