
Velvety From-Scratch Egg Noodles Recipe: A Cozy Kitchen Win!
Crafting delicate homemade egg noodles brings pure culinary magic right to your kitchen counter.
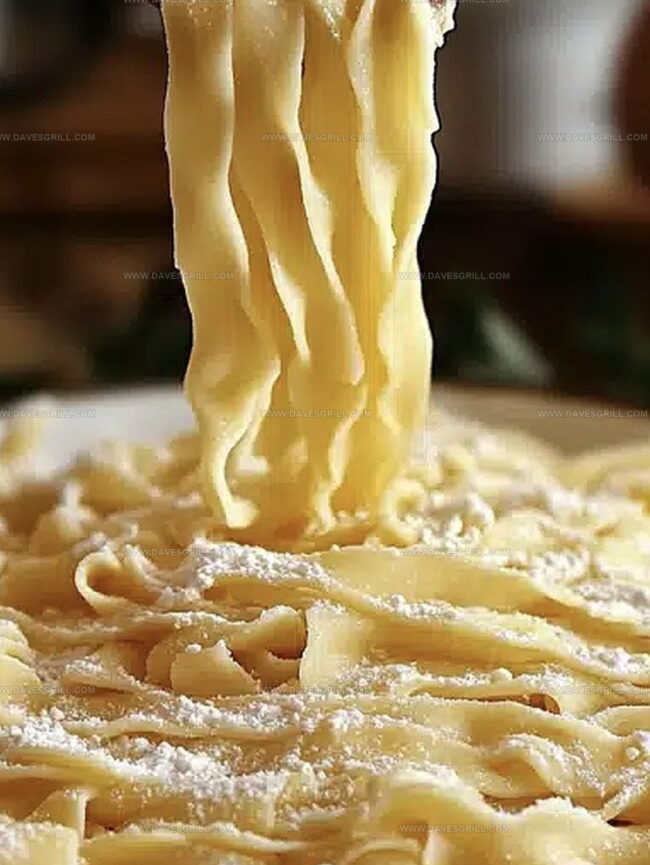
These silky egg noodles emerge from simple ingredients with extraordinary results.
Flour, eggs, and salt blend together in a dance of deliciousness that transforms ordinary meals into memorable experiences.
Every home cook can master this classic technique with surprising ease.
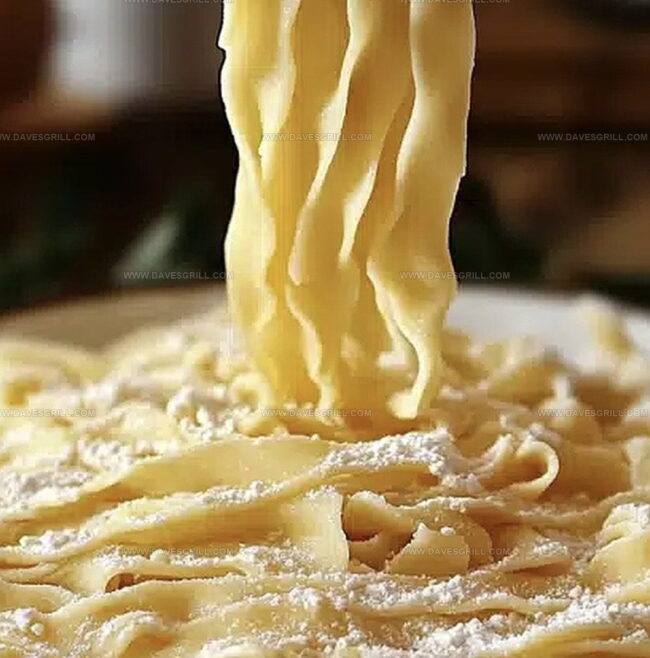
The soft, tender strands of pasta promise comfort and warmth in every bite.
Fresh noodles elevate soups, casseroles, and main dishes with their rich, luxurious texture.
You’ll love how these handmade noodles create an instant connection to traditional cooking techniques passed down through generations.
Quick Recipe Overview
Ingredients for Homemade Egg Noodles
For Dry Ingredients:For Liquid Binding Ingredients:For Preparation Support:Tools for Rolling and Cutting Fresh Egg Noodles
How to Make Homemade Egg Noodles by Hand
Sprinkle salt into a spacious mixing bowl and add flour. Swirl the dry ingredients together until perfectly blended.
Carve a crater in the flour’s center and gently crack eggs inside. Whisk eggs with a fork, slowly pulling flour from the edges until a shaggy dough emerges.
Dump the mixture onto a dusted surface. Pummel and fold the dough with strong hands, working it until silky and stretchy. Splash tiny water droplets if feeling dry, or dust extra flour if too clingy. Continue massaging for 8-10 minutes.
Wrap the dough snugly in plastic or drape with a clean cloth. Let it chill at room temperature for a minimum of 30 minutes. This pause helps gluten unwind, making the dough supremely rollable.
Roll the dough super thin using a pasta machine or rolling pin. Slice into desired noodle width. Hang or dust with flour to prevent sticking before cooking.
Drop noodles into boiling salted water. Cook for 2-3 minutes until floating and tender. Drain and serve with your favorite sauce or in a comforting soup.
Tips for Tender and Rustic Egg Noodles
Serving Homemade Egg Noodles with Sauce or Broth
Storage Methods for Homemade Egg Noodles
FAQs
Yes, you can! Use a rolling pin to roll the dough very thin, then fold and cut the dough into strips with a sharp knife.
The dough should feel smooth, elastic, and no longer sticky. It should spring back when you press it with your finger.
All-purpose flour is ideal, but you can also use semolina or a mix of all-purpose and semolina for a more authentic texture.
Yes, after cutting the noodles, dust them with flour and let them dry completely. Then place in a freezer bag and freeze for up to 2-3 weeks.
Print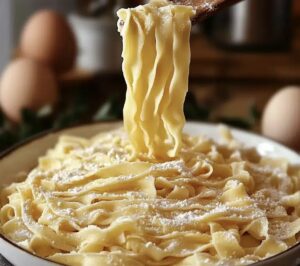
Silky Homemade Egg Noodles Recipe
- Total Time: 50 minutes
- Yield: 5 1x
Description
Crafting homemade egg noodles reveals a simple Italian pasta technique passed down through generations. Delicate strands blend flour, eggs, and salt into a silky dough perfect for comforting meals you will cherish.
Ingredients
- 2 cups (250 grams) all-purpose flour
- 3 large eggs
- 12 tbsps (180 ml) water (as needed)
- ½ tsp salt
Instructions
- Flour Preparation: Sift flour and salt into a spacious mixing bowl, creating a smooth, even surface for egg integration.
- Dough Formation: Create a central well in the flour mound, crack eggs into the depression. Gradually incorporate flour into eggs using a fork, blending until a cohesive, slightly rough dough develops.
- Kneading Process: Transfer dough to a flour-dusted work surface. Knead vigorously and consistently, developing gluten and achieving a smooth, elastic consistency. Adjust moisture by adding minimal water or flour as needed to maintain optimal texture.
- Dough Resting: Wrap dough completely in plastic wrap or a clean kitchen towel. Allow to rest at room temperature, enabling gluten relaxation and enhancing dough’s malleability and rollout potential.
- Noodle Shaping: After resting, roll out dough to desired thinness. Cut into precise, uniform strips or ribbons, preparing for cooking or drying. Noodles are now ready to be transformed into a delectable culinary masterpiece.
Notes
Optimize Flour Selection: Choose high-protein bread flour or all-purpose flour for optimal gluten development, ensuring a more elastic and sturdy noodle texture.
Master Kneading Technique: Develop smooth, consistent dough by applying steady, firm pressure and rotating the dough quarter-turns during kneading to promote even gluten stretching.
Control Moisture Precision: Add water or flour incrementally – tiny droplets prevent dough from becoming too sticky or dry, maintaining the perfect pliable consistency.
Rest Dough Strategically: Allow minimum 30-minute relaxation period at room temperature, which helps gluten strands relax, making the dough more workable and preventing tough, chewy noodles.
- Prep Time: 20 minutes
- Cook Time: 30 minutes
- Category: Breakfast, Lunch, Dinner
- Method: Blending
- Cuisine: Italian
Nutrition
- Serving Size: 5
- Calories: 182
- Sugar: 0 g
- Sodium: 100 mg
- Fat: 3.6 g
- Saturated Fat: 1.0 g
- Unsaturated Fat: 2.6 g
- Trans Fat: 0 g
- Carbohydrates: 34 g
- Fiber: 1 g
- Protein: 6 g
- Cholesterol: 186 mg
Emily Lawson
Content Creator & Culinary Specialist
Expertise
Education
Oregon Culinary Institute
Diploma in Culinary Arts
Focus: Emphasis on farm-to-table cooking, sustainable practices, and the fusion of global flavors with traditional grilling methods.
Emily Lawson is the content creator at Daves Grill, turning tasty ideas into clear, easy recipes. Based in Portland, she trained at the Oregon Culinary Institute and loves cooking with fresh, seasonal ingredients, especially grilled veggies and global flavors.
Emily mixes food writing with hands-on cooking to bring you recipes that feel fun, not stressful. Her goal is to make every dish simple, flavorful, and worth coming back to. Together, she and Dave serve up real food, one recipe at a time.