Silky Smooth Double Batches of Peanut Butter Fudge Recipe
Creamy, decadent peanut butter fudge that melts double batches of memories right onto your taste buds will make anyone weak in the knees.
Sweet treats like these connect us to childhood comfort.
Rich and smooth, this recipe brings pure indulgence to your kitchen.
Chocolate lovers and dessert enthusiasts will absolutely adore this simple yet luxurious confection.
Each bite promises a perfect balance of sweetness and nutty richness.
The process is surprisingly straightforward, requiring just a few basic ingredients.
Prepare to impress everyone with this mouthwatering, no-fail fudge that disappears faster than you can slice it.
Quick Recipe Overview
What You’ll Need for 3 Double Batches of Peanut Butter Fudge
For Base Ingredients:For Flavor Enhancers:For Binding and Texture:Gear That Helps You Handle Fudge in Big Batches
How to Make a Triple Batch of Peanut Butter Fudge With Ease
Get your pan ready by lining it with parchment paper or a light spray of non-stick coating. This trick makes pulling out your fudge super smooth later.
Warm up butter in a big pot over medium heat. Swirl in peanut butter until everything melts into a silky, glossy mixture that looks totally irresistible.
Pour in sweetened condensed milk and stir until the mixture transforms into a creamy dream. Keep stirring for a couple minutes to ensure everything blends perfectly.
Turn heat low and gently mix in powdered sugar. Make sure you break up any sneaky sugar lumps while stirring. Splash in vanilla and a tiny pinch of salt to amp up the flavor.
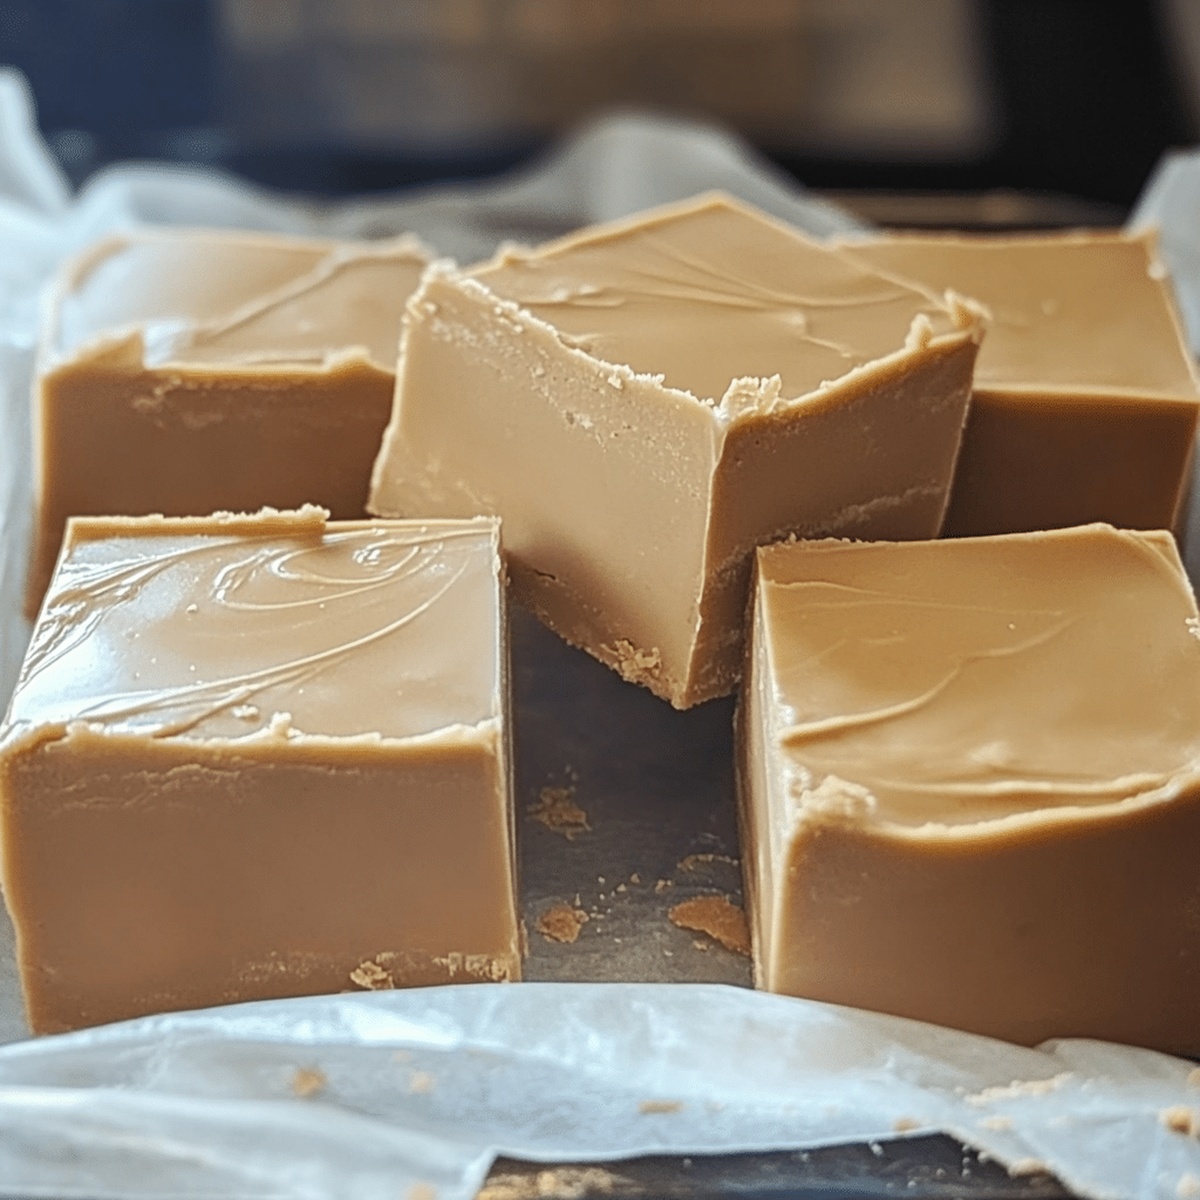
Pour your luscious mixture into the prepared pan, spreading it evenly with a spatula. Slide the pan into the refrigerator and let it hang out for at least two hours until it becomes firm.
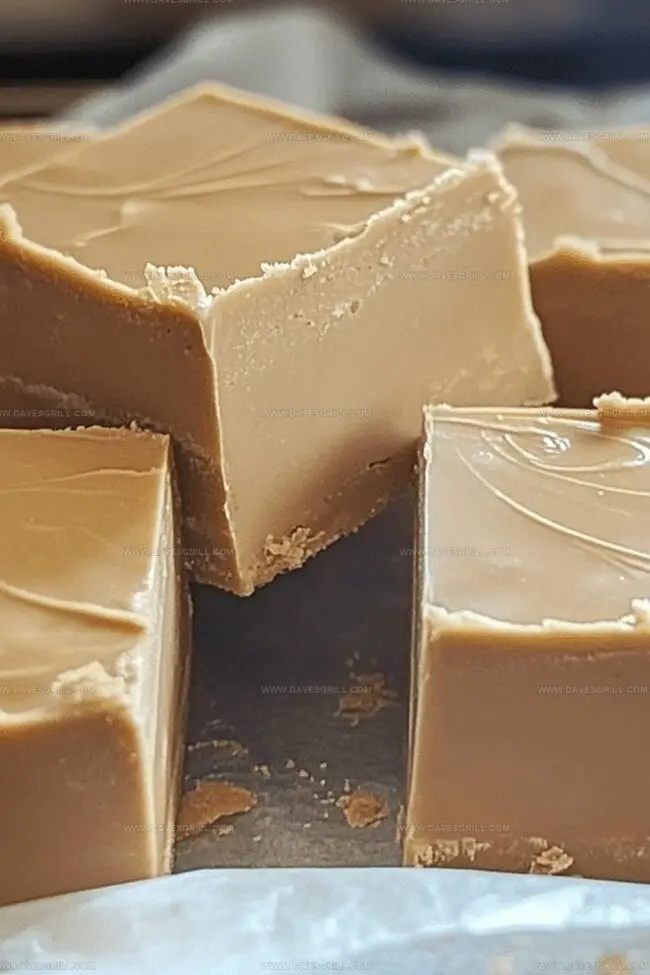
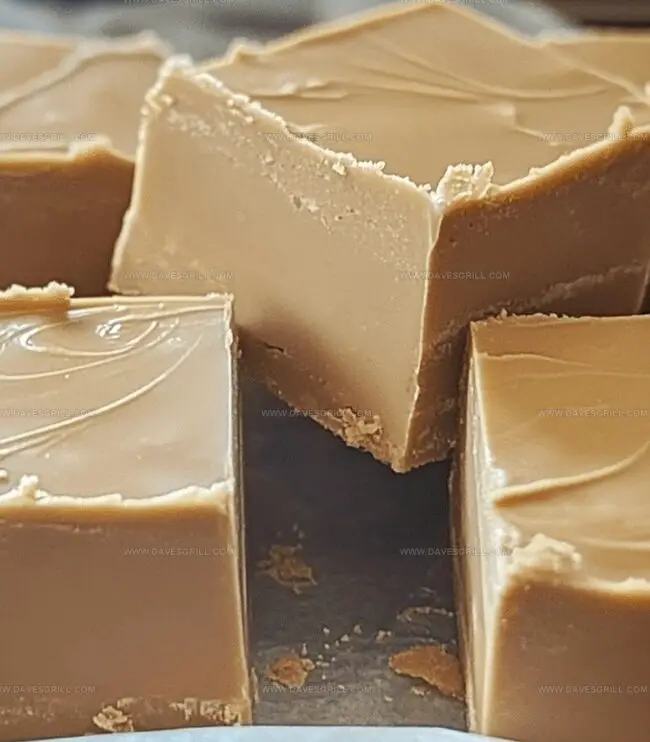
When the fudge is completely set, lift it out and slice into bite-sized squares. Share these delectable treats with loved ones or keep them all for yourself – we won’t judge!
Mix-Ins and Toppings for a Bigger Batch of Flavor
Serve This Fudge as Gifts or Just to Treat Yourself
Store That Fudge in Squares, Slabs, or Spoons
FAQs
Yes, you can use creamy or crunchy peanut butter. Natural or commercial brands work well, but avoid separated oils or extremely runny peanut butter for best texture.
Sift the powdered sugar thoroughly and stir constantly while incorporating it to ensure a smooth, creamy consistency. Using fresh ingredients and mixing carefully helps prevent graininess.
Absolutely! This recipe doesn’t require a candy thermometer. Just follow the steps carefully, cook on low heat, and stir consistently to achieve the right texture.
Definitely! You can fold in chopped peanuts, chocolate chips, or drizzle melted chocolate on top after the fudge sets for extra flavor and texture.
Print
Smooth Double Batches Of Peanut Butter Fudge Recipe
- Total Time: 10 minutes
- Yield: 37 1x
Description
Classic peanut butter fudge delivers rich, creamy indulgence straight from grandma’s kitchen. Sweet chocolate chips and smooth peanut butter create a nostalgic dessert you’ll crave again and again.
Ingredients
- 3 cups (680 grams/24 oz) unsalted butter
- 3 cups (750 grams/26.5 oz) creamy peanut butter
- 12 cups (1.36 kilograms/48 oz) powdered sugar
- 3 tbsps (45 milliliters/1.5 fl oz) vanilla extract
Instructions
- Pan Preparation: Line a 9×13-inch baking pan completely with parchment paper, creating slight overhangs for effortless fudge extraction.
- Butter Melting: Gently liquefy butter in a heavy-bottomed saucepan over medium heat until smooth and completely melted.
- Peanut Butter Integration: Fold peanut butter into melted butter, stirring continuously until achieving a glossy, uniform mixture with no visible separation.
- Liquid Incorporation: Stream sweetened condensed milk into the butter-peanut butter blend, maintaining consistent stirring to develop a creamy, homogeneous texture.
- Sugar Blending: Reduce heat to low, gradually introduce sifted powdered sugar while mixing thoroughly to prevent potential lumps and ensure silky consistency.
- Flavor Enhancement: Incorporate vanilla extract and salt, folding gently until perfectly integrated and the mixture displays a uniform, luxurious appearance.
- Pan Filling: Pour the warm fudge mixture into the prepared pan, using a spatula to distribute evenly and create a perfectly smooth surface.
- Chilling Process: Refrigerate the pan for 2-3 hours, or preferably overnight, allowing complete setting and optimal textural development.
- Serving Preparation: Remove the set fudge using parchment paper edges, then slice into delicate, bite-sized squares with a sharp knife for elegant presentation.
Notes
- Control Heat Carefully: Maintain low, steady heat to prevent burning or separating ingredients, which can ruin the smooth fudge texture.
- Sift Sugar Strategically: Always sift powdered sugar before adding to eliminate lumps and ensure a silky, professional-looking final product.
- Chill Completely: Refrigerate fudge for at least 2-3 hours, preferably overnight, to achieve the perfect firm yet creamy consistency.
- Use Quality Ingredients: Select high-grade butter and creamy peanut butter for richer flavor and smoother fudge that melts deliciously in your mouth.
- Prep Time: 10 minutes
- Cook Time: 0 minutes
- Category: Desserts, Snacks
- Method: Baking
- Cuisine: American
Nutrition
- Serving Size: 37
- Calories: 175
- Sugar: 16 g
- Sodium: 25 mg
- Fat: 10 g
- Saturated Fat: 4 g
- Unsaturated Fat: 5 g
- Trans Fat: 0 g
- Carbohydrates: 20 g
- Fiber: 0 g
- Protein: 3 g
- Cholesterol: 0 mg
Emily Lawson
Content Creator & Culinary Specialist
Expertise
Education
Oregon Culinary Institute
Diploma in Culinary Arts
Focus: Emphasis on farm-to-table cooking, sustainable practices, and the fusion of global flavors with traditional grilling methods.
Emily Lawson is the content creator at Daves Grill, turning tasty ideas into clear, easy recipes. Based in Portland, she trained at the Oregon Culinary Institute and loves cooking with fresh, seasonal ingredients, especially grilled veggies and global flavors.
Emily mixes food writing with hands-on cooking to bring you recipes that feel fun, not stressful. Her goal is to make every dish simple, flavorful, and worth coming back to. Together, she and Dave serve up real food, one recipe at a time.