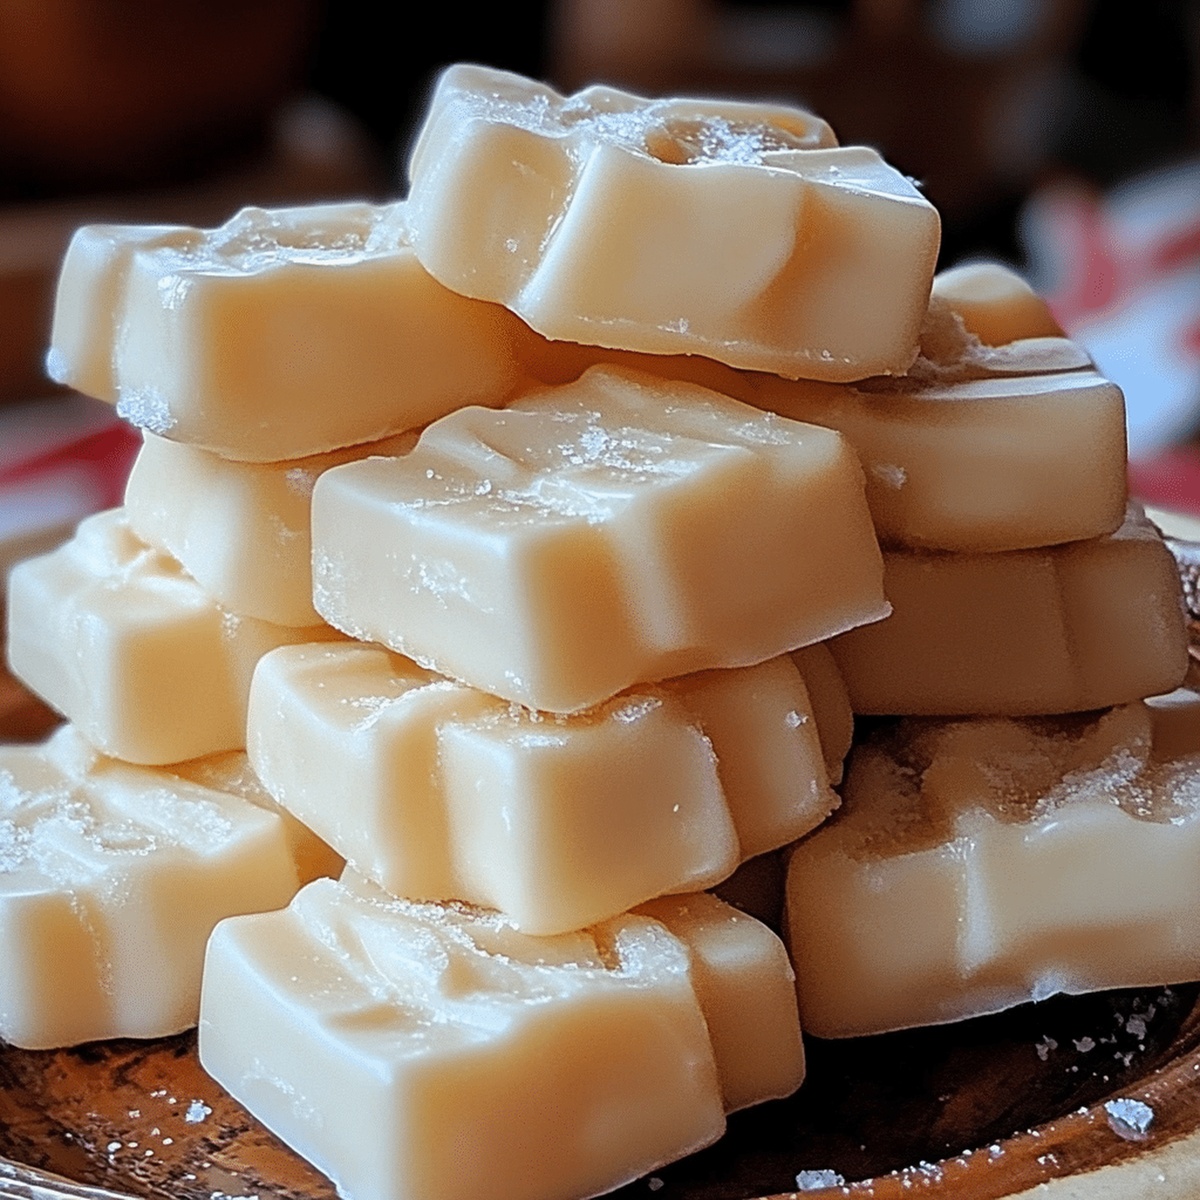
Dreamy Kentucky Cream Pull Candy Recipe: Silky-Smooth Magic
Sweet whispers of tradition dance through southern kitchens with this kentucky cream pull candy that promises pure sugary bliss.
Generations of cooks have passed down this delectable confection from one family to another.
The smooth, creamy texture melts effortlessly on your tongue, creating a nostalgic experience of homemade delight.
Crafted with simple ingredients and patience, this candy transforms ordinary moments into sweet memories.
Rich butter and sugar combine in a mesmerizing culinary ritual that requires skill and gentle hands.
Prepare to be enchanted by a treat that connects you directly to Kentucky’s rich culinary heritage.
Roll up your sleeves and let the candy-making magic begin.
Quick Recipe Overview
Ingredients That Make Kentucky Cream Pull Candy Shine
For Base Ingredients:For Flavor Enhancers:For Preparation Essentials:Tools That Help With Pulling Candy Like a Pro
How to Make Kentucky Cream Candy the Traditional Way
Grab a medium saucepan and blend heavy cream, sugar, and butter. Heat the concoction over medium flame, stirring continuously until sugar dissolves and mixture bubbles. Allow it to simmer for 5-10 minutes, watching for the perfect soft ball stage around 234-240 degrees.
Take the pan off heat and stir in vanilla and a dash of salt. Let the mixture rest until it’s comfortably warm to touch.
Grease your hands and start stretching the candy. Pull and fold repeatedly, working the mixture until it becomes lustrous and resistant to stretching. Thisal process might take 10-15 minutes, so channel your patience.
Once the candy looks glossy and thick, craft long elegant ropes. Slice into delectable bite-sized pieces. Allow the candy to cool completely before diving into its sweet goodness.
Flavor Tips and Texture Tweaks for Pull Candy
Serve These Sweet Pulls at Holiday Tables or as Gifts
Store in Wrappers or Boxes to Keep It Soft and Sweet
FAQs
The soft ball stage is when sugar syrup reaches 234F-240F, forming a soft, pliable ball when dropped into cold water that flattens when removed.
Buttering your hands prevents the hot candy from sticking and burning your skin while making the pulling process smoother and easier.
The candy is ready when it has cooled enough to handle but is still warm, typically after 5-10 minutes of cooling from the initial boiling.
Pulling aerates the candy, creating a lighter texture, making it shinier, and helping it develop a smooth, silky consistency by incorporating air and cooling the mixture.
Print
Smooth Kentucky Cream Pull Candy Recipe
- Total Time: 30 minutes
- Yield: 13 1x
Description
Kentucky Cream Pull Candy celebrates classic Appalachian confectionery with rich, silky strands pulled to glossy perfection. Nostalgic sweetness and traditional craftsmanship invite you to savor a delightful slice of Southern culinary heritage.
Ingredients
- 2 cups (480 ml) granulated sugar
- 1 cup (240 ml) heavy cream
- ½ cup (120 ml) light corn syrup
- 1 tsp (5 ml) vanilla extract (or peppermint extract for a minty variation)
- 1/8 tsp (0.6 ml) baking soda
- Butter (for greasing hands and surfaces)
Instructions
- Preparation: Combine heavy cream, sugar, and butter in a medium saucepan, stirring gently over medium heat until sugar dissolves and mixture becomes uniform.
- Boiling Stage: Continue heating, carefully monitoring temperature until mixture reaches soft ball stage (234-240°F), stirring consistently for 5-10 minutes to prevent scorching.
- Flavor Integration: Remove from heat, swiftly incorporate vanilla extract and salt, then allow mixture to cool briefly until comfortably handleable.
- Pulling Technique: Liberally butter hands to prevent adhesion, then initiate the candy pulling process by rhythmically stretching and folding the mixture with deliberate, consistent motions.
- Texture Transformation: Persist with pulling method, observing the gradual metamorphosis from liquid to glossy, resilient candy substance that becomes increasingly resistant to manipulation.
- Shaping and Cutting: Once the candy develops a luminous, firm consistency after 10-15 minutes of dedicated pulling, carefully elongate into slender, symmetrical ropes and slice into delicate bite-sized segments using a sharp implement.
- Cooling and Setting: Position freshly crafted candies at room temperature, allowing complete cooling and enabling the development of their signature smooth, creamy texture before presentation.
Notes
- Butter Hands Wisely: Liberally coat hands with butter before pulling candy to prevent scorching and sticky residue during the stretching process.
- Temperature Watch: Use a candy thermometer for precise soft ball stage measurement between 234-240°F, ensuring perfect candy consistency without burning.
- Pulling Technique Matters: Maintain consistent, rhythmic stretching motions during the 10-15 minute pulling phase to develop the signature glossy, smooth texture.
- Storage Secret: Store pulled candies in an airtight container at room temperature, separating layers with wax paper to prevent sticking and maintain freshness.
- Prep Time: 10 minutes
- Cook Time: 20 minutes
- Category: Desserts, Snacks
- Method: Boiling
- Cuisine: American
Nutrition
- Serving Size: 13
- Calories: 138
- Sugar: 20 g
- Sodium: 1 mg
- Fat: 6 g
- Saturated Fat: 3.5 g
- Unsaturated Fat: 2.5 g
- Trans Fat: 0 g
- Carbohydrates: 22 g
- Fiber: 0 g
- Protein: 0.3 g
- Cholesterol: 20 mg
Emily Lawson
Content Creator & Culinary Specialist
Expertise
Education
Oregon Culinary Institute
Diploma in Culinary Arts
Focus: Emphasis on farm-to-table cooking, sustainable practices, and the fusion of global flavors with traditional grilling methods.
Emily Lawson is the content creator at Daves Grill, turning tasty ideas into clear, easy recipes. Based in Portland, she trained at the Oregon Culinary Institute and loves cooking with fresh, seasonal ingredients, especially grilled veggies and global flavors.
Emily mixes food writing with hands-on cooking to bring you recipes that feel fun, not stressful. Her goal is to make every dish simple, flavorful, and worth coming back to. Together, she and Dave serve up real food, one recipe at a time.