Dreamy Smooth Vanilla Tiramisu Roll Recipe: A Sweet Twist
Dessert dreams come alive with this delectable vanilla tiramisu roll that blends classic Italian flavors into a stunning sweet creation.
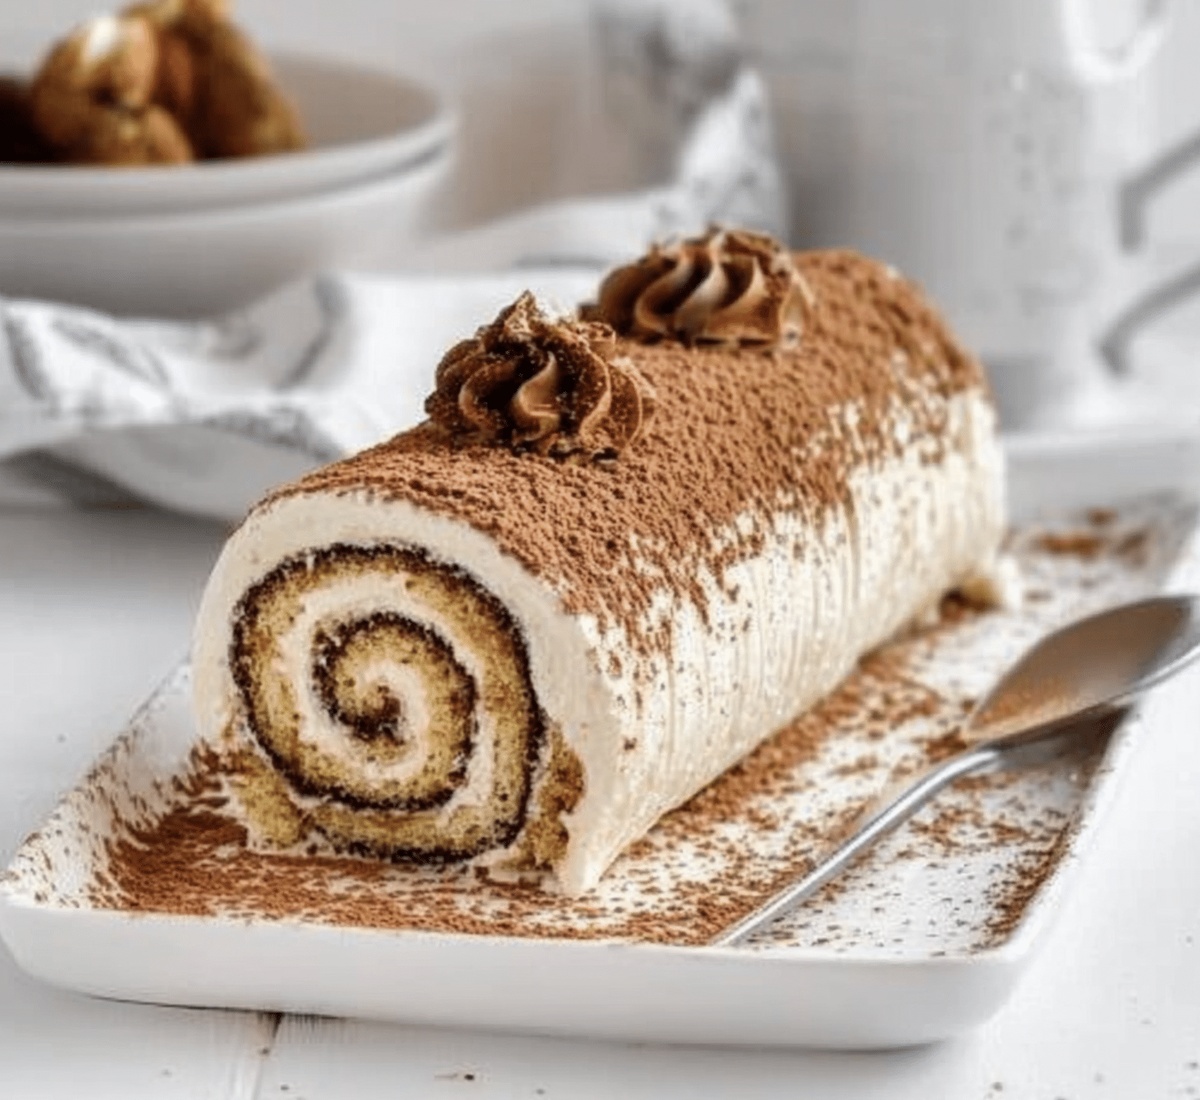
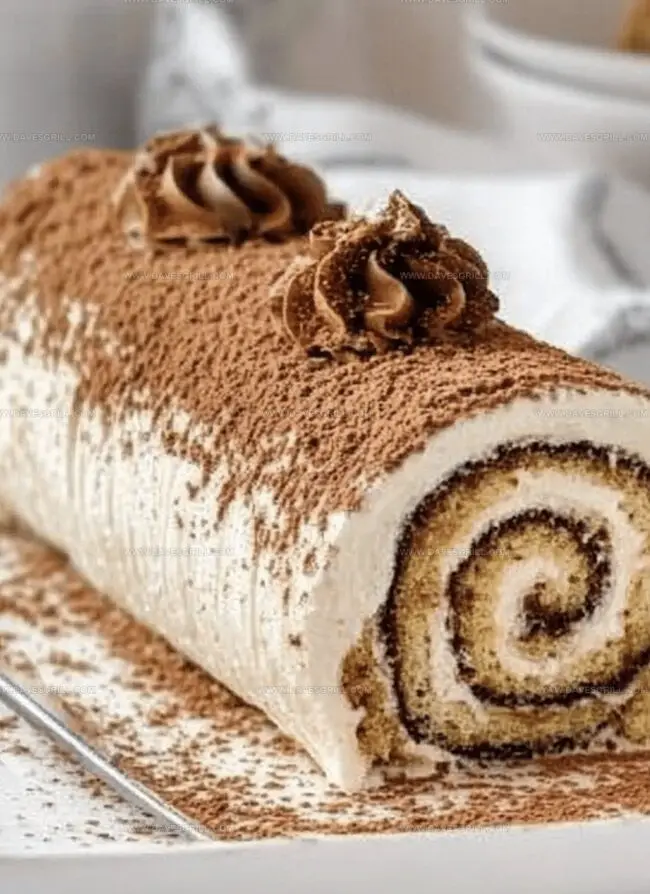
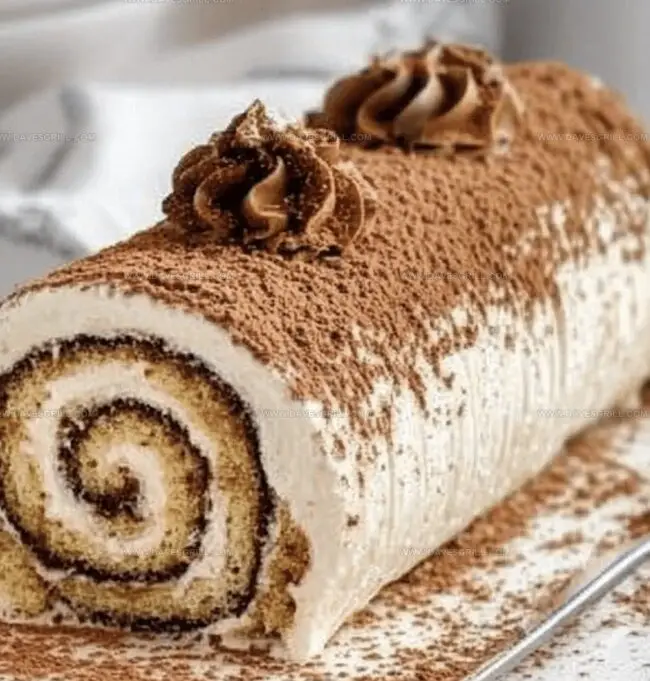
Coffee-soaked ladyfingers dance through creamy mascarpone layers, promising pure indulgence.
Each slice reveals elegant swirls of rich, smooth textures that melt effortlessly on your tongue.
The delicate balance of espresso and vanilla creates a harmonious symphony of taste sensations.
Delightful and surprisingly simple to prepare, this roll transforms an ordinary afternoon into a gourmet experience.
Light, decadent, and utterly irresistible, this dessert stands ready to become your new favorite sweet escape.
Prepare to impress everyone with this show-stopping treat that brings restaurant-quality elegance right to your dining table.
Quick Recipe Overview
Vanilla Tiramisu Roll Ingredient List
For Base and Soaking Liquid:For Filling Cream:For Garnish:Tools for No-Bake Tiramisu Prep
Roll Up the Perfect Vanilla Tiramisu
Whip together mascarpone, sweetener, and flavor enhancers until silky smooth. Gently incorporate fluffy whipped cream, blending until perfectly combined.
Quickly bathe delicate cookies in robust coffee and optional liqueur. Ensure each piece gets a quick dunk without becoming waterlogged.
Layer moistened ladyfingers across plastic wrap, creating a rectangular foundation. Spread luscious cream mixture evenly, leaving tiny margins around edges.
Carefully curl ladyfingers into a tight cylindrical shape using plastic wrap as a guide. Wrap snugly and chill in refrigerator for minimum four hours.
Unwrap chilled dessert with precision. Dust surface with rich cocoa powder and sprinkle delicate white chocolate shavings. Slice into elegant portions and enjoy immediately.
Fun Twists on Classic Tiramisu Filling
Serving Tips for a Stunning Tiramisu Roll
Storage Tips for Rolled Desserts
Print
Smooth Vanilla Tiramisu Roll
- Total Time: 4 hours 20 minutes
- Yield: 13 1x
Description
Classic Italian no-bake vanilla tiramisu roll offers a delightful twist on the traditional dessert. Light ladyfinger layers mingle with creamy mascarpone, creating a luscious treat perfect for summer gatherings.
Ingredients
- 8 oz (225 g) mascarpone cheese, softened
- 1 cup (240 ml/8 fl oz) heavy cream, whipped
- 24 ladyfingers (savoiardi)
- 1 cup (240 ml/8 fl oz) brewed coffee, cooled
- ½ cup (60 g) powdered sugar
- 1 tsp vanilla extract
- ¼ cup (60 ml/2 fl oz) coffee liqueur (optional)
- ½ tsp almond extract (optional)
- 2 tbsps cocoa powder, for dusting
- Shaved white chocolate (optional)
Instructions
- Cream Preparation: Whip mascarpone with powdered sugar, vanilla, and almond extract until velvety, then gently fold in whipped heavy cream to create a luxurious, airy mixture.
- Coffee Infusion: Mix freshly brewed coffee with coffee liqueur in a shallow dish, creating an aromatic soaking liquid for ladyfingers.
- Ladyfinger Assembly: Briefly dip each ladyfinger into the coffee mixture, allowing subtle absorption without oversaturating, then arrange in a slightly overlapping rectangular pattern on a plastic wrap-covered surface.
- Cream Layer: Spread the mascarpone cream evenly across the ladyfinger base, leaving a small border to prevent spillage during rolling.
- Rolling Technique: Using the plastic wrap as a guide, carefully roll the ladyfinger layer from the shorter end, forming a compact, tight cylindrical shape.
- Chilling Process: Completely wrap the roll in plastic wrap, refrigerate for at least 4 hours to solidify the structure and intensify flavors.
- Finishing Touch: Unwrap the chilled dessert, dust with cocoa powder, optionally garnish with white chocolate shavings, then slice into elegant 1-inch portions for an impressive presentation.
Notes
- Control Ladyfinger Moisture: Briefly dip ladyfingers in coffee mixture to prevent soggy texture, ensuring they absorb liquid without falling apart.
- Maintain Cream Consistency: Whip mascarpone mixture gently to achieve a light, airy texture without over-beating, which can cause separation.
- Secure Rolling Technique: Use plastic wrap as a guide when rolling, applying gentle, even pressure to create a tight, uniform cylindrical shape without cracking.
- Chill for Optimal Flavor: Refrigerate the roll for at least 4 hours to allow flavors to meld and help the dessert set properly, enhancing overall taste and texture.
- Prep Time: 20 minutes
- Cook Time: 4 hours
- Category: Desserts
- Method: Blending
- Cuisine: Italian
Nutrition
- Serving Size: 13
- Calories: 280
- Sugar: 12 g
- Sodium: 50 mg
- Fat: 20 g
- Saturated Fat: 12 g
- Unsaturated Fat: 8 g
- Trans Fat: 0 g
- Carbohydrates: 27 g
- Fiber: 0 g
- Protein: 4 g
- Cholesterol: 70 mg
Emily Lawson
Content Creator & Culinary Specialist
Expertise
Education
Oregon Culinary Institute
Diploma in Culinary Arts
Focus: Emphasis on farm-to-table cooking, sustainable practices, and the fusion of global flavors with traditional grilling methods.
Emily Lawson is the content creator at Daves Grill, turning tasty ideas into clear, easy recipes. Based in Portland, she trained at the Oregon Culinary Institute and loves cooking with fresh, seasonal ingredients, especially grilled veggies and global flavors.
Emily mixes food writing with hands-on cooking to bring you recipes that feel fun, not stressful. Her goal is to make every dish simple, flavorful, and worth coming back to. Together, she and Dave serve up real food, one recipe at a time.