
Jolly Soft Christmas Cookies Recipe for Holiday Magic
Crafting delightful soft christmas cookies brings pure joy to winter afternoons.
Sweet memories drift through kitchens when familiar aromas start swirling.
Delicate textures and subtle spices promise comfort during chilly seasons.
Holiday baking connects generations through cherished traditions and shared moments.
Simple ingredients create magic when mixed with love and care.
Each cookie carries whispers of childhood nostalgia and warmth.
Let you embrace this delectable journey into festive sweetness and create something wonderfully memorable.
Why Soft Christmas Cookies Are a Holiday Must-Have
Ingredients for Soft Christmas Cookies with Cheer
Baking Staples:Dry Ingredients:Moisture and Decoration Ingredients:How to Bake and Frost Soft Christmas Cookies

Step 1: Create Magical Cookie Base
Grab a large mixing bowl and cream together butter and sugar until light and fluffy. Crack in an egg, splash of vanilla extract, and dollop of sour cream. Mix until everything blends into a dreamy mixture.
Ingredients:Step 2: Prepare Dry Ingredient Blend
In another bowl, whisk together:Slowly fold dry ingredients into wet mixture, stirring gently until just combined.
Step 3: Shape Delightful Cookie Rounds
Use a cookie scoop to form perfect dough balls. Place them on parchment-lined baking sheets. Take a glass bottom and softly press each ball to create gentle, uniform shapes.
Step 4: Bake To Golden Perfection
Slide baking sheets into a preheated oven at 350°F. Bake for 10-12 minutes until edges turn a delicate golden color. Allow cookies to rest on baking sheet briefly before transferring to a cooling rack.
Step 5: Dress Up With Festive Frosting
Beat butter until cloud-like and fluffy. Gradually mix in powdered sugar and heavy cream. Add vanilla extract and food coloring for a festive touch. Generously spread frosting over cooled cookies and sprinkle with holiday cheer.
Tips for a Fluffy Finish on Soft Cookies
Best Way to Store Christmas Cookies Without Drying Out
Drinks and Treats to Serve with Christmas Cookies
Frosting and Flavor Variations for Christmas Cookies
Print
Soft Christmas Cookies Recipe
- Total Time: 25 minutes
- Yield: 24 1x
Description
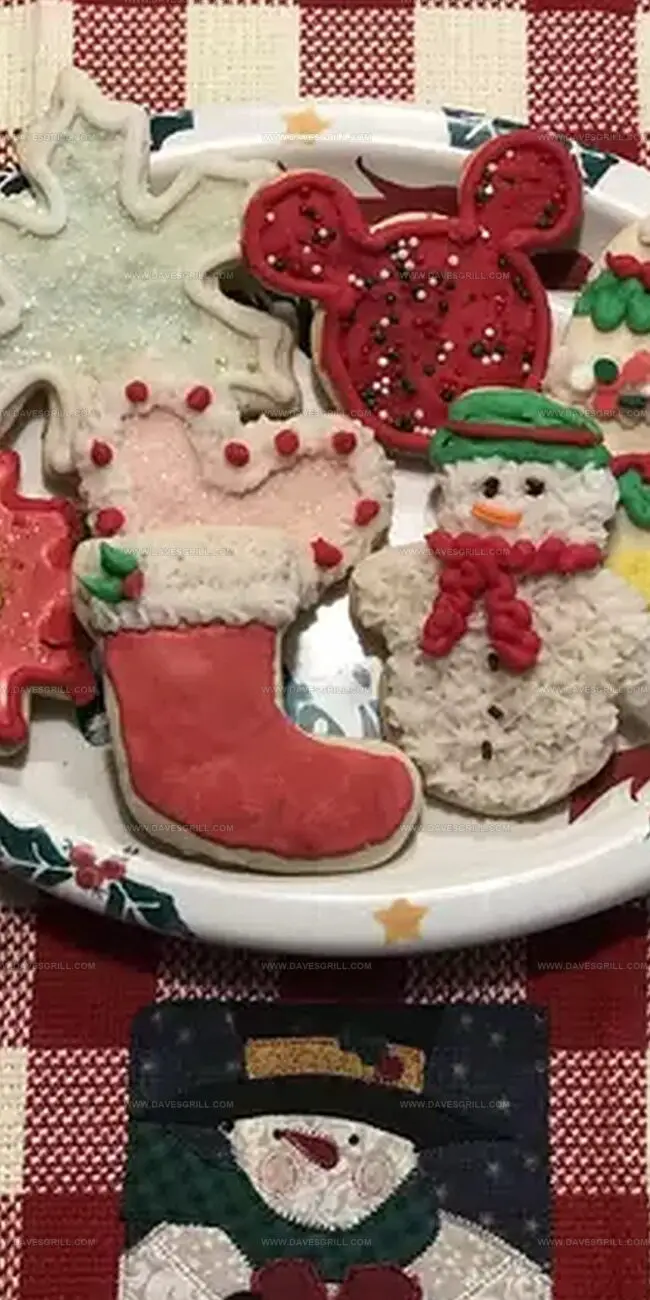
Christmas cookies shine with nostalgic charm, inviting memories of festive family gatherings. Sweet, buttery morsels melt on your palate, delivering classic holiday comfort with each delightful bite.
Ingredients
Soft Christmas Cookies
Main Ingredients:
- 3 cups all-purpose flour
- 1 ½ cups granulated sugar
- 1 cup unsalted butter, softened
- ¾ cup unsalted butter, softened (for frosting)
- 3 cups powdered sugar
Wet Ingredients:
- 1 large egg
- ½ cup sour cream
- 2 teaspoons vanilla extract
- 1 teaspoon vanilla extract (for frosting)
- 23 tablespoons (359 ml) heavy cream
Additional Ingredients:
- ½ teaspoon baking powder
- ½ teaspoon baking soda
- ¼ teaspoon salt
- Food coloring (red, green, or any preferred colors)
- Holiday sprinkles
Instructions
- Craft the foundational cookie mixture by whisking softened butter and granulated sugar until light and airy. Incorporate the egg, pure vanilla essence, and tangy sour cream, blending until the texture becomes smooth and uniform.
- Sift together the dry ingredients – all-purpose flour, leavening agents, and a pinch of salt – ensuring no lumps remain. Gradually fold these powdery components into the creamy wet mixture, stirring gently to maintain a delicate consistency.
- Utilize a precise cookie scoop to form uniform dough spheres, strategically positioning them on parchment-lined baking trays. Apply gentle pressure using the flat bottom of a glass, creating subtle circular impressions across each cookie.
- Position the prepared tray into a preheated oven at 350°F. Monitor the cookies for approximately 10-12 minutes, watching for subtle golden edges that signal perfect doneness. Allow minimal resting time on the hot tray before transferring to a cooling rack.
- Prepare the luxurious frosting by whipping butter until exceptionally fluffy. Gradually integrate powdered sugar and rich cream, creating a silky smooth texture. Enhance with vanilla extract and optional food coloring for festive visual appeal. Delicately spread the frosting across completely cooled cookies and embellish with cheerful sprinkles.
Notes
- Ensure butter is softened at room temperature for smoother creaming and better cookie texture.
- Use fresh, high-quality ingredients like pure vanilla extract for enhanced flavor depth.
- For gluten-free adaptation, swap all-purpose flour with a 1:1 gluten-free baking blend, maintaining the same measurements.
- Prevent over-mixing the dough to keep cookies tender and prevent tough, dense results.
- Prep Time: 15 minutes
- Cook Time: 10 minutes
- Category: Desserts, Snacks
- Method: Baking
- Cuisine: American
Nutrition
- Serving Size: 24
- Calories: 250
- Sugar: 15 g
- Sodium: 100 mg
- Fat: 12 g
- Saturated Fat: 7 g
- Unsaturated Fat: 4 g
- Trans Fat: 0 g
- Carbohydrates: 34 g
- Fiber: 0 g
- Protein: 2 g
- Cholesterol: 30 mg
Dave Mitchell
Founder & Chief Recipe Developer
Expertise
Education
Asheville-Buncombe Technical Community College
Associate of Applied Science in Culinary Arts
Focus: Comprehensive training in culinary techniques, kitchen management, and menu planning, with a special emphasis on grilling and outdoor cooking.
Dave Mitchell is the heart behind Daves Grill, a cook, writer, and lover of all things grilled. He studied Culinary Arts at Asheville-Buncombe Technical Community College and spent years cooking, testing, and sharing recipes that actually work.
Dave started Daves Grill to keep things simple: one great recipe at a time. His food is bold, easy to follow, and made for real people with regular kitchens. From juicy steaks to quick sides, Dave’s recipes bring the heat without the hassle.