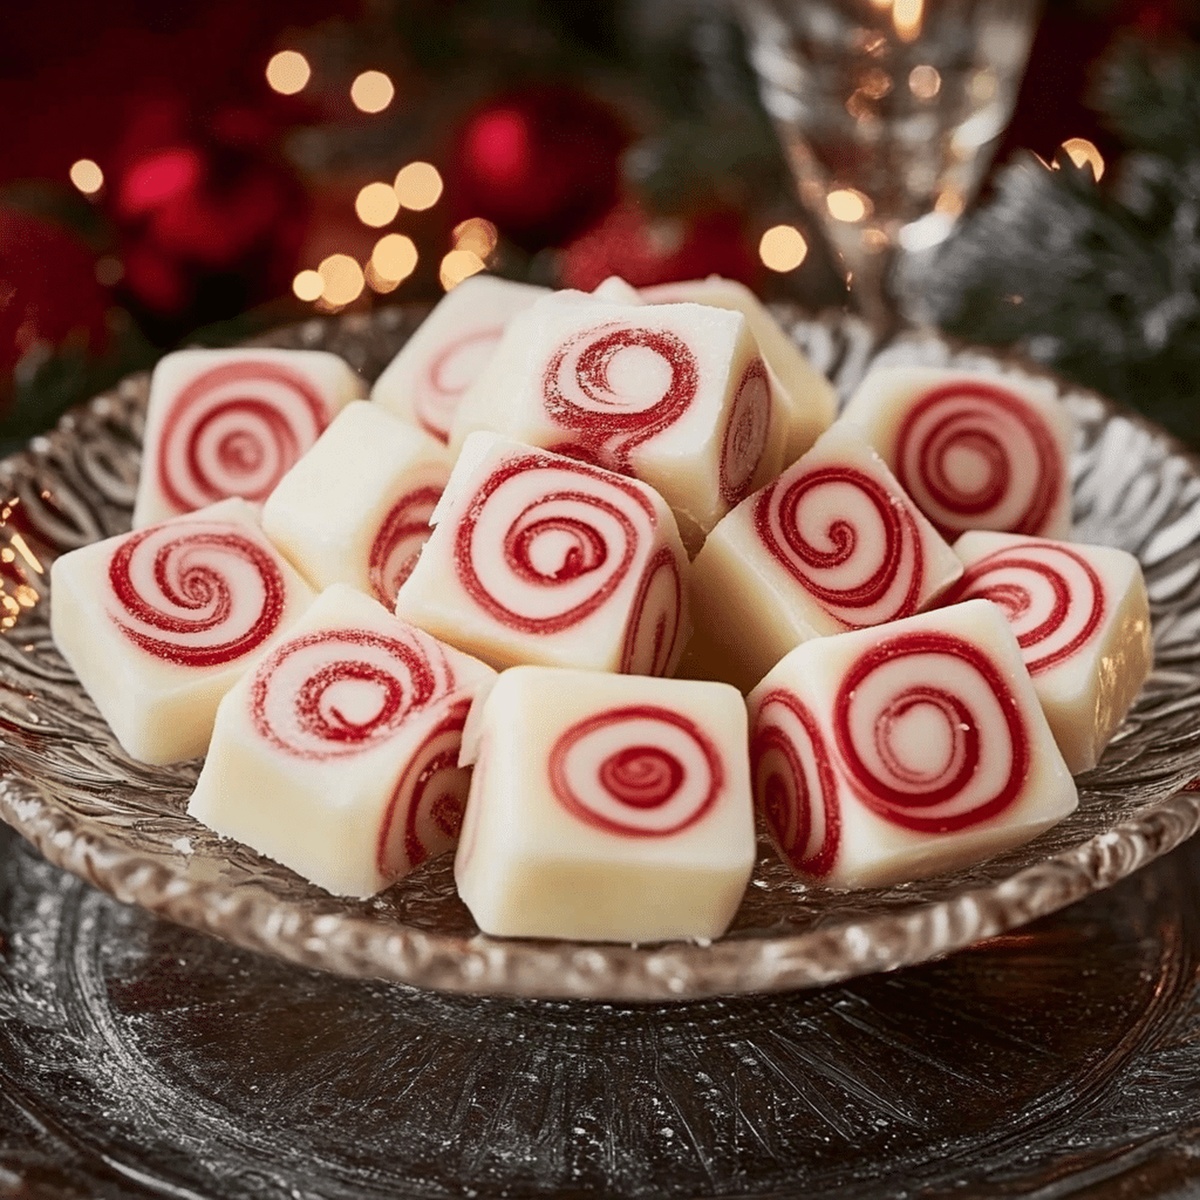
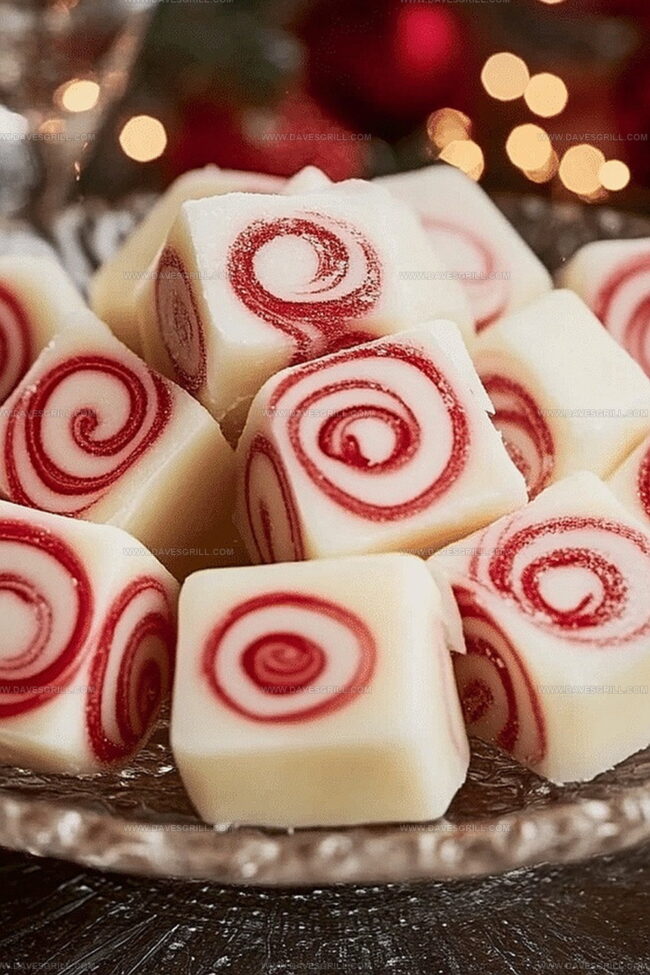
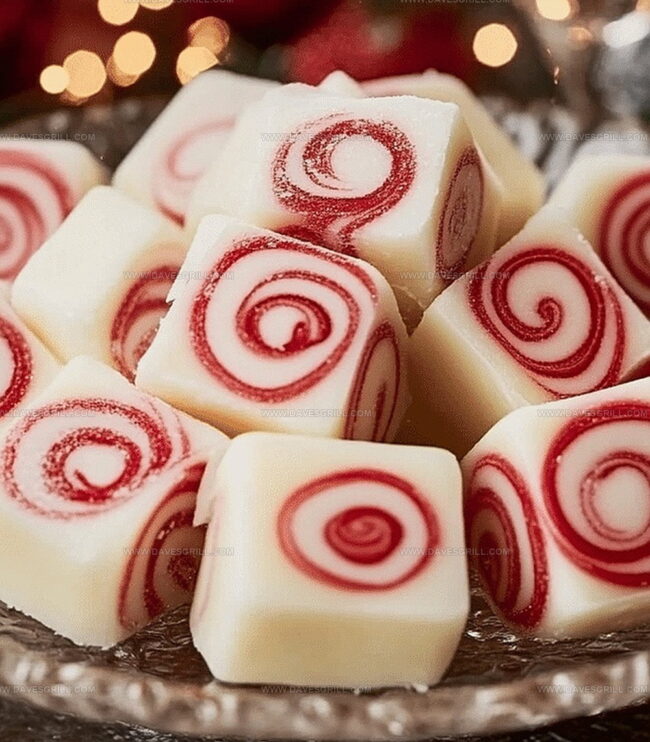
Grandma’s Melt-in-Your-Mouth Soft Christmas Peppermint Recipe
Christmas gatherings sparkle with these nostalgic soft peppermints that melt delicately on your tongue.
Memories of grandmother’s kitchen drift through every smooth, creamy bite.
Sweet traditions connect generations through simple, elegant confections.
Delicate mint flavor whispers comfort and celebration in each tiny morsel.
Crafting these classic butter mints requires minimal ingredients and zero complicated techniques.
Homemade candies like these create magical moments that linger long after the last piece dissolves.
Unwrap a piece of culinary history and savor pure, sugary delight.
Why Soft Christmas Peppermints Melt in Your Mouth
What You’ll Need to Make These Butter Mints
Base Ingredients:Coloring Ingredients:Preparation Accessories:How to Whip Up Classic Holiday Peppermints
Step 1: Cream The Butter
Use an electric mixer to beat softened butter until smooth and fluffy.
Step 2: Build The Base
Gradually incorporate powdered sugar, mixing thoroughly until the mixture becomes crumbly.
Step 3: Create Smooth Dough
Add heavy cream and peppermint extract, beating until a soft, pliable dough forms. If the mixture feels too stiff, splash in extra cream one teaspoon at a time.
Step 4: Add Festive Colors
Separate dough into sections and introduce food coloring
Knead color gently until evenly distributed.
Step 5: Shape Delicate Mints
Roll small dough portions into tiny balls, approximately marble-sized.
Step 6: Create Decorative Texture
Place mint balls on parchment-lined baking sheet.
Gently press each ball with a fork to create delicate surface patterns.
Step 7: Dry And Set
Let mints air-dry at room temperature
Ensure mints feel firm before storing.
Step 8: Store And Enjoy
Transfer mints to airtight container.
Enjoy within two weeks for maximum freshness.
Candy Tips for That Perfect Soft Bite
Storing Butter Mints to Keep Them Smooth and Sweet
What to Enjoy With These Holiday Candies
Minty Variations for Festive Cheer
Print
Soft Christmas Peppermints (Old-Fashioned Butter Mints) Recipe
- Total Time: 8 hours 15 minutes
- Yield: 20 1x
Description
Homemade Christmas Peppermints melt with nostalgic charm, blending classic holiday sweetness and creamy butter. Festive treats bring family memories closer, inviting holiday cheer with each delicate, minty bite.
Ingredients
Soft Christmas Peppermints (Old-Fashioned Butter Mints)
Main Ingredients:
- ½ cup (113 grams) unsalted butter, softened
- 4 cups (454 grams) powdered sugar, sifted
Flavor and Liquid Ingredients:
- 2 tablespoons (30 milliliters) heavy cream (plus extra if needed)
- ½ teaspoon (2.5 milliliters) peppermint extract (adjust to taste)
Decorative Ingredients:
- Food coloring (optional, red and green for festive colors)
Instructions
- Cream softened butter using an electric mixer until smooth and uniform in texture.
- Incorporate powdered sugar gradually, mixing thoroughly after each addition until the mixture becomes crumbly and granular.
- Introduce heavy cream and peppermint extract, blending until a cohesive, pliable dough emerges. Adjust consistency by adding minimal cream if the mixture feels too rigid.
- Separate dough into individual sections and infuse each with food coloring, massaging gently to distribute pigment evenly. Traditional colors include festive red and green, though white remains a classic option.
- Craft petite, uniform spheres approximately half an inch in diameter, positioning them carefully on a parchment-lined surface.
- Gently press each mint sphere with a fork’s tines, creating delicate textural impressions across the surface.
- Allow mints to air-dry naturally at ambient room temperature for a minimum of eight hours, ensuring they develop a firm, stable consistency.
- Once completely set, transfer mints into a hermetically sealed container to preserve freshness and maintain optimal texture.
- Consume within two weeks for peak flavor and quality.
Notes
- Ensure butter is at room temperature for smooth, creamy texture without lumps.
- Adjust cream quantities carefully to prevent dough from becoming too sticky or dry.
- Use gel food coloring for vibrant colors that don’t alter dough consistency.
- Experiment with mint extract intensity to personalize flavor profile, starting with less and adding gradually.
- Prep Time: 15 minutes
- Cook Time: 8 hours
- Category: Desserts, Snacks
- Method: Blending
- Cuisine: American
Nutrition
- Serving Size: 20
- Calories: 70
- Sugar: 15g
- Sodium: 0mg
- Fat: 3.5g
- Saturated Fat: 2g
- Unsaturated Fat: 1.5g
- Trans Fat: 0g
- Carbohydrates: 11g
- Fiber: 0g
- Protein: 0.1g
- Cholesterol: 10mg
Dave Mitchell
Founder & Chief Recipe Developer
Expertise
Education
Asheville-Buncombe Technical Community College
Associate of Applied Science in Culinary Arts
Focus: Comprehensive training in culinary techniques, kitchen management, and menu planning, with a special emphasis on grilling and outdoor cooking.
Dave Mitchell is the heart behind Daves Grill, a cook, writer, and lover of all things grilled. He studied Culinary Arts at Asheville-Buncombe Technical Community College and spent years cooking, testing, and sharing recipes that actually work.
Dave started Daves Grill to keep things simple: one great recipe at a time. His food is bold, easy to follow, and made for real people with regular kitchens. From juicy steaks to quick sides, Dave’s recipes bring the heat without the hassle.