Rustic Homemade Stuffing Balls Recipe: Holiday Table Charm
Crispy, golden-brown stuffing balls have been my weekend culinary obsession lately.
These delightful morsels pack incredible flavor into every single bite.
My grandmother shared her treasured recipe decades ago, and I’ve perfected the technique through countless family gatherings.
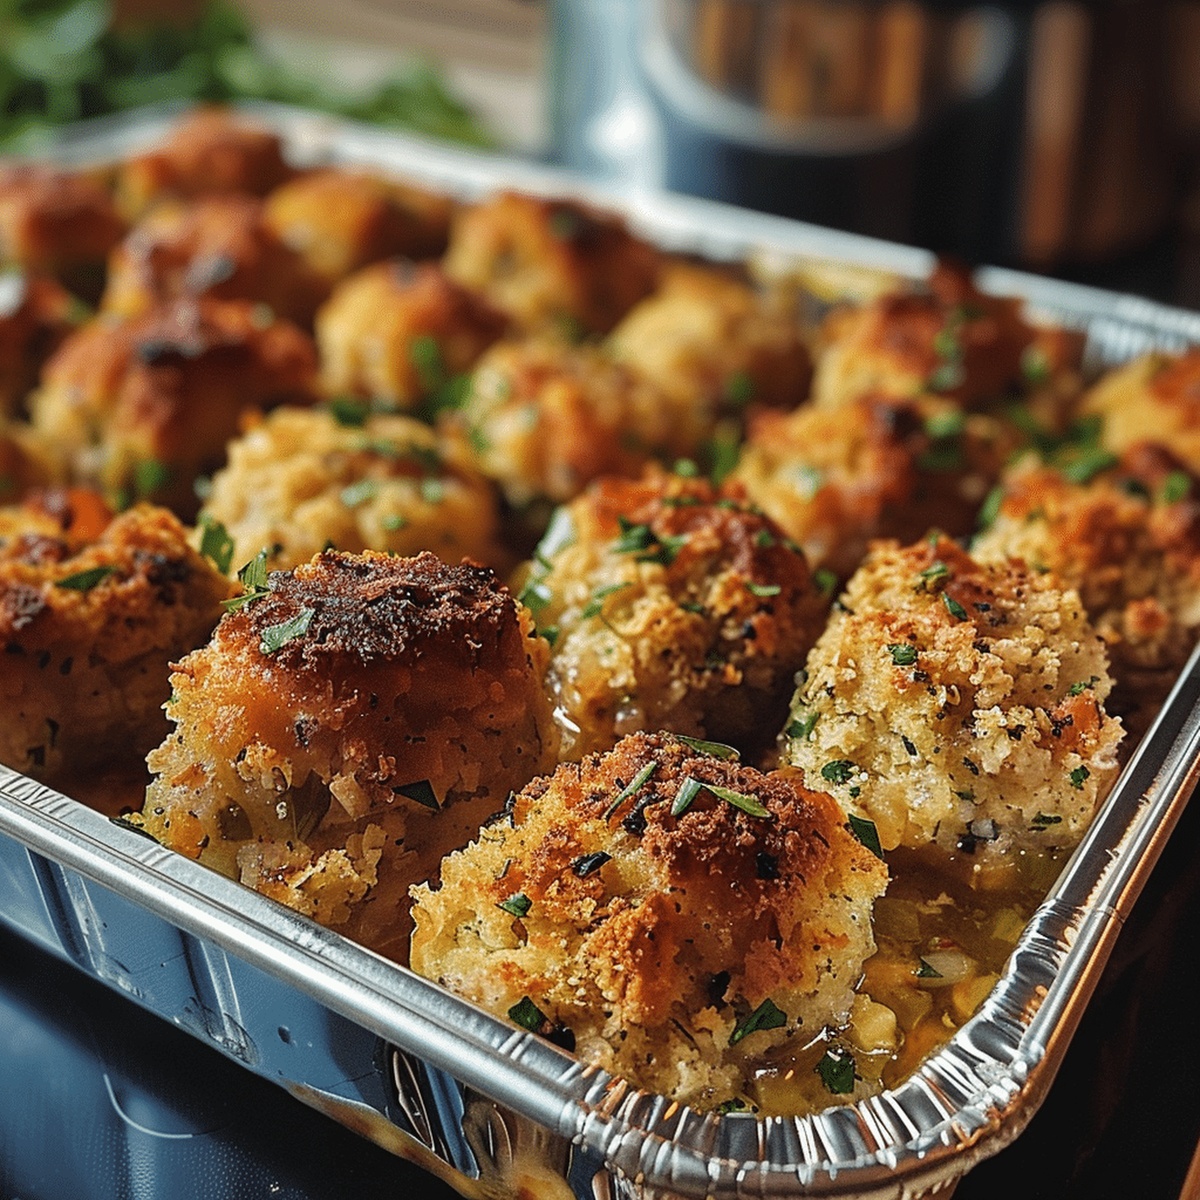
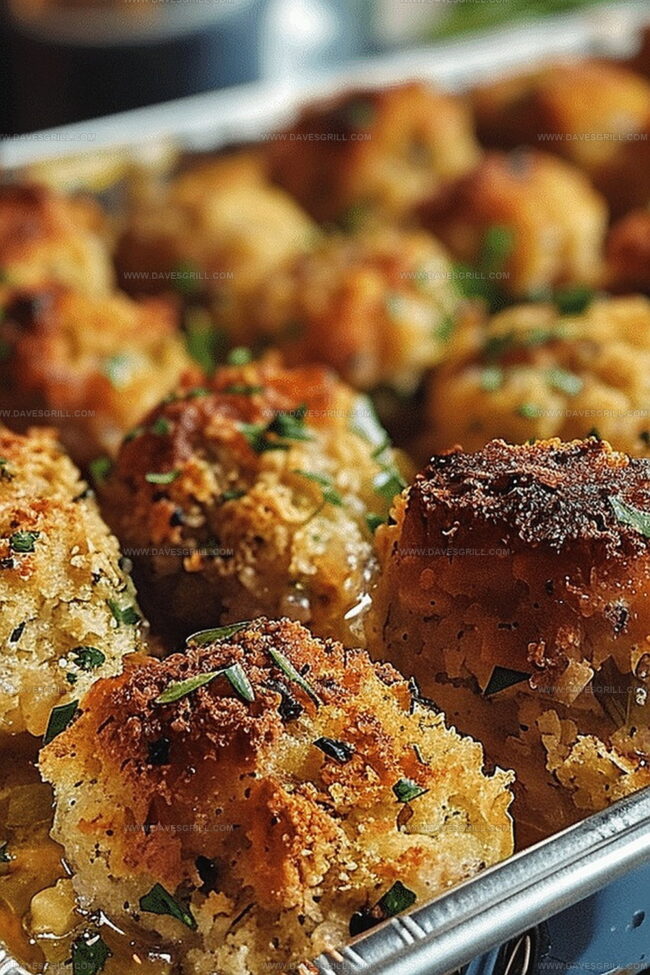
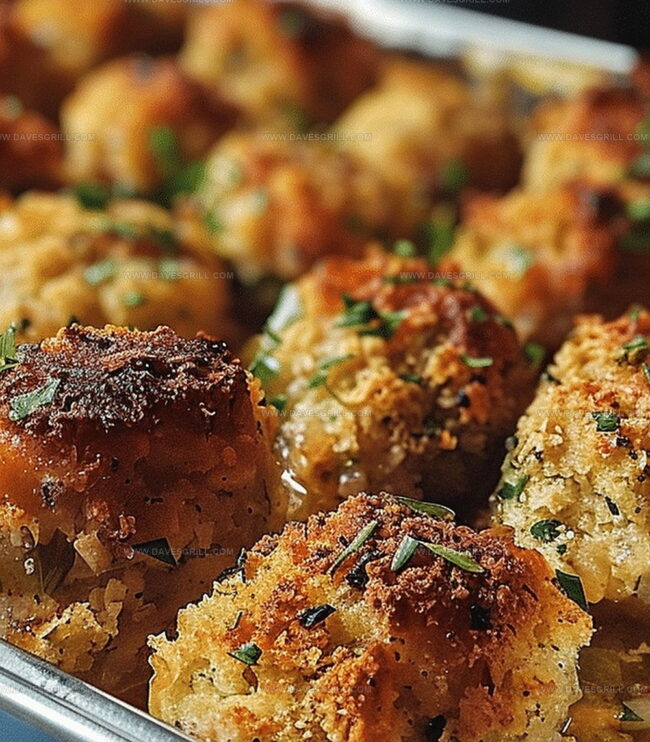
Each ball combines traditional seasonings with a delicate, crunchy exterior that surprises guests.
The secret lies in selecting fresh herbs and allowing the mixture to rest before shaping.
Mixing ingredients requires gentle hands and a touch of patience.
You’ll want to serve these alongside roasted meats or as a standalone appetizer that sparks conversation.
Prepare to impress everyone at your next meal with these irresistible stuffing balls.
Why Stuffing Balls Wins at Every Table
What Goes in the Stuffing Balls
Main Ingredients:
Bread Base:Aromatic Vegetables:Binding and Seasoning:Optional Ingredients:Preparation Ingredients:How to Prep the Stuffing Balls Easily
Step 1: Prepare Bread Cubes
Slice bread into small cubes. Spread them on a baking sheet and let air dry for several hours. Alternatively, lightly toast cubes in oven until slightly crisp to help prevent sogginess.
Step 2: Sauté Aromatic Vegetables
Heat butter in large skillet over medium temperature. Add:Cook until vegetables become tender and translucent. Sprinkle in:Remove from heat once vegetables are soft.
Step 3: Mix Stuffing Components
Transfer sautéed vegetables to spacious mixing bowl. Add:Pour chicken broth over mixture and gently toss until bread absorbs liquid evenly.
Step 4: Shape Delectable Spheres
Crack egg into mixture and blend thoroughly. Use hands to roll mixture into compact balls approximately 1-2 inches wide. If mixture feels dry, splash additional broth. Arrange spheres on parchment-lined baking sheet.
Step 5: Bake Golden Delights
Warm oven to 375°F. Slide baking sheet into oven and bake for 20-25 minutes. Watch for golden brown exterior and firm interior. Optional: Brush spheres with melted butter before baking for extra richness.
Step 6: Serve Warm Comfort
Allow stuffing spheres to rest briefly. Present as appetizing side dish or standalone starter. Enjoy immediately while warm and crispy.
Top Tips for Stuffing Balls Success
Best Way to Keep Your Stuffing Balls Fresh
What to Serve with Stuffing Balls
Ideas to Jazz Up Your Stuffing Balls
Print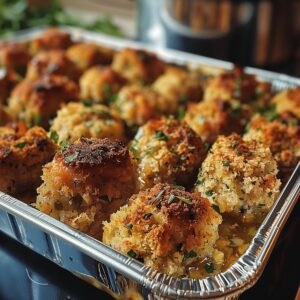
Stuffing Balls Recipe
- Total Time: 45 minutes
- Yield: 12 1x
Description
Comforting stuffing balls bring holiday warmth straight from Grandma’s classic kitchen to modern dining tables. Crispy golden exterior and herbed interior make these savory spheres an irresistible side dish you’ll crave at family gatherings.
Ingredients
Main Ingredients:
- 3 cups (710 ml) dried bread cubes
- 2 large eggs
- 1 cup (240 ml) chicken broth
- ½ cup (115 g) butter
Vegetables:
- 1 cup (150 g) celery, diced
- 1 cup (150 g) onion, diced
Seasonings:
- 2 teaspoons poultry seasoning
- ½ teaspoon salt
- ½ teaspoon black pepper
- 1 tablespoon fresh parsley, chopped (or 1 teaspoon dried)
Instructions
- Transform bread cubes into a crisp foundation by allowing them to air-dry for several hours or gently toasting in the oven, ensuring optimal moisture absorption without compromising texture.
- Heat butter in a spacious skillet over medium temperature, introducing finely chopped onion, celery, and garlic. Sauté until vegetables become translucent and tender, approximately 5 minutes.
- Infuse the sautéed vegetables with aromatic dried sage, thyme, salt, and pepper, creating a robust flavor profile. Remove from heat and allow ingredients to meld.
- Transfer bread cubes into a generously sized mixing vessel, combining the fragrant vegetable mixture with optional parsley and Parmesan cheese for additional depth.
- Gradually introduce chicken broth, carefully folding until bread becomes uniformly moistened without becoming overly saturated.
- Incorporate a beaten egg into the mixture, gently binding the ingredients and enhancing structural integrity.
- Craft uniform spherical portions using hands, adjusting moisture levels with additional broth if the mixture appears dry or crumbly.
- Arrange stuffing spheres on a parchment-lined baking sheet, ensuring adequate spacing for even heating.
- Preheat oven to 375F (190C), positioning rack in central location for consistent cooking.
- Bake for 20-25 minutes, rotating midway to achieve golden-brown exterior and thoroughly heated interior.
- Optional: Brush with melted butter before final minutes of baking to enhance color and richness.
- Allow stuffing balls to rest briefly before serving, presenting as an elegant side dish or sophisticated appetizer.
Notes
- Choose day-old bread for better texture and absorption, ensuring your stuffing balls stay moist without becoming mushy.
- Avoid wet bread by lightly toasting cubes in the oven or letting them air-dry for a few hours before mixing with other ingredients.
- Experiment with different herbs like rosemary or thyme to customize the flavor profile and add personal flair to your stuffing balls.
- For a gluten-free version, swap regular bread with gluten-free bread cubes or use cauliflower rice as a low-carb alternative.
- Prep Time: 20 minutes
- Cook Time: 25 minutes
- Category: Dinner, Appetizer, Snacks
- Method: Baking
- Cuisine: American
Nutrition
- Serving Size: 12
- Calories: 220
- Sugar: 1g
- Sodium: 350mg
- Fat: 14g
- Saturated Fat: 8g
- Unsaturated Fat: 4g
- Trans Fat: 0g
- Carbohydrates: 20g
- Fiber: 1g
- Protein: 5g
- Cholesterol: 80mg
Dave Mitchell
Founder & Chief Recipe Developer
Expertise
Education
Asheville-Buncombe Technical Community College
Associate of Applied Science in Culinary Arts
Focus: Comprehensive training in culinary techniques, kitchen management, and menu planning, with a special emphasis on grilling and outdoor cooking.
Dave Mitchell is the heart behind Daves Grill, a cook, writer, and lover of all things grilled. He studied Culinary Arts at Asheville-Buncombe Technical Community College and spent years cooking, testing, and sharing recipes that actually work.
Dave started Daves Grill to keep things simple: one great recipe at a time. His food is bold, easy to follow, and made for real people with regular kitchens. From juicy steaks to quick sides, Dave’s recipes bring the heat without the hassle.