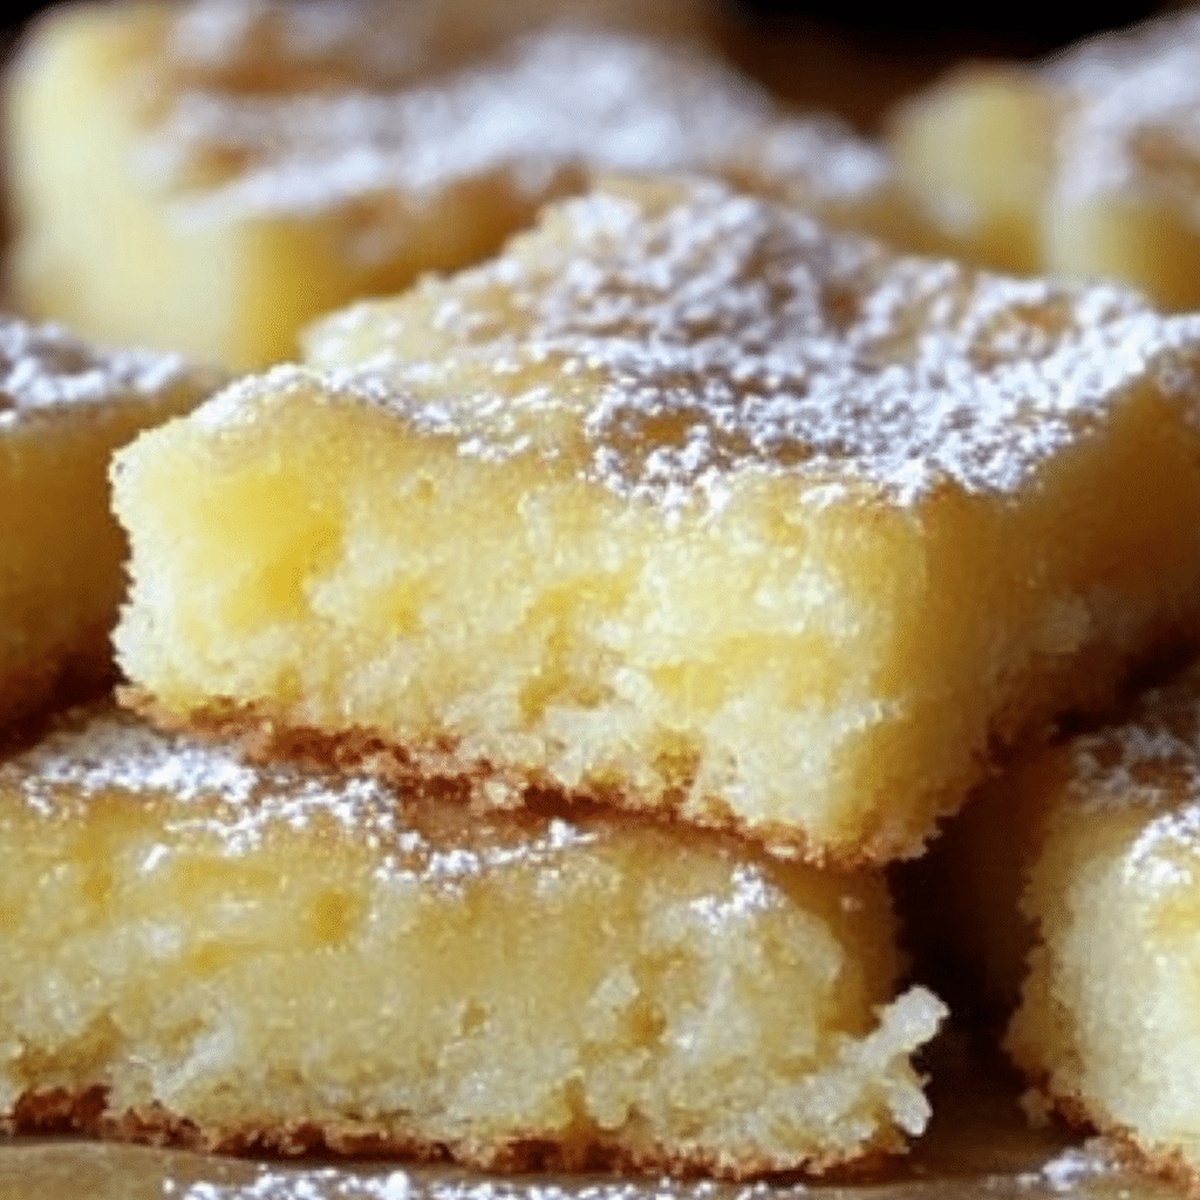
Zesty Lemon Cake Bars Recipe: Bright & Irresistible Treats
Summers call for zesty desserts that burst with citrusy lemon cake bars that dance on your taste buds.
These delightful treats promise a perfect balance of sweet and tart flavors.
A creamy, soft base meets bright lemon notes in every delectable bite.
Each bar delivers a sunshine-like warmth with its vibrant citrus essence.
The recipe combines simple ingredients to create an irresistible dessert that sparks joy.
Light, refreshing, and wonderfully simple, these bars will become your new favorite afternoon indulgence.
Prepare to savor a slice of lemony bliss that’s sure to impress.
Quick Recipe Overview
Lemon Bar Ingredient Checklist
For Cake Base:For Optional Finishing Touches:For Baking Preparation:Tools to Make These Simple Yet Tangy Bars
Bake Cake Bars That Only Need Two Ingredients
Crank your oven to a toasty 350F and get your baking pan ready by giving it a quick spray of cooking oil or lining it with parchment paper.
Grab a big mixing bowl and toss in the lemon cake mix and lemon pie filling. Stir everything until it’s totally combined – expect a super thick batter that looks deliciously creamy.
Pour that zesty mixture into your prepared pan and smooth it out evenly with a spatula, making sure every corner gets some love.
Slide the pan into the oven and let it bake for 25-30 minutes. You’ll know it’s done when the edges turn a gorgeous golden color and a toothpick comes out clean when you poke the center.
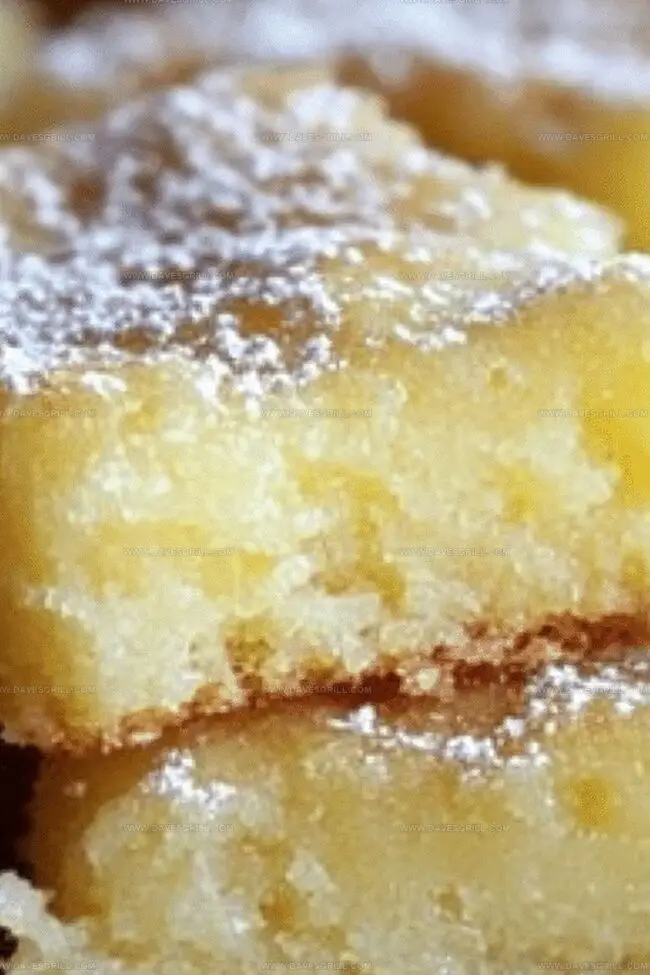
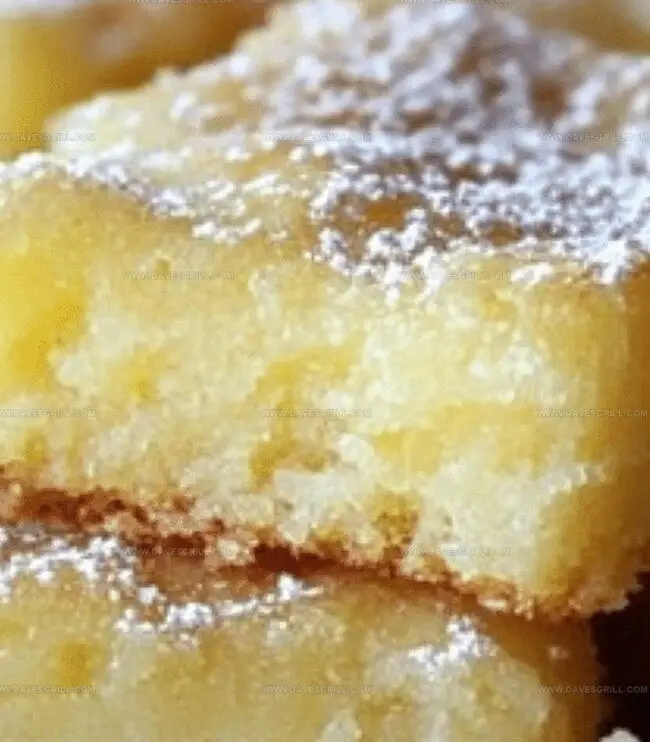
Let the cake chill completely in the pan. When it’s cooled down, feel free to dust it with a sprinkle of powdered sugar or drizzle on a quick glaze if you’re feeling fancy. Slice into bars and enjoy your tangy treat!
Tips for Getting a Soft, Even Texture
Serve With Powdered Sugar or Fruit Garnish
Store in the Fridge for a Quick Snack
FAQs
Yes, you can experiment with other cake mix flavors like vanilla or white cake mix. However, the lemon flavor might be less intense compared to using a lemon cake mix.
No, the lemon pie filling provides enough moisture and binding for the cake bars. You don’t need to add extra eggs or oil to the recipe.
Insert a toothpick into the center of the cake. If it comes out clean with no wet batter, the cake bars are done. The edges should also look lightly golden.
Yes, look for a gluten-free lemon cake mix and ensure your lemon pie filling is also gluten-free. These substitutions will help you create a gluten-free version of the cake bars.
Print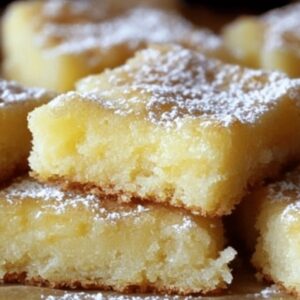
Tangy Lemon Cake Bars Recipe
- Total Time: 35 minutes
- Yield: 13 1x
Description
Lemon cake bars with just two ingredients offer a delightful shortcut to dessert bliss. Simple pantry staples create a zesty, moist treat that delights with minimal effort and maximum flavor.
Ingredients
- 1 (15.25 oz/432 g) box lemon cake mix
- 1 (15 oz/425 g) can lemon pie filling
Instructions
- Preparation: Position the oven rack centrally and preheat to 350°F for consistent heat distribution.
- Pan Setup: Completely grease a 9×13-inch baking pan with cooking spray, ensuring full coverage to prevent sticking.
- Batter Creation: Combine lemon cake mix and lemon pie filling in a large mixing bowl, blending thoroughly until a uniform, smooth consistency emerges with no dry ingredients visible.
- Baking Process: Pour the mixture into the prepared pan, spreading evenly with a spatula and creating a level surface. Transfer to the preheated oven and bake for 25-30 minutes.
- Doneness Check: Test cake’s readiness by inserting a toothpick into the center – it should come out clean without any raw batter residue.
- Cooling and Serving: Remove from oven and allow the cake to cool completely within the pan. Once cooled, slice into precise rectangular bars using a sharp knife.
- Optional Finishing: Elevate presentation by dusting with powdered sugar or drizzling a light citrus glaze across the surface for added visual appeal and flavor complexity.
Notes
- Optimize Mixing Technique: Whisk ingredients thoroughly to eliminate dry mix clumps, ensuring a smooth, consistent batter that guarantees uniform texture and flavor distribution.
- Temperature Control Matters: Keep oven rack centered and precisely at 350°F to prevent uneven baking, which could result in dry edges or undercooked centers.
- Prevent Sticking Strategically: Use generous cooking spray and flour coating to effortlessly release cake bars without breaking or crumbling during removal.
- Cooling Crucial for Texture: Allow cake to cool completely in pan, which helps structure set properly and prevents crumbling when cutting into bars.
- Prep Time: 5 minutes
- Cook Time: 30 minutes
- Category: Desserts, Snacks
- Method: Baking
- Cuisine: American
Nutrition
- Serving Size: 13
- Calories: 157
- Sugar: 22 g
- Sodium: 302 mg
- Fat: 3 g
- Saturated Fat: 1 g
- Unsaturated Fat: 2 g
- Trans Fat: 0 g
- Carbohydrates: 31 g
- Fiber: 0 g
- Protein: 2 g
- Cholesterol: 0 mg
Emily Lawson
Content Creator & Culinary Specialist
Expertise
Education
Oregon Culinary Institute
Diploma in Culinary Arts
Focus: Emphasis on farm-to-table cooking, sustainable practices, and the fusion of global flavors with traditional grilling methods.
Emily Lawson is the content creator at Daves Grill, turning tasty ideas into clear, easy recipes. Based in Portland, she trained at the Oregon Culinary Institute and loves cooking with fresh, seasonal ingredients, especially grilled veggies and global flavors.
Emily mixes food writing with hands-on cooking to bring you recipes that feel fun, not stressful. Her goal is to make every dish simple, flavorful, and worth coming back to. Together, she and Dave serve up real food, one recipe at a time.