Irresistible Peanut Butter Balls Recipe: Sweet Bites of Joy
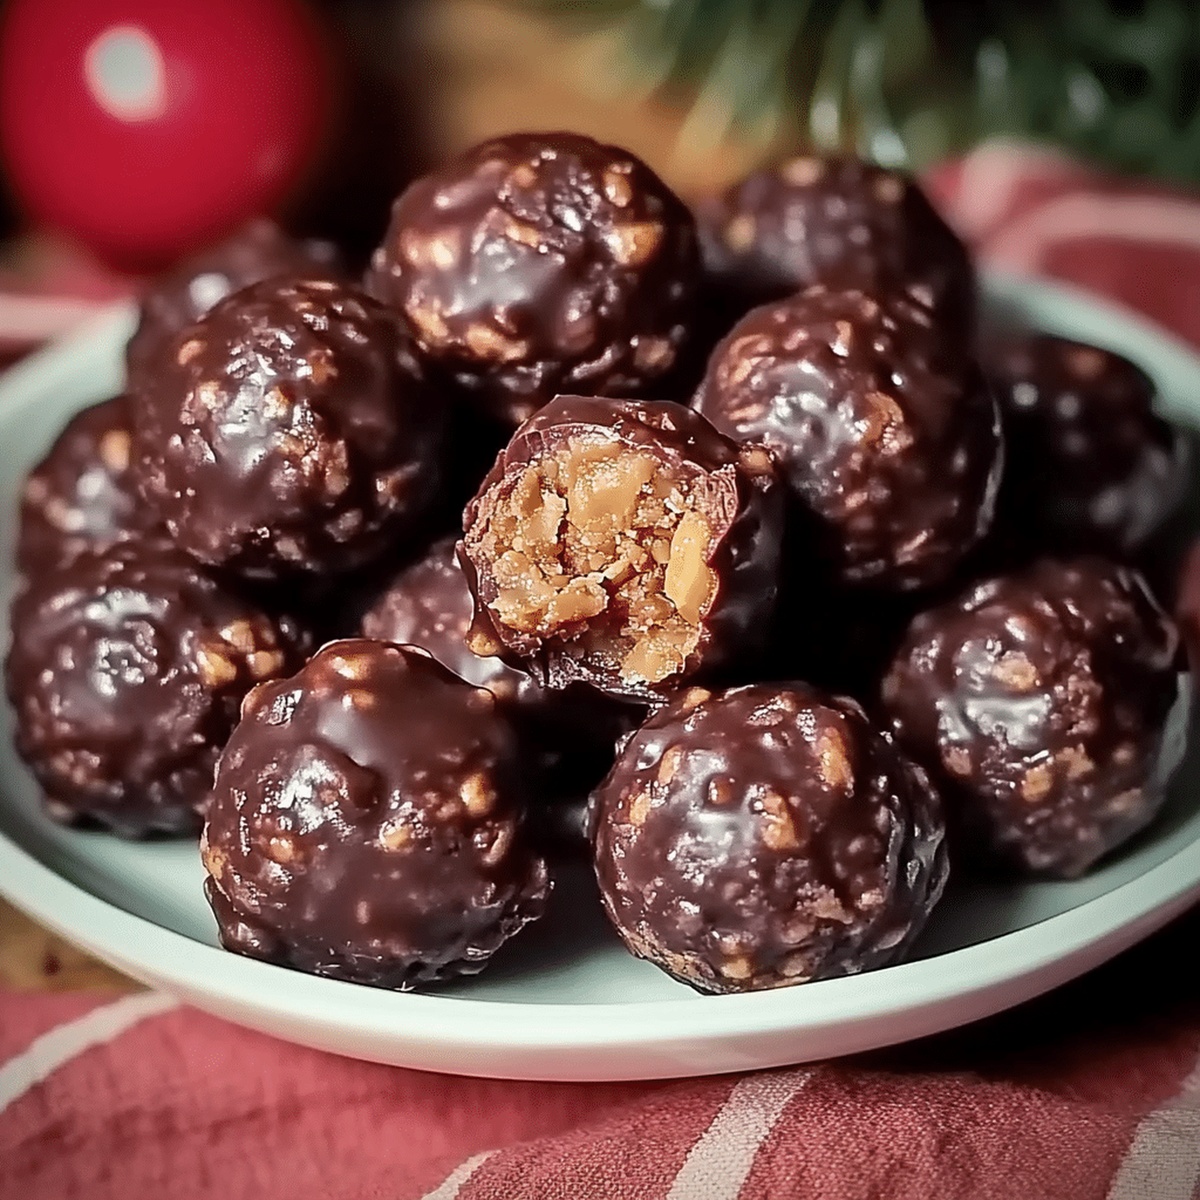
Chocolate-coated peanut butter balls will tantalize your taste buds with their irresistible blend of creamy textures.
These delightful treats melt in your mouth with rich, decadent flavors.
No baking required means you can whip up this simple dessert in minutes.
Sweet and salty notes dance together, creating a perfect harmony of indulgence.
Each bite delivers a luxurious combination of smooth peanut butter and silky chocolate.
The recipe comes together quickly with just a few pantry staples.
Prepare to wow friends and family with these addictive little spheres of pure deliciousness.
Quick Recipe Overview
Peanut Butter Ball Ingredient List
For Peanut Butter Filling:For Chocolate Coating:For Serving/Decoration:Tools That Help You Roll and Dip Just Right
Make Peanut Butter Balls with a Smooth Center
Grab a big bowl and combine peanut butter, powdered sugar, and crushed graham crackers. Mix everything together until it feels like a soft, unified dough. The mixture might get a bit sticky, so use your hands to blend everything perfectly.
Roll the mixture into small, bite-sized rounds. Place these little flavor bombs on a parchment-lined tray. Pop the tray into the refrigerator for about half an hour to help them firm up.
Create a smooth chocolate coating by melting chocolate chips. Use either a double boiler or microwave, stirring frequently to prevent burning. For a silkier texture, add a splash of coconut oil to the melted chocolate.
Take the chilled peanut butter balls and carefully dip each one into the warm chocolate. Use a fork to help you coat them evenly, letting excess chocolate drip back into the bowl.
Return the chocolate-covered treats to the parchment paper and refrigerate until the chocolate sets completely. This usually takes around 30 minutes.
Your delectable peanut butter balls are ready to enjoy! Keep them stored in the refrigerator and watch them disappear quickly during snack time.
Tricks That Keep These Treats Perfectly Shaped
Serve Peanut Butter Balls for Holidays or Snacks
Tips for Storing These Bites Without Drying Out
FAQs
Yes, but you might need to add more powdered sugar to help the mixture hold together since natural peanut butter tends to be more runny.
You can substitute with crushed vanilla wafers, digestive biscuits, or even quick oats to help bind the peanut butter mixture.
Make sure the peanut butter balls are cold before dipping, and let excess chocolate drip off. Work quickly and keep the chocolate at a consistent temperature.
Absolutely! They freeze wonderfully for up to 3 months. Just place them in a freezer-safe container between layers of parchment paper.
Print
Tempting Peanut Butter Balls Recipe
- Total Time: 1 hour 20 minutes
- Yield: 25 1x
Description
Heavenly peanut butter balls combine creamy chocolate and rich peanut butter in a classic no-bake treat. Sweet morsels deliver delightful comfort perfect for holiday gatherings or afternoon snacking.
Ingredients
- 2 cups semi-sweet chocolate chips
- 1 cup creamy peanut butter
- 2 cups powdered sugar
- ¼ cup (57 g) unsalted butter, softened
- 2 tbsps (30 ml) coconut oil or vegetable shortening
- 1 tsp vanilla extract
Instructions
- Mixture Preparation: In a spacious mixing bowl, thoroughly combine peanut butter, powdered sugar, graham cracker crumbs, and vanilla extract. Knead with hands until the mixture achieves a uniform, moldable consistency.
- Sphere Formation and Chilling: Using a cookie scoop, shape the mixture into uniform spheres. Arrange on a parchment-lined tray and refrigerate for 30 minutes to firm up the balls and facilitate chocolate coating.
- Chocolate Coating Preparation: Melt chocolate chips using a double boiler or microwave, stirring frequently. Add coconut oil for a smoother, glossier finish if desired.
- Chocolate Dipping: Remove chilled peanut butter spheres and delicately dip each into the melted chocolate. Use a fork to ensure complete, elegant coverage, allowing excess chocolate to drip back into the melting vessel.
- Final Chilling and Storage: Place chocolate-coated balls back on the parchment-lined tray. Refrigerate until the chocolate shell hardens completely. Transfer to an airtight container and store in the refrigerator for up to one week.
Notes
Maintain Consistent Sizing: Use a cookie scoop or tablespoon to create uniform balls, ensuring even coating and professional appearance.
Prevent Sticky Mixture: Chill hands or lightly grease palms with cooking spray when forming balls to prevent mixture from sticking and make rolling easier.
Chocolate Coating Technique: Allow excess chocolate to drip off using a fork, tapping gently against the bowl’s edge for a thin, smooth chocolate shell without clumping.
Storage and Dietary Modifications: Store in refrigerator for up to a week. For gluten-free version, substitute graham crackers with gluten-free cookies or additional powdered sugar. Vegan option: use dairy-free chocolate and plant-based peanut butter.
- Prep Time: 20 minutes
- Cook Time: 1 hour
- Category: Snacks, Desserts
- Method: Blending
- Cuisine: American
Nutrition
- Serving Size: 25
- Calories: 183
- Sugar: 14 g
- Sodium: 50 mg
- Fat: 9 g
- Saturated Fat: 3 g
- Unsaturated Fat: 6 g
- Trans Fat: 0 g
- Carbohydrates: 23 g
- Fiber: 1 g
- Protein: 3 g
- Cholesterol: 5 mg
Emily Lawson
Content Creator & Culinary Specialist
Expertise
Education
Oregon Culinary Institute
Diploma in Culinary Arts
Focus: Emphasis on farm-to-table cooking, sustainable practices, and the fusion of global flavors with traditional grilling methods.
Emily Lawson is the content creator at Daves Grill, turning tasty ideas into clear, easy recipes. Based in Portland, she trained at the Oregon Culinary Institute and loves cooking with fresh, seasonal ingredients, especially grilled veggies and global flavors.
Emily mixes food writing with hands-on cooking to bring you recipes that feel fun, not stressful. Her goal is to make every dish simple, flavorful, and worth coming back to. Together, she and Dave serve up real food, one recipe at a time.