Sunny Paradise Tropical Pineapple Coconut Thumbprint Cookies Recipe
Soft, buttery cookies dance with tropical pineapple coconut thumbprint cookie flavors that transport you to a sun-drenched paradise.
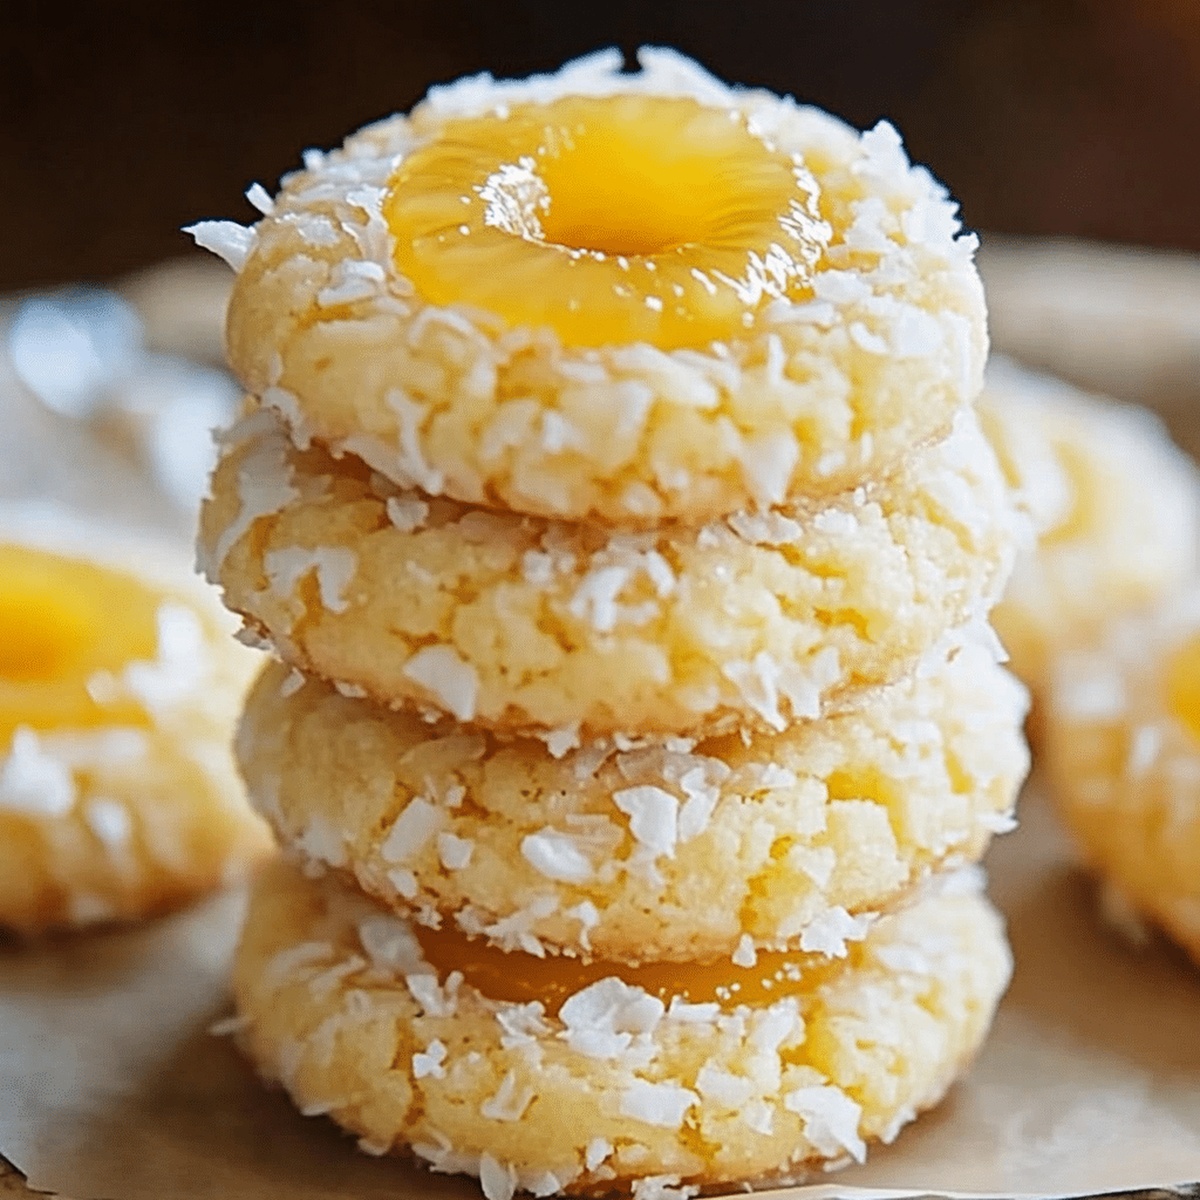
Delicate shortbread mingles with sweet, tangy fruit preserves in each delightful bite.
The golden edges promise a crisp exterior giving way to a tender, melt-in-your-mouth center.
Coconut flakes add subtle texture and a hint of island warmth to these irresistible treats.
Bakers seeking a vacation on a plate will adore these simple yet sophisticated cookies.
Every morsel promises a mini escape from ordinary desserts.
These thumbprint gems are ready to steal the spotlight at your next gathering.
Quick Recipe Overview

Pineapple Thumbprint Ingredient Rundown
For Base and Structure:For Richness and Flavor:For Tropical Topping and Filling:Tools That Help You Shape and Fill Thumbprints
Bake Cookies That Combine Tropical Flavors

Grab softened butter and blend with white and brown sugars until they transform into a dreamy, cloud-like mixture. Splash in egg yolk and vanilla, stirring until everything melds beautifully.
Gently fold flour and salt into the buttery blend, creating a tender dough. Let the mixture rest in the refrigerator for a quick 30-minute chill.
Roll small dough balls and place them on a lined baking sheet. Use your thumb or the back of a spoon to create gentle indentations in each cookie’s center.
Spoon luscious pineapple jam and sprinkle shredded coconut into each cookie’s cozy dimple, ensuring every bite bursts with island-inspired flavor.
Slide the cookie sheet into a preheated oven and bake until edges turn a delicate golden brown. The aroma of sweet coconut and caramelized pineapple will dance through your kitchen.
Transfer cookies to a wire rack, allowing them to cool and set. These tropical treats are ready to melt in your mouth, offering a little slice of Hawaiian paradise.
Tips That Balance Tart and Sweet
Serve with a Dusting of Sugar or Glaze
Store in a Cool Container
FAQs
Yes, but reduce or omit the added salt in the recipe to prevent the cookies from becoming too salty.
After creating the thumbprint, chill the cookie dough for 15-20 minutes before adding the filling. This helps the cookies maintain their shape during baking.
You can substitute brown sugar with white granulated sugar, though the cookies might have slightly less depth of flavor and moisture.
Yes, chilling helps prevent spreading and allows the flavors to meld. It also makes the dough easier to handle and helps the cookies maintain their shape.
Print
Tropical Pineapple Coconut Thumbprint Cookies Recipe
- Total Time: 50 minutes
- Yield: 25 1x
Description
Delightful Hawaiian Pineapple Coconut Thumbprint Cookies blend tropical flavors in a sweet, crumbly treat. Coconut-crusted cookies filled with tangy pineapple jam offer you a delicious taste of island paradise.
Ingredients
- 2 cups (473 ml) all-purpose flour
- 1 cup (226 g) unsalted butter (softened)
- 1 cup (80 g) sweetened shredded coconut
- ½ cup (100 g) granulated sugar
- ¼ cup (55 g) light brown sugar (packed)
- ½ cup (120 ml) pineapple jam (store-bought or homemade)
- 1 large egg yolk
- 1 egg white (for coating)
- 1 tsp vanilla extract
- ¼ tsp salt
- 1 tsp lime juice (optional, for extra zing)
Instructions
- Creaming: Whip butter with granulated and brown sugars until achieving a light, fluffy consistency that forms a smooth foundational dough.
- Enriching: Blend egg yolk and vanilla extract into the mixture, creating a glossy, uniform incorporation that enhances the cookie’s depth of flavor.
- Forming Dough: Delicately fold sifted flour and salt into the buttery mixture, ensuring minimal handling to preserve a tender texture.
- Chilling Preparation: Encase the dough in plastic wrap and refrigerate, allowing flavors to meld and fats to solidify for optimal cookie structure.
- Shaping and Filling: Roll chilled dough into uniform spheres, creating gentle thumb indentations and filling each with a vibrant blend of pineapple preserves and toasted coconut flakes.
- Baking Transformation: Position cookies on a parchment-lined baking sheet and bake until edges turn golden brown and surfaces develop a delicate crisp texture.
- Cooling and Finishing: Allow cookies to rest briefly on the baking sheet before transferring to a wire rack, enabling complete cooling and flavor development.
Notes
- Butter Temperature Control: Ensure butter is softened but not melted for optimal cookie texture and creaming consistency.
- Chill Dough Technique: Refrigerate dough for at least 30 minutes to prevent spreading and enhance flavor development during baking.
- Gentle Thumbprint Method: Create uniform indentations with light, consistent pressure to maintain cookie structural integrity.
- Coconut Toasting Trick: Lightly toast coconut flakes beforehand to intensify nutty flavor and add depth to the cookie’s overall taste profile.
- Prep Time: 20 minutes
- Cook Time: 30 minutes
- Category: Desserts, Snacks
- Method: Baking
- Cuisine: Hawaiian
Nutrition
- Serving Size: 25
- Calories: 180
- Sugar: 10 g
- Sodium: 50 mg
- Fat: 9 g
- Saturated Fat: 5 g
- Unsaturated Fat: 4 g
- Trans Fat: 0 g
- Carbohydrates: 24 g
- Fiber: 1 g
- Protein: 2 g
- Cholesterol: 20 mg
Emily Lawson
Content Creator & Culinary Specialist
Expertise
Education
Oregon Culinary Institute
Diploma in Culinary Arts
Focus: Emphasis on farm-to-table cooking, sustainable practices, and the fusion of global flavors with traditional grilling methods.
Emily Lawson is the content creator at Daves Grill, turning tasty ideas into clear, easy recipes. Based in Portland, she trained at the Oregon Culinary Institute and loves cooking with fresh, seasonal ingredients, especially grilled veggies and global flavors.
Emily mixes food writing with hands-on cooking to bring you recipes that feel fun, not stressful. Her goal is to make every dish simple, flavorful, and worth coming back to. Together, she and Dave serve up real food, one recipe at a time.