Silky Homemade Turkey Gravy Recipe for Flavorful Feasts
Every home cook knows that mastering turkey gravy can turn an ordinary meal into something spectacular.
Rich, velvety sauces have long been the secret weapon of brilliant kitchens everywhere.
Warm pan drippings create magical moments when whisked with precision and care.
Some cooks shy away from making gravy, believing it’s complicated or mysterious.
Professional chefs understand that great gravy requires simple techniques and confident movements.
Your grandmother’s wisdom about patience and careful stirring makes all the difference in achieving smooth, luxurious results.
Grab a whisk and trust your instincts—delicious gravy awaits you.
Turkey Gravy That Deserves the Spotlight
Turkey Gravy Ingredient Lineup
Base Ingredients:Thickening Agents:Liquid Components:Seasoning Blend:Optional Enrichment:How to Whisk Together Turkey Gravy Like a Pro
Step 1: Capture Liquid Gold
After roasting your turkey, carefully transfer the drippings into a fat separator or large bowl. Allow the fat to rise and float to the top. Gently remove the fat, keeping about 1/4 cup. No drippings? No problem- butter works perfectly as a substitute.
Step 2: Create A Silky Roux
Warm the reserved drippings in a medium saucepan over medium heat. Sprinkle in flour and whisk continuously. Cook and stir for 1-2 minutes until the mixture transforms into a delightful golden hue.
Step 3: Pour In Liquid Goodness
Slowly introduce turkey or chicken stock into the pan. Whisk vigorously to prevent any pesky lumps from forming. Bring the mixture to a gentle, rolling simmer.
Step 4: Season And Transform
Add seasonings:Allow the gravy to simmer for 5-7 minutes, stirring occasionally. Watch as it magically thickens to your preferred consistency. Feeling it’s too thick? Simply splash in more stock.
Step 5: Final Flavor Boost
Stir in a pat of butter for extra luxurious richness. Taste and adjust seasonings to your heart’s content.
Step 6: Serve With Flair
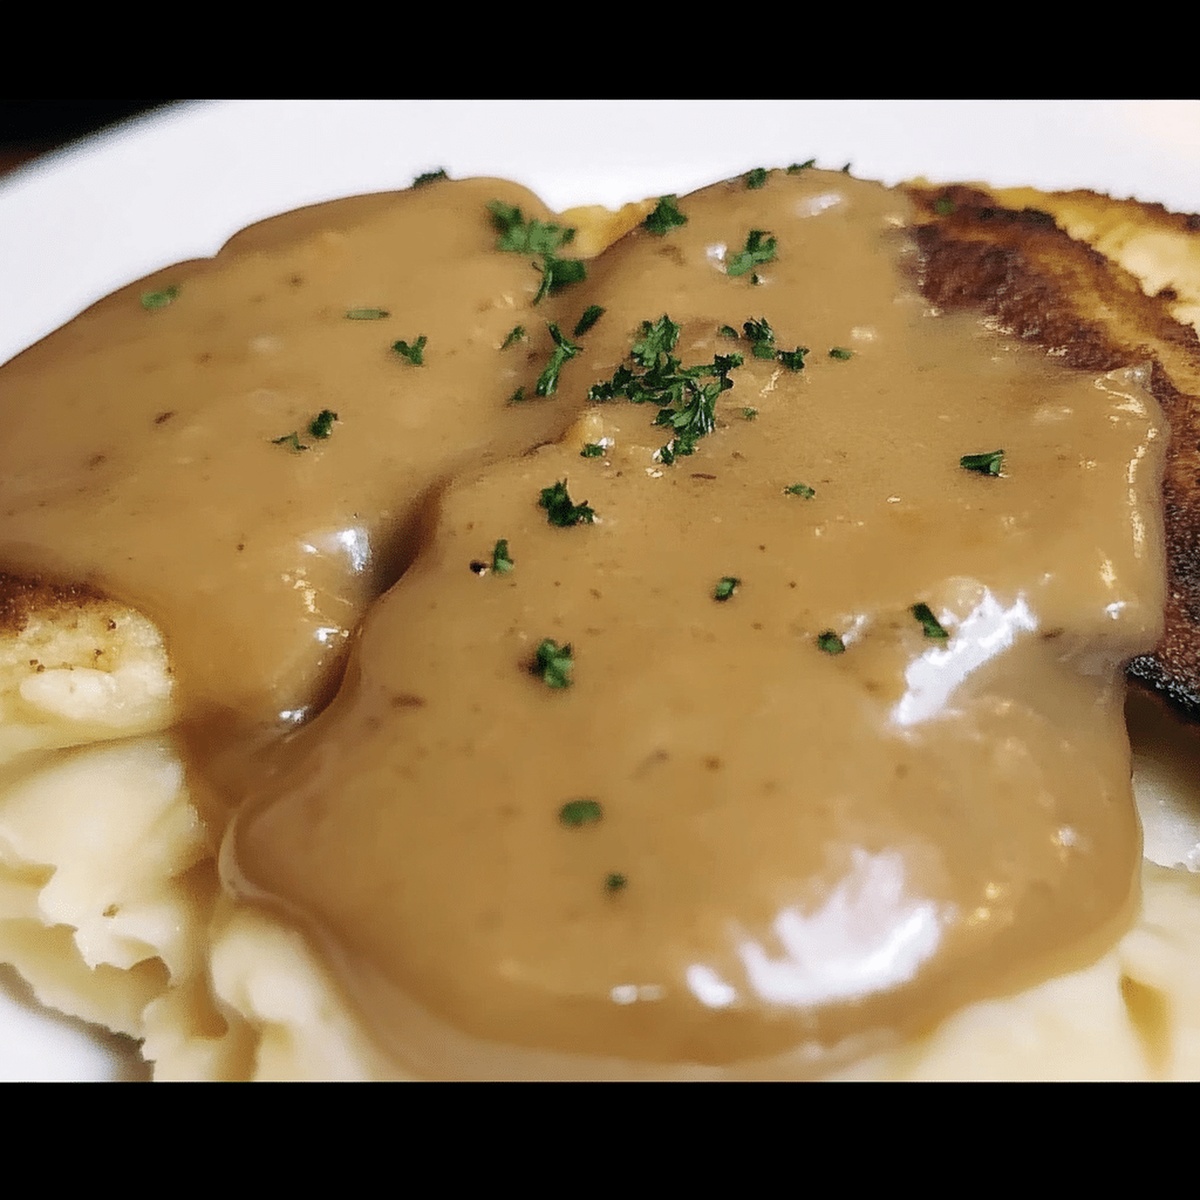
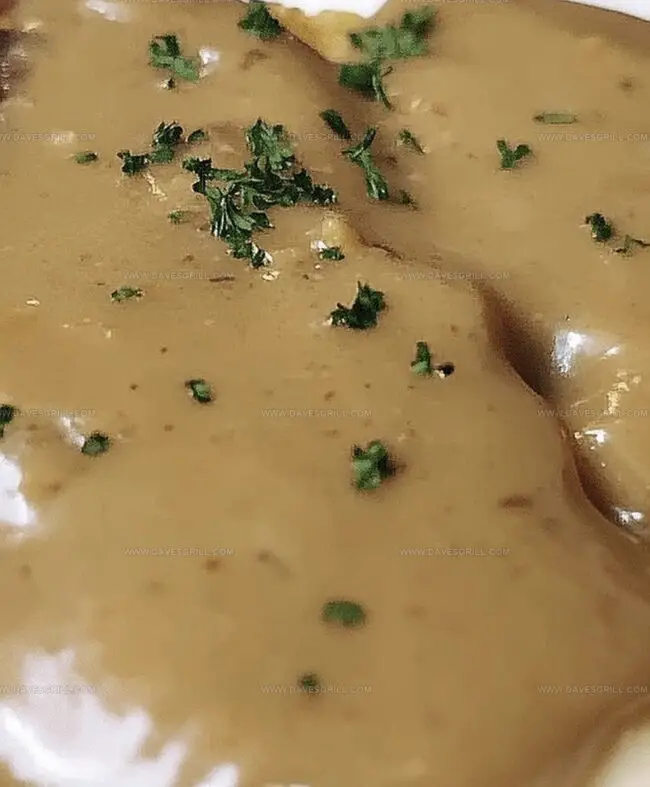
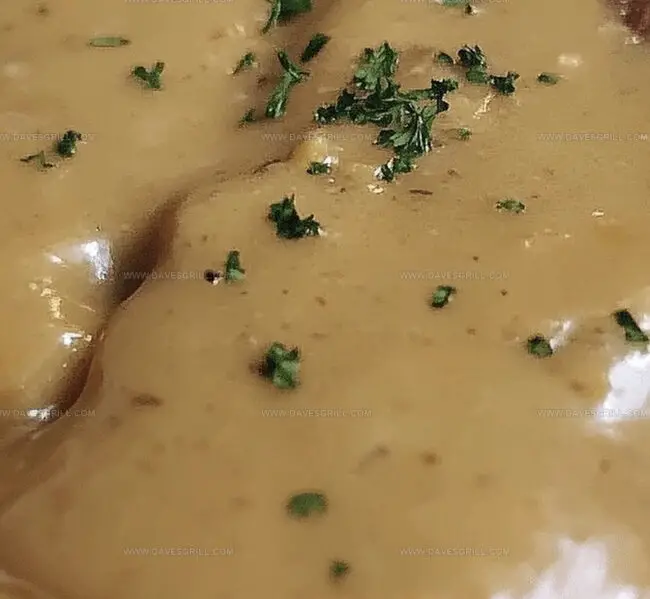
Want ultra-smooth gravy? Strain through a fine-mesh sieve. Ladle hot gravy over succulent turkey, fluffy mashed potatoes, or hearty stuffing.
Tips for Smooth, Lump-Free Turkey Gravy
Best Way to Store and Reheat Leftover Gravy
Meals That Go with Turkey Gravy
New Ideas for Turkey Gravy Flavor
Print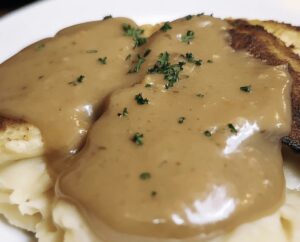
Turkey Gravy Recipe
- Total Time: 15 minutes
- Yield: 4 1x
Description
Silky smooth turkey gravy elevates holiday meals with rich, savory flavor crafted from pan drippings. Each spoonful brings comfort and culinary tradition to your festive table, inviting you to savor classic homemade goodness.
Ingredients
Main Ingredients:
- 2.75 cups (656 ml) turkey or chicken stock
- ¼ cup (60 ml) turkey drippings
- ¼ cup (30 g) all-purpose flour
Seasoning and Herbs:
- ¼ teaspoon salt
- ¼ teaspoon black pepper
- ½ teaspoon fresh thyme or ¼ teaspoon dried thyme
Optional Enrichment:
- 1 tablespoon butter
Instructions
- After roasting the turkey, carefully transfer the pan drippings into a fat separator or wide container, allowing the liquid to settle and the fat to rise to the surface. Carefully remove the excess fat, preserving approximately one-quarter cup of the flavorful liquid.
- Select a medium saucepan and warm the reserved drippings over medium heat. Introduce flour to the heated liquid, whisking continuously to create a smooth, golden-hued roux. Cook for roughly 1-2 minutes to eliminate the raw flour taste.
- Slowly incorporate turkey or chicken stock into the roux, whisking methodically to prevent lumps from forming. Maintain a steady stirring motion to ensure a silky, uniform texture.
- Introduce seasonings including salt, ground black pepper, and optional thyme to enhance the gravy’s depth of flavor. Reduce heat and allow the mixture to gently simmer, stirring periodically to prevent scorching.
- Monitor the gravy’s consistency, allowing it to thicken naturally over 5-7 minutes. If the sauce becomes too dense, gradually thin with additional stock until reaching the desired texture.
- Elevate the gravy’s richness by introducing a final pat of butter, creating a glossy and luxurious finish. Taste and refine the seasoning, ensuring a perfectly balanced flavor profile.
- For an exceptionally smooth presentation, consider straining the gravy through a fine-mesh sieve, removing any potential imperfections. Serve immediately alongside roasted turkey, complementing traditional side dishes.
Notes
- Collect drippings carefully, avoiding burning or scraping the bottom of the roasting pan to prevent bitter flavors.
- Use a fat separator to easily remove excess fat, creating a lighter, cleaner-tasting gravy without greasy residue.
- Whisk flour and fat slowly to create a smooth roux, preventing lumps and ensuring a silky texture in the final gravy.
- Adjust consistency by adding more stock if too thick or simmering longer if too thin, allowing the gravy to reach perfect pouring texture.
- Enhance flavor by adding herbs like rosemary or sage, or a splash of white wine for deeper complexity.
- Make ahead and reheat gently, stirring frequently to maintain smooth consistency and prevent separation.
- Create a gluten-free version by substituting cornstarch or arrowroot powder for flour, whisking carefully to prevent clumping.
- Prep Time: 5 minutes
- Cook Time: 10 minutes
- Category: Dinner, Lunch
- Method: Simmering
- Cuisine: American
Nutrition
- Serving Size: 4
- Calories: 50
- Sugar: 0 g
- Sodium: 150 mg
- Fat: 2 g
- Saturated Fat: 1 g
- Unsaturated Fat: 1 g
- Trans Fat: 0 g
- Carbohydrates: 7 g
- Fiber: 0 g
- Protein: 1 g
- Cholesterol: 5 mg
Dave Mitchell
Founder & Chief Recipe Developer
Expertise
Education
Asheville-Buncombe Technical Community College
Associate of Applied Science in Culinary Arts
Focus: Comprehensive training in culinary techniques, kitchen management, and menu planning, with a special emphasis on grilling and outdoor cooking.
Dave Mitchell is the heart behind Daves Grill, a cook, writer, and lover of all things grilled. He studied Culinary Arts at Asheville-Buncombe Technical Community College and spent years cooking, testing, and sharing recipes that actually work.
Dave started Daves Grill to keep things simple: one great recipe at a time. His food is bold, easy to follow, and made for real people with regular kitchens. From juicy steaks to quick sides, Dave’s recipes bring the heat without the hassle.