
Whip Up Velvety Coconut Biscuits: A Dreamy Homemade Recipe
Soft, buttery biscuits with a delightful coconut twist dance across your taste buds.
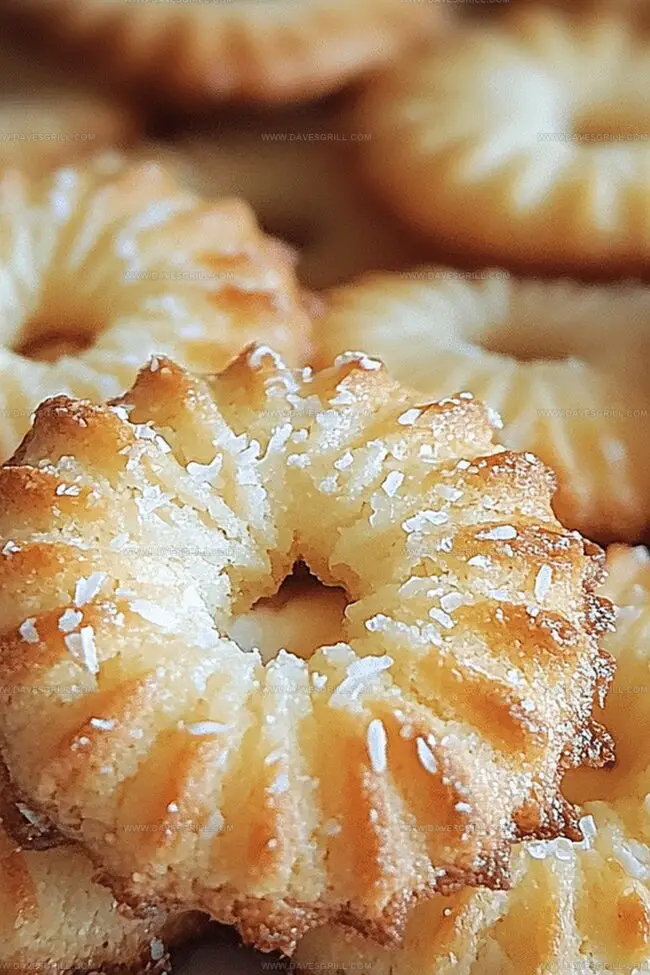
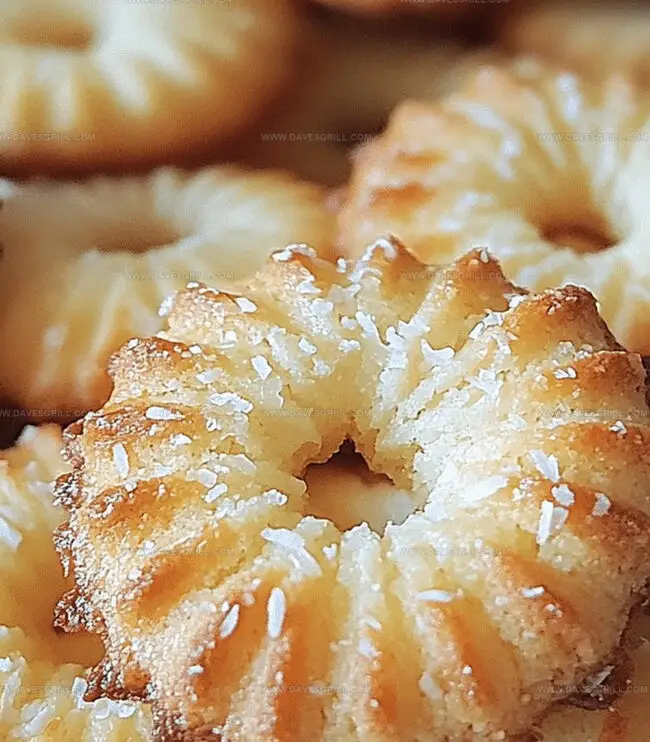
These homemade velvety coconut biscuits promise a heavenly blend of tropical sweetness and comforting texture.
Crisp edges give way to a tender, melt-in-your-mouth center that captures pure bakery magic.
Fragrant coconut flakes weave through each bite, creating an irresistible treat that whispers of sunny beaches and warm kitchens.
Simple ingredients transform into a delectable snack perfect for afternoon tea or a quick indulgence.
Every crumb speaks of careful preparation and love baked right in.
Prepare to savor a moment of pure, coconutty bliss that will have everyone asking for seconds.
Quick Recipe Overview
Milky Coconut Biscuit Ingredient Guide for Little Snackers
For Base Ingredients:For Moisture and Binding Ingredients:For Optional Add-Ins:Tools to Shape and Bake Kid-Friendly Coconut Biscuits
Make Milky Coconut Biscuits with Sweet Simplicity
Crank your oven to a toasty 180C and slide in a baking sheet covered with parchment paper. Get ready for some delicious baking!
Grab a big mixing bowl and toss in all your dry and wet ingredients. Stir everything together until it forms a soft, dreamy mixture. If you want extra pizzazz, sprinkle in some colorful bits or chocolate chips.
Scoop out small handfuls of dough and roll them into cute little balls. Gently press them down so they look like sweet, round discs. Place them on your prepared baking sheet, leaving a bit of breathing room between each one.
Pop the baking sheet into the oven and let these beauties transform. Watch for those edges turning a beautiful golden brown – about 10-12 minutes of pure anticipation.
Let the biscuits rest on the baking sheet for a few minutes, then transfer them to a cooling rack. Once they’re not scorching hot, it’s time to dive in and enjoy!
Tips for a Soft, Chewy Finish in Coconut Biscuits
Serve These Biscuits as a Light Snack or Dessert
Store Coconut Biscuits in Airtight Tins
FAQs
These biscuits do not contain nuts, making them safe for most children. However, always check ingredient labels and consult with a pediatrician if you have specific allergy concerns.
Unfortunately, condensed milk is a key ingredient that provides sweetness and moisture. Substituting it might significantly change the texture and taste of the biscuits.
Look for golden brown edges and a slightly firm texture. They should be light and not too dark. The biscuits will continue to set as they cool, so don’t overbake.
Yes, you can substitute the regular flour with a gluten-free flour blend. Ensure the blend is suitable for baking to maintain the right texture and consistency.
Print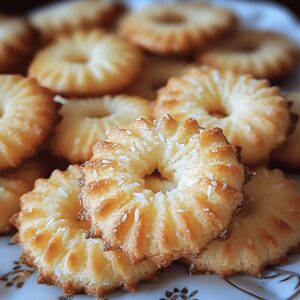
Velvety Coconut Biscuits
- Total Time: 20 minutes
- Yield: 13 1x
Description
Milky coconut biscuits blend creamy nostalgia with tropical sweetness from Brazil. Crisp edges and tender centers make these treats irresistible for children and adults alike.
Ingredients
- 2 cups (160 g) desiccated coconut
- 1 cup (120 g) all-purpose flour
- ½ cup (120 ml / 4 fl oz) sweetened condensed milk
- ¼ cup (60 g / 2 oz) unsalted butter, melted
- 1 tsp vanilla extract
- ¼ tsp salt
- Sprinkles or chocolate chips (optional)
Instructions
- Preheat Oven: Configure oven to 180C (350F) and line baking tray with parchment paper or silicone mat for optimal non-stick performance.
- Combine Dry Components: Thoroughly blend shredded coconut, flour, and salt in a large mixing bowl, ensuring uniform ingredient distribution.
- Create Dough: Gently fold melted butter, condensed milk, and vanilla extract into dry mixture, seamlessly integrating ingredients. Optionally incorporate sprinkles or chocolate chips for enhanced texture and flavor.
- Shape Biscuits: Craft uniform spherical portions by scooping dough and delicately flattening each to create consistent, appealing biscuit shapes. Arrange prepared biscuits on prepared baking surface with sufficient spacing to prevent merging during baking.
- Baking Process: Place tray in preheated oven and bake for 10-12 minutes, watching for edges to transform into a warm, golden-brown color indicating perfect doneness.
- Cooling Stage: After removing from oven, let biscuits rest on baking tray for five minutes to stabilize structure. Subsequently transfer to cooling rack, allowing complete temperature reduction and texture refinement.
- Serving Suggestion: Present these delectable treats independently or paired with a chilled milk beverage, ideal for delighting children’s palates.
Notes
- Control Moisture Carefully: Avoid overmixing the dough, which can make biscuits dense and tough. Gently fold ingredients until just combined for light, crumbly texture.
- Monitor Coconut Distribution: Ensure shredded coconut is evenly spread throughout the dough to guarantee consistent flavor and texture in every bite.
- Watch Baking Time Closely: Golden-brown edges indicate perfect doneness; even 30 seconds extra can transform soft biscuits into hard, crispy versions.
- Customize for Dietary Needs: Substitute regular flour with gluten-free alternatives and use dairy-free condensed milk for allergies or specific dietary requirements.
- Prep Time: 10 minutes
- Cook Time: 10 minutes
- Category: Snacks, Desserts
- Method: Baking
- Cuisine: Indian
Nutrition
- Serving Size: 13
- Calories: 129
- Sugar: 6 g
- Sodium: 16 mg
- Fat: 7 g
- Saturated Fat: 4 g
- Unsaturated Fat: 3 g
- Trans Fat: 0 g
- Carbohydrates: 16 g
- Fiber: 1 g
- Protein: 2 g
- Cholesterol: 15 mg
Emily Lawson
Content Creator & Culinary Specialist
Expertise
Education
Oregon Culinary Institute
Diploma in Culinary Arts
Focus: Emphasis on farm-to-table cooking, sustainable practices, and the fusion of global flavors with traditional grilling methods.
Emily Lawson is the content creator at Daves Grill, turning tasty ideas into clear, easy recipes. Based in Portland, she trained at the Oregon Culinary Institute and loves cooking with fresh, seasonal ingredients, especially grilled veggies and global flavors.
Emily mixes food writing with hands-on cooking to bring you recipes that feel fun, not stressful. Her goal is to make every dish simple, flavorful, and worth coming back to. Together, she and Dave serve up real food, one recipe at a time.