
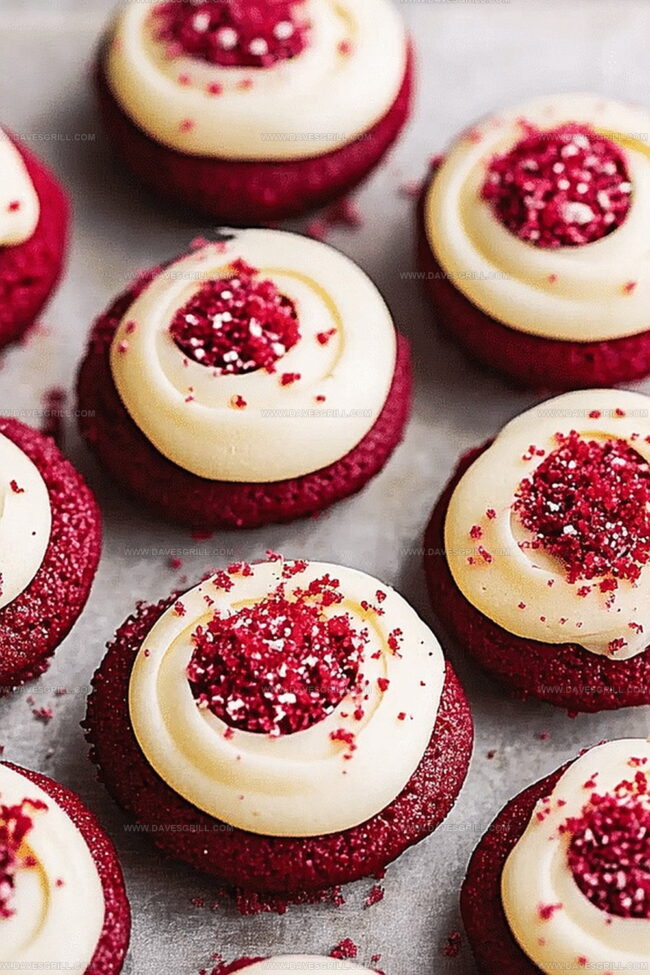
Sweet Scarlet Bliss: Red Velvet Cupcake Cookies Recipe
When chocolate cravings strike, these red velvet cupcake cookies deliver pure deliciousness that melts seamlessly on your tongue.
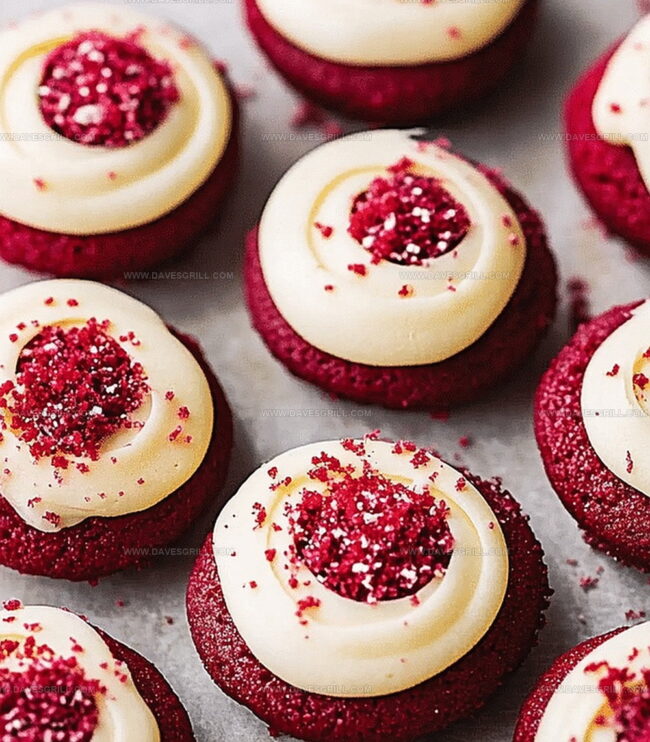
Rich cocoa powder blends with cream cheese frosting to create an irresistible treat.
Soft, pillowy textures dance between cookie and cupcake sensations.
Each bite promises a decadent experience that elevates dessert expectations.
The subtle hint of vanilla adds depth to every delectable morsel.
Crimson-hued cookies tempt with their gorgeous color and luxurious flavor profile.
You’ll want to share these delightful morsels with everyone at the table.
Indulge in this simple yet spectacular dessert that turns an ordinary moment into something extraordinary.
Quick Recipe Overview
Ingredients for Red Velvet Cupcake Cookies That Wow
For Red Velvet Base:For Creamy Filling and Moisture:For Cream Cheese Filling:Tools to Bake Red Velvet Cupcake Cookies at Home
How to Bake Red Velvet Cupcake Cookies to Perfection
Grab a bowl and toss together your flour, cocoa powder, baking soda, and salt. Give it a good stir to blend everything evenly.
In another bowl, beat butter and sugar until they transform into a fluffy cloud. Drop in the egg, vanilla, food coloring, and sour cream. Mix until the batter looks vibrant and smooth.
Blend cream cheese with powdered sugar and vanilla until it becomes silky and irresistible. This will be your secret filling surprise.
Scoop out dough portions and flatten them gently on your baking sheet. Dollop cream cheese filling in the center of each dough circle.
Cover each cream cheese center with another dough portion. Press the edges to lock in the creamy goodness.
Slide your cookie tray into a 350F oven. Bake for 10-12 minutes until edges look crisp but centers remain soft. Let cookies rest on the sheet for 5 minutes before moving to a cooling rack.
Tricks for Topping and Frosting Red Velvet Cupcake Cookies
Serving Red Velvet Cupcake Cookies Like a Pro
Smart Storage for Red Velvet Cupcake Cookies
FAQs
Red velvet cupcake cookies combine the soft, cakey texture of red velvet with a classic cookie format. They’re essentially a hybrid dessert that offers the best of both worlds – the rich flavor of red velvet and the convenient shape of a cookie.
Sour cream adds moisture and creates a tender, soft texture in the cookies. It helps enhance the tanginess typical of red velvet desserts and contributes to a more cake-like consistency that mimics the original red velvet cupcake.
Yes, you can customize the intensity of the red color by adding more or less food coloring. Some bakers prefer a deeper red, while others like a softer shade. Start with less and gradually add until you achieve your desired color.
Look for slightly crisp edges and a soft center. The cookies should still feel slightly soft when you remove them from the oven, which helps maintain their cupcake-like texture. They will continue to set as they cool on the baking sheet.
Print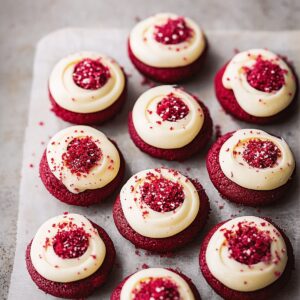
Velvety Red Velvet Cupcake Cookies Recipe
- Total Time: 50 minutes
- Yield: 13 1x
Description
Delectable red velvet cupcake cookies blend classic cake flavors with cookie texture. Cream cheese frosting and rich cocoa notes create irresistible sweet treats you cannot resist.
Ingredients
- 1 ½ cups (190 g) all-purpose flour
- ½ cup (100 g) brown sugar, packed
- ½ cup (100 g) granulated sugar
- ½ cup (115 g) unsalted butter, softened
- 1 large egg
- 2 tbsps unsweetened cocoa powder
- 1 tsp red food coloring (gel preferred for vibrant color)
- 1 tsp vanilla extract
- ½ tsp baking soda
- ¼ tsp salt
- 4 oz (115 g) cream cheese, softened
- 1 cup (125 g) powdered sugar, sifted
- 2 tbsps unsalted butter, softened
- ½ tsp vanilla extract
- Red sprinkles
- White sprinkles
- Mini chocolate chips
Instructions
- Preheat: Configure oven to 350F (175C) and line baking sheet with parchment paper or silicone mat for seamless cookie release.
- Dry Ingredients: Whisk flour, cocoa powder, baking soda, and salt in a medium bowl, setting aside for future incorporation.
- Butter Mixture: Cream butter and sugar in a large mixing bowl using an electric mixer until light and fluffy, approximately 2-3 minutes.
- Wet Integration: Blend egg, vanilla extract, red food coloring, and sour cream into butter mixture, ensuring a vibrant red velvet consistency.
- Dough Formation: Fold dry ingredients into wet components, mixing until a soft, uniform dough develops.
- Cream Cheese Preparation: Whip cream cheese, powdered sugar, and vanilla extract until smooth and peaks form effortlessly.
- Cookie Assembly: Portion red velvet dough into tablespoon-sized balls, flattening on baking sheet and creating a base for cream cheese center.
- Filling Encapsulation: Place cream cheese filling in dough center, covering with additional dough and sealing edges completely.
- Baking: Arrange cookies with 2-inch spacing and bake for 10-12 minutes, targeting slightly crisped edges while maintaining a soft, cupcake-like interior.
- Cooling: Rest cookies on baking sheet for 5 minutes, then transfer to wire rack for complete cooling and optimal texture development.
Notes
- Manage Food Coloring Intensity: Adjust red food coloring quantity for desired vibrant red color without altering cookie texture or taste.
- Prevent Cream Cheese Leakage: Ensure cream cheese filling is chilled and firm before stuffing to minimize potential seepage during baking.
- Control Dough Temperature: Let dough rest at room temperature for easier handling and more consistent cookie shape when forming filled cookies.
- Achieve Perfect Texture Balance: Avoid overbaking to maintain soft, cupcake-like interior while creating slightly crisp exterior edges.
- Prep Time: 20 minutes
- Cook Time: 30 minutes
- Category: Desserts, Snacks
- Method: Baking
- Cuisine: American
Nutrition
- Serving Size: 13
- Calories: 210
- Sugar: 18 g
- Sodium: 150 mg
- Fat: 10 g
- Saturated Fat: 6 g
- Unsaturated Fat: 4 g
- Trans Fat: 0 g
- Carbohydrates: 30 g
- Fiber: 1 g
- Protein: 2 g
- Cholesterol: 30 mg
Emily Lawson
Content Creator & Culinary Specialist
Expertise
Education
Oregon Culinary Institute
Diploma in Culinary Arts
Focus: Emphasis on farm-to-table cooking, sustainable practices, and the fusion of global flavors with traditional grilling methods.
Emily Lawson is the content creator at Daves Grill, turning tasty ideas into clear, easy recipes. Based in Portland, she trained at the Oregon Culinary Institute and loves cooking with fresh, seasonal ingredients, especially grilled veggies and global flavors.
Emily mixes food writing with hands-on cooking to bring you recipes that feel fun, not stressful. Her goal is to make every dish simple, flavorful, and worth coming back to. Together, she and Dave serve up real food, one recipe at a time.