Irresistibly Soft Walnut Butter Cookies Recipe for Sweet Moments
Crafting walnut butter cookies brings pure joy to my baking adventures.
Nuts add incredible depth and richness to classic sweet treats.
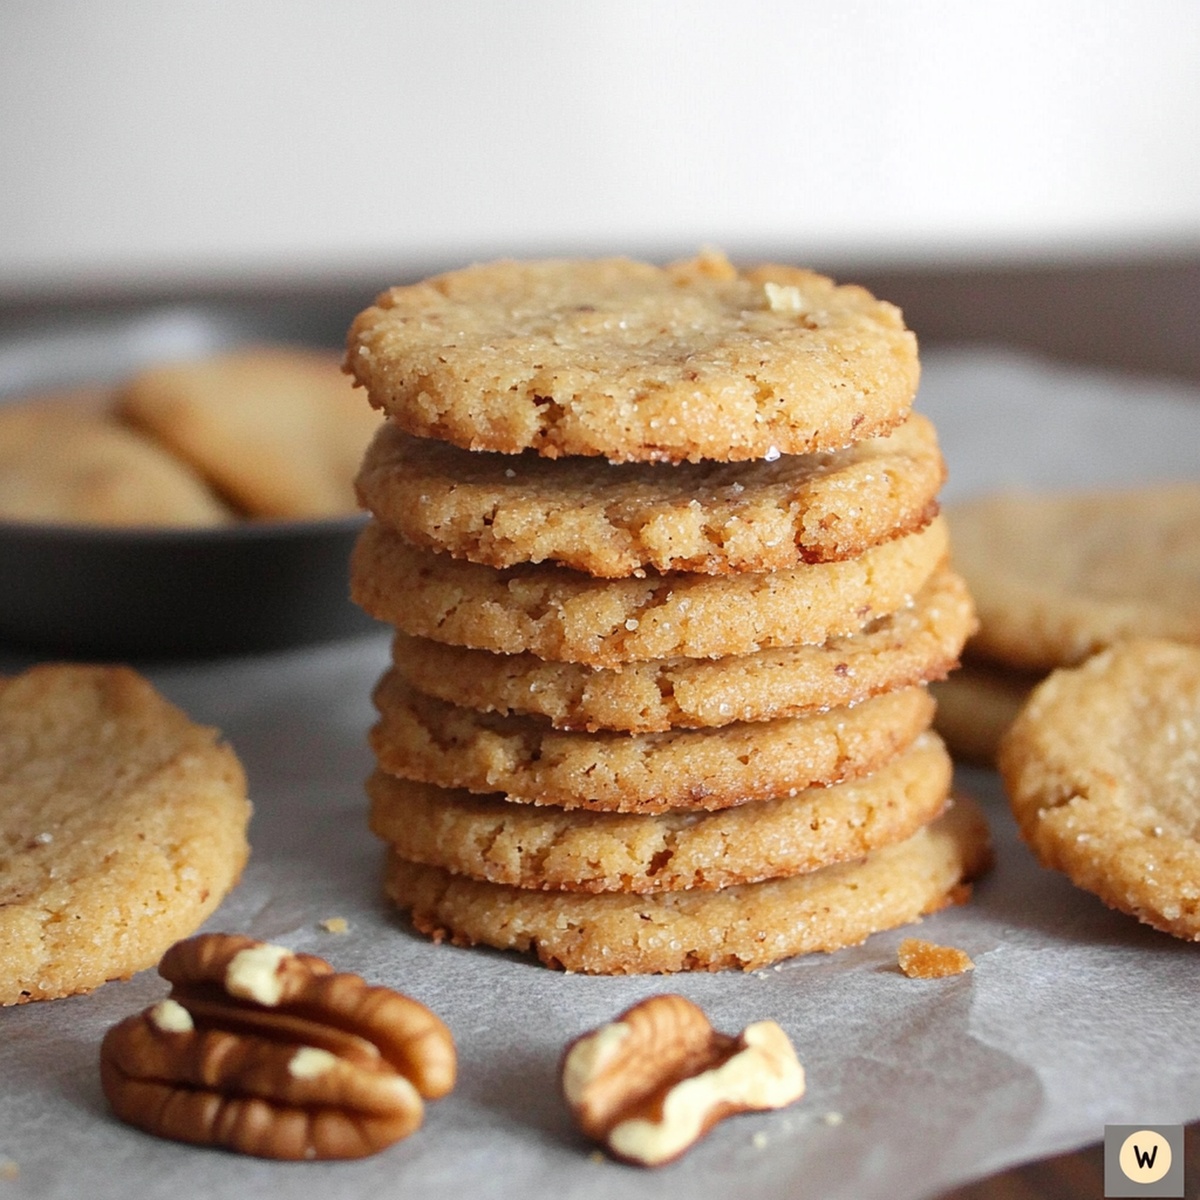
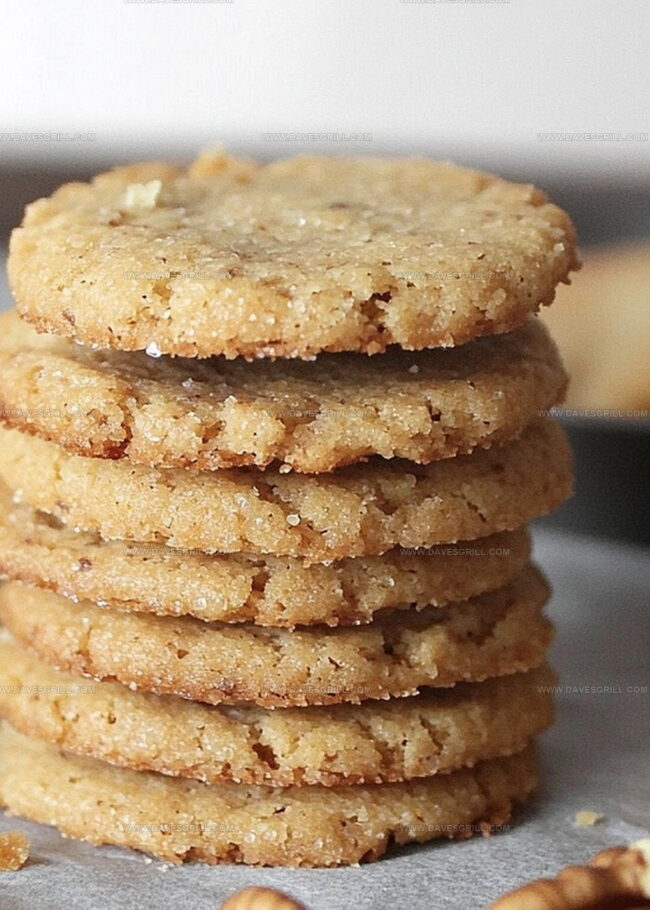
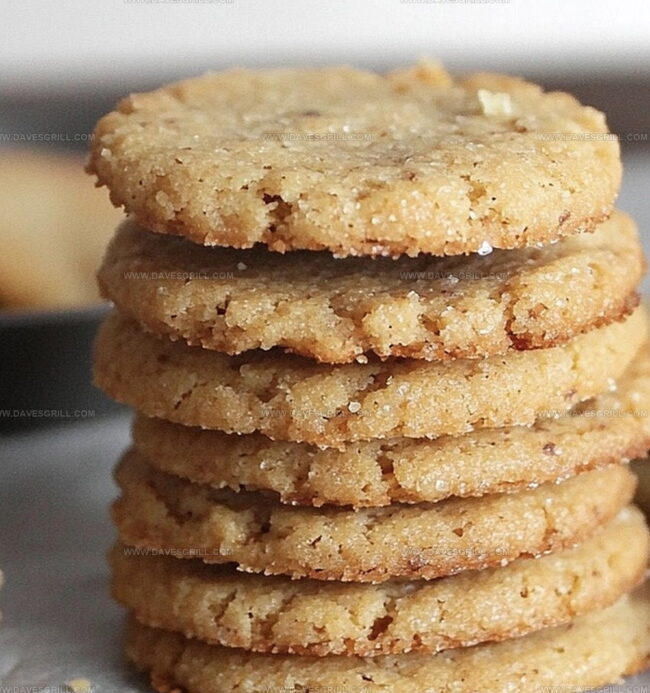
Crisp edges and soft centers make these cookies irresistible companions for afternoon tea.
Homemade versions always taste more delectable than store-bought alternatives.
The combination of ground walnuts and creamy butter creates a melt-in-your-mouth texture you’ll adore.
Sweet and nutty flavors dance together in each delightful bite.
These cookies promise to become your new favorite indulgence, so grab an apron and start mixing.
Why Walnut Butter Cookies Are Worth Trying
What You’ll Need For Walnut Butter Cookies
Base Ingredients:Binding Ingredients:Dry Ingredients:Texture and Flavor Add-In:Optional Finishing Ingredient:How To Make Walnut Butter Cookies With Ease
Step 1: Warm Up the Oven
Crank your oven to a cozy 350F (175C). Grab a baking sheet and line it with parchment paper, creating a smooth landing spot for your soon-to-be-delicious cookies.
Step 2: Create a Creamy Base
Grab a spacious mixing bowl and unleash the magic of blending:Whip these ingredients together until they transform into a fluffy, cloud-like mixture that looks absolutely dreamy.
Step 3: Introduce Moisture Magic
Drop in your flavor boosters:Beat these into the creamy base until everything looks perfectly smooth and combined.
Step 4: Combine Dry Ingredients
In a separate bowl, dance together:Gently mix these dry ingredients, then slowly fold them into your wet mixture. Stir with love until everything is harmoniously blended.
Step 5: Welcome the Walnut Stars
Sprinkle in chopped walnuts and fold them throughout the dough. Make sure every bite will have a delightful nutty crunch.
Step 6: Shape Your Cookie Dreams
Roll the dough into adorable one-inch balls. Place them on your prepared baking sheet, giving each cookie some breathing room. Press them down gently with your palm or the bottom of a glass for that classic cookie look.
Step 7: Bake to Golden Perfection
Slide the baking sheet into the oven and let the cookies bake for 10-12 minutes. Watch for those edges turning a beautiful golden brown while the centers remain soft and tender.
Step 8: Cool and Celebrate
Allow the cookies to rest on the baking sheet for 5 minutes. Transfer them to a wire rack to cool completely. For an extra touch of sweetness, dust with a sprinkle of powdered sugar if you’re feeling fancy.
Enjoy your homemade walnut butter cookies – a treat that promises to bring smiles with every single bite!
Tips That Help With Walnut Butter Cookies
Storage Advice For Walnut Butter Cookies
Foods That Go With Walnut Butter Cookies
Ways To Change Up Walnut Butter Cookies
Top FAQs On Walnut Butter Cookies
Walnuts add a rich, nutty flavor and provide a delightful crunch that elevates these classic butter cookies from ordinary to extraordinary. They also bring healthy omega-3 fatty acids and a wonderful texture contrast.
Absolutely! Pecans or almonds work wonderfully in this recipe. They’ll provide a similar texture and nutty essence that complements the buttery cookie base perfectly.
Look for lightly golden edges and a soft center. The cookies might seem slightly underbaked, but they’ll continue to set as they cool, creating a wonderfully tender texture that melts in your mouth.
Yes! You can prepare the dough in advance and refrigerate for up to 3 days, or freeze the dough balls for up to a month. Just add an extra minute or two to baking time if baking from frozen.
Print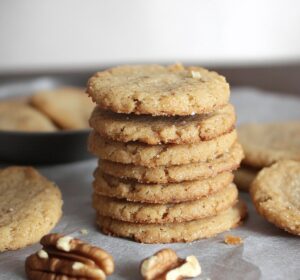
Walnut Butter Cookies Recipe
- Total Time: 25 minutes
- Yield: 24 1x
Description
Classic Walnut Butter Cookies blend rustic charm with delicate nutty sweetness, offering a simple yet elegant dessert that whispers comfort. Crisp edges and melt-in-your-mouth centers invite absolute delight with each heavenly bite.
Ingredients
Main Ingredients:
- 2 cups all-purpose flour
- 1 cup (2 sticks) unsalted butter, softened
- 1 cup chopped walnuts
Sweeteners:
- ½ cup granulated sugar
- ½ cup brown sugar, packed
Additional Ingredients:
- 1 large egg
- 1 teaspoon vanilla extract
- ½ teaspoon baking powder
- ¼ teaspoon salt
- Optional: powdered sugar for dusting
Instructions
- Prepare the oven environment by heating to 350F (175C) and line baking surfaces with parchment paper for optimal cookie performance.
- In a spacious mixing bowl, whip butter and both sugar varieties until the mixture becomes airy and voluminous, creating a smooth foundational texture.
- Introduce egg and vanilla extract, blending thoroughly to create a cohesive, silky base that will provide moisture and depth to the cookie dough.
- Separately combine flour, baking powder, and salt, creating a delicate dry mixture that will contribute structural integrity to the cookies.
- Gently incorporate the dry ingredients into the wet mixture, mixing until just combined to prevent overworking the dough and maintaining a tender crumb.
- Fold chopped walnuts throughout the dough, ensuring an even distribution of nutty crunch in every potential bite.
- Shape the dough into compact spheres, approximately one inch in diameter, positioning them strategically on the prepared baking surfaces with sufficient spacing to allow for gentle expansion.
- Apply a gentle press to each dough ball, slightly flattening to create a more uniform cookie profile and encouraging even baking.
- Transfer to the preheated oven and bake for 10-12 minutes, watching for delicate golden edges while maintaining a soft, yielding center.
- Allow cookies to rest on the baking sheet for a brief cooling period, then carefully transfer to a wire rack for complete cooling and optional dusting with powdered sugar for an elegant finishing touch.
Notes
- Toast walnuts before chopping to enhance their nutty flavor and create a deeper, more complex taste profile in the cookies.
- Use room temperature butter for smoother creaming and better cookie texture, ensuring even mixing and consistent results.
- Replace some all-purpose flour with ground walnuts for an intense nutty flavor and gluten-free option, perfect for those with wheat sensitivities.
- Chill the dough for 30 minutes before baking to prevent excessive spreading and create thicker, more structured cookies with beautiful edges.
- Prep Time: 10 minutes
- Cook Time: 15 minutes
- Category: Desserts, Snacks
- Method: Baking
- Cuisine: American
Nutrition
- Serving Size: 24
- Calories: 156
- Sugar: 7 g
- Sodium: 38 mg
- Fat: 10 g
- Saturated Fat: 3 g
- Unsaturated Fat: 7 g
- Trans Fat: 0 g
- Carbohydrates: 16 g
- Fiber: 1 g
- Protein: 2 g
- Cholesterol: 20 mg
Dave Mitchell
Founder & Chief Recipe Developer
Expertise
Education
Asheville-Buncombe Technical Community College
Associate of Applied Science in Culinary Arts
Focus: Comprehensive training in culinary techniques, kitchen management, and menu planning, with a special emphasis on grilling and outdoor cooking.
Dave Mitchell is the heart behind Daves Grill, a cook, writer, and lover of all things grilled. He studied Culinary Arts at Asheville-Buncombe Technical Community College and spent years cooking, testing, and sharing recipes that actually work.
Dave started Daves Grill to keep things simple: one great recipe at a time. His food is bold, easy to follow, and made for real people with regular kitchens. From juicy steaks to quick sides, Dave’s recipes bring the heat without the hassle.