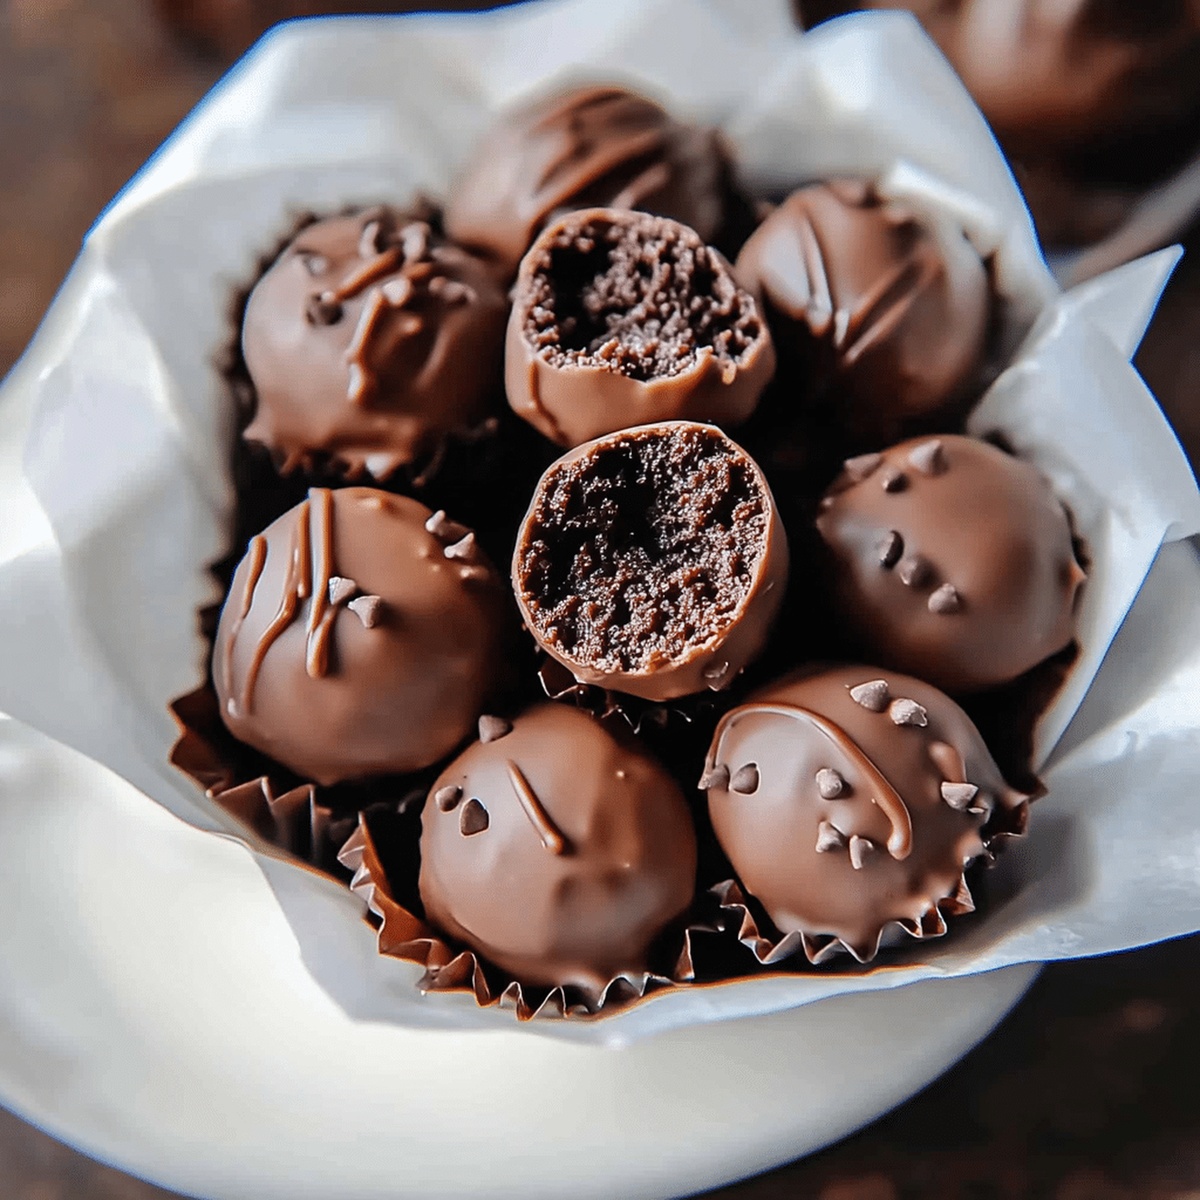
Indulgent Chocolatey Goodness: Decadent Brownie Truffles Recipe
Chocolate lovers swoon over these delectable brownie truffles that blend rich, fudgy brownie centers with luxurious chocolate coating.
The irresistible brownie truffle recipe combines classic dessert elements into bite-sized delights that melt seamlessly in your mouth.
Each truffle packs an intense chocolate punch with a velvety smooth texture that surprises and delights.
Homemade truffles might seem complicated, but this recipe simplifies the process into easy, manageable steps.
Professional bakers and home cooks alike can master these elegant treats with minimal effort.
The result is a stunning dessert that looks professionally crafted but comes together with surprising ease.
Prepare to impress everyone at your next gathering with these decadent chocolate gems.
Quick Recipe Overview
Prep Time: 15 minutes
Cook Time: 30 minutes
Total Time: 45 minutes
Calories: 120 kcal
Servings: 24
Brownie Truffle Ingredient Breakdown
For Base:For Binding:For Coating and Decoration:Tools to Roll Brownie Truffles with Ease
Make Brownie Truffles in a Snap
Grab your favorite boxed brownie mix and bake those delectable squares according to the package directions. Let them cool down completely so they’re easy to handle.
Dive into the cooled brownies with your hands, breaking them down into fine, moist crumbs. The goal is a texture that feels like soft, rich sand.
If your brownie crumbs seem a bit dry and crumbly, introduce some cream cheese or frosting. Mix in small amounts until the mixture holds together perfectly when you squeeze it.
Roll the brownie mixture into bite-sized balls using your palms. Make them uniform in size for a professional look and even cooking.
Place your truffle balls on a baking sheet and pop them in the refrigerator. Let them firm up for about 30 minutes, which helps them maintain their shape.
Melt chocolate and drizzle or dip each truffle for a glossy, decadent finish. Sprinkle with nuts, cocoa powder, or colorful sprinkles if you’re feeling fancy.
Transfer the truffles to a serving plate and watch as everyone devours these irresistible chocolate treats. Store any leftovers in the refrigerator.
Tasty Touches to Enhance Brownie Truffles
How to Present Brownie Truffles Beautifully
Save Brownie Truffles for Later Snacking
FAQs
Look for a texture that’s moist enough to hold together when you squeeze a handful. The crumbs should stick together without being too wet. If they’re crumbly and won’t form a ball, add a little cream cheese or frosting until they bind.
Absolutely! Homemade brownies work great for truffles. Just ensure they’re completely cooled and have a soft, fudgy texture. Dense, cake-like brownies might require more binding agent to hold their shape.
Use a small cookie scoop or tablespoon to measure consistent amounts. Then roll between your palms, applying gentle, even pressure. If your hands get sticky, lightly coat them with cocoa powder or powdered sugar.
Make sure your brownies are completely cooled and add just enough cream cheese or frosting to help them bind. Chill the mixture for 15-20 minutes before rolling to help them hold their shape better.
Print
Decadent Brownie Truffles Recipe
- Total Time: 45 minutes
- Yield: 25 1x
Description
Chocolate lovers will adore these easy brownie truffles that blend rich dessert textures. Simple ingredients create delightful bite-sized treats perfect for sharing with friends and family.
Ingredients
- 1 box (18-20 oz/500 g) brownie mix
- 200 g (7 oz) semi-sweet or dark chocolate
- 3 tbsps cream cheese or frosting
- Sprinkles
- Chopped nuts
- Cocoa powder
- Crushed cookies
Instructions
- Crumb Creation: Meticulously disintegrate brownies into fine, uniform crumbs within a spacious mixing bowl, ensuring a consistent, moist texture throughout.
- Binding Process: Gradually incorporate cream cheese, kneading the mixture until it achieves a malleable consistency that allows effortless shaping into compact spheres.
- Truffle Formation: Carefully roll the mixture between palms, crafting smooth, symmetrical truffle globes with precise, uniform dimensions, then transfer to a parchment-lined tray.
- Chilling Phase: Refrigerate the raw truffles for 15-20 minutes, allowing them to solidify and maintain their structural integrity during the coating process.
- Coating Technique: Select your preferred coating – melted chocolate, cocoa powder, crushed nuts, or decorative sprinkles – and meticulously enrobe each truffle, ensuring complete and even coverage.
- Final Refinement: Return the coated truffles to the refrigerator, permitting them to set completely and develop a crisp exterior, then transfer to an airtight container for storage.
Notes
Manage Moisture Levels: Ensure brownies are not overly dry or crumbly, as this affects truffle binding and texture.
Gentle Handling Technique: Use light, soft touch when mixing and rolling to prevent dense, heavy truffles that lose delicate chocolate essence.
Temperature Control Matters: Keep truffles chilled during preparation and coating to maintain structural integrity and prevent premature melting.
Coating Consistency Tip: Maintain melted chocolate or coating at optimal temperature (around 90°F) for smooth, even coverage without clumping or streaking.
- Prep Time: 15 minutes
- Cook Time: 30 minutes
- Category: Desserts, Snacks
- Method: Baking
- Cuisine: American
Nutrition
- Serving Size: 25
- Calories: 150
- Sugar: 12 g
- Sodium: 150 mg
- Fat: 8 g
- Saturated Fat: 4 g
- Unsaturated Fat: 3 g
- Trans Fat: 0 g
- Carbohydrates: 18 g
- Fiber: 1 g
- Protein: 2 g
- Cholesterol: 10 mg


Emily Lawson
Content Creator & Culinary Specialist
Expertise
Education
Oregon Culinary Institute
Diploma in Culinary Arts
Focus: Emphasis on farm-to-table cooking, sustainable practices, and the fusion of global flavors with traditional grilling methods.
Emily Lawson is the content creator at Daves Grill, turning tasty ideas into clear, easy recipes. Based in Portland, she trained at the Oregon Culinary Institute and loves cooking with fresh, seasonal ingredients, especially grilled veggies and global flavors.
Emily mixes food writing with hands-on cooking to bring you recipes that feel fun, not stressful. Her goal is to make every dish simple, flavorful, and worth coming back to. Together, she and Dave serve up real food, one recipe at a time.