Sweet Peanut Butter Cup Gooey Cookie Bars Recipe to Indulge In
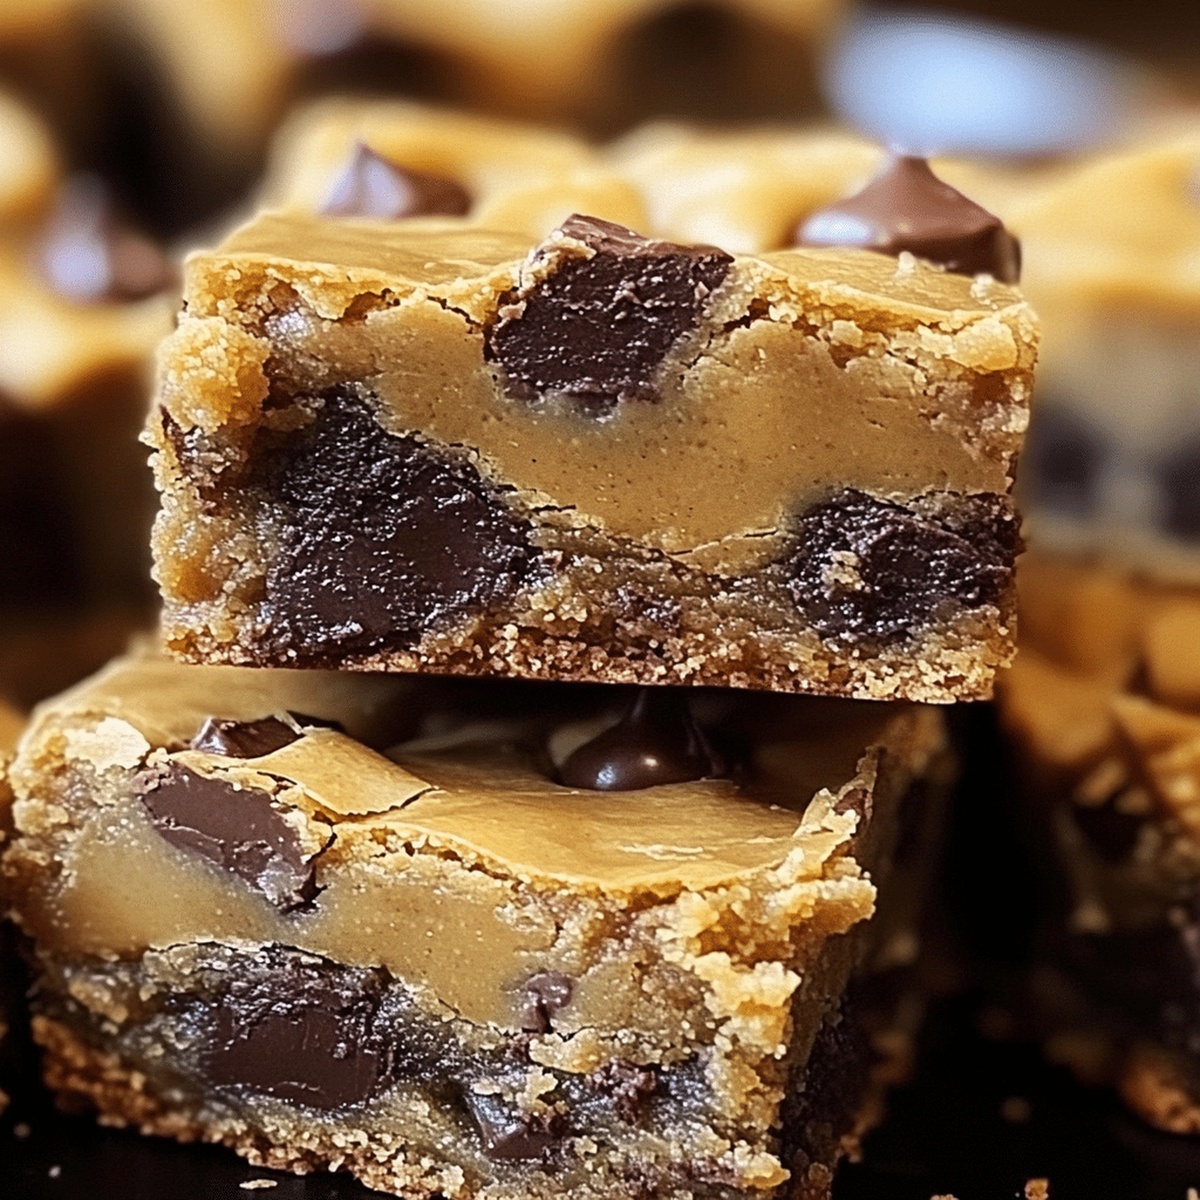
Chocolate and peanut butter lovers unite over these irresistible peanut butter cup gooey cookie bars that melt hearts with every single bite.
Sweet layers of rich, chocolatey goodness promise pure dessert bliss.
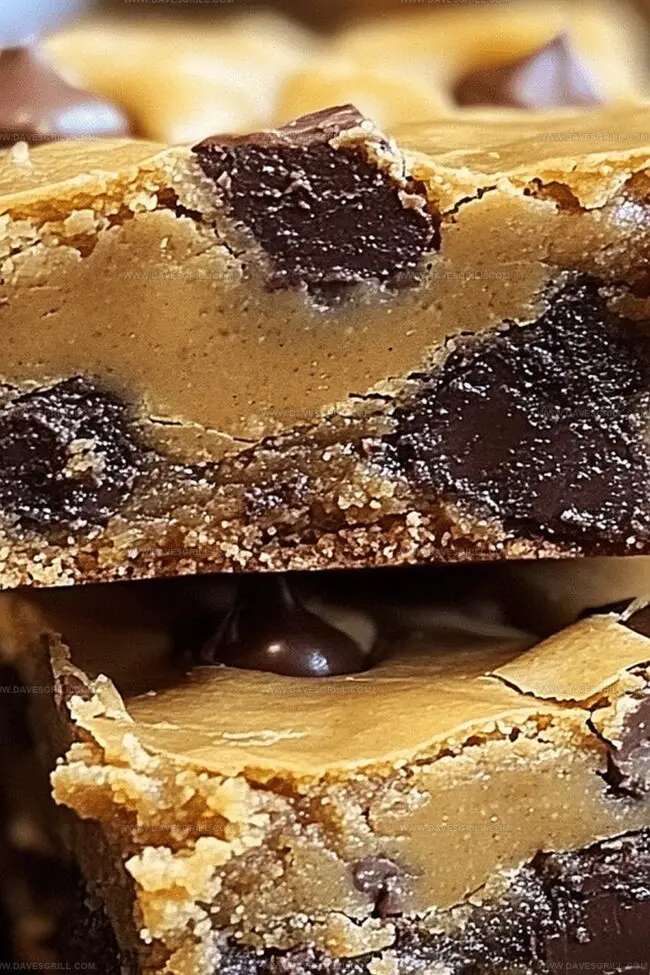
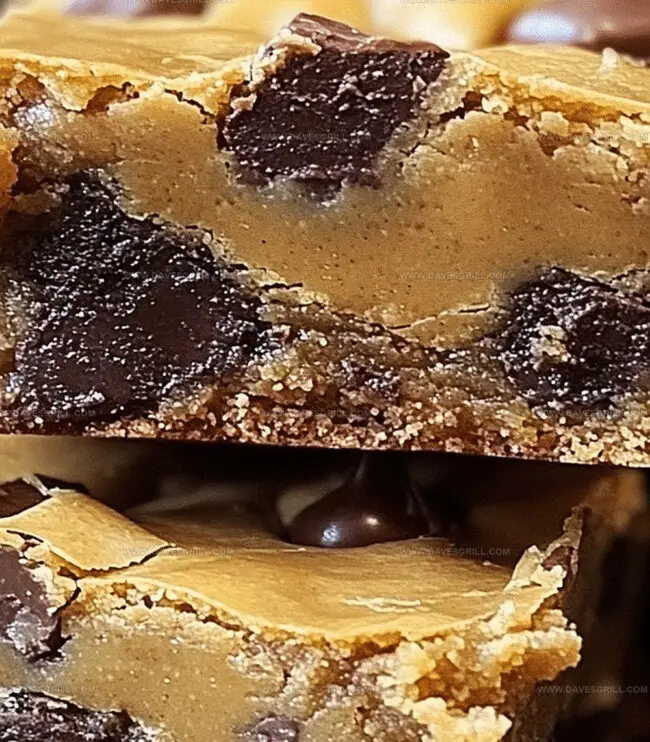
Soft, chewy cookie dough envelops creamy peanut butter cups in a decadent embrace.
Each bar delivers a perfect balance of indulgent flavors that dance across your palate.
Crisp edges give way to a gooey center that promises delightful texture in every mouthful.
The combination of classic ingredients creates a dessert so tempting you won’t be able to resist.
These bars are the ultimate treat for anyone seeking a seriously delicious chocolate and peanut butter experience.
Quick Recipe Overview
Ingredients for Peanut Butter Cup Gooey Cookie Bars
For Crust and Base:For Creamy Filling:For Decadent Toppings:Tools to Bake Peanut Butter Cup Gooey Cookie Bars
Baking Instructions for Peanut Butter Cup Cookie Bars
Pro Tips for Peanut Butter Cup Cookie Bar Success
Fun Ways to Serve Peanut Butter Cup Cookie Bars
How to Store Peanut Butter Cup Gooey Cookie Bars
FAQs
You can swap Reese’s with other chocolate candies like Snickers or Twix for variety.
Yes, simply substitute regular flour with gluten-free all-purpose flour blend to create a celiac-friendly version.
Use creamy, smooth peanut butter like Jif or Skippy for the most consistent texture and flavor. Natural peanut butter might create separation in the recipe.
Look for golden brown edges and a slightly soft center. A toothpick inserted should come out with a few moist crumbs, indicating they’re done but not overbaked.
Print
Decadent Peanut Butter Cup Gooey Cookie Bars
- Total Time: 55 minutes
- Yield: 17 1x
Description
Peanut Butter Cup Gooey Cookie Bars combine rich chocolate and creamy peanut butter in a delightful dessert. Chocolate lovers will savor each indulgent bite of this irresistible sweet treat.
Ingredients
- 3 cups (375 g / 13.2 oz) all-purpose flour
- 2 cups (350 g / 12.3 oz) semi-sweet chocolate chips
- 1 cup (225 g / 8 oz) unsalted butter, softened
- 1 cup (200 g / 7 oz) granulated sugar
- 1 cup (200 g / 7 oz) brown sugar, packed
- 2 large eggs
- 2 tsp vanilla extract
- 2 tbsps heavy cream or milk
- 1 cup (240 g / 8.5 oz) creamy peanut butter
- ½ cup (115 g / 4 oz) unsalted butter, melted
- 1 ½ cups (180 g / 6.3 oz) powdered sugar
- 1 ½ cups (225 g / 7.9 oz) mini peanut butter cups, chopped
- 1 tsp baking soda
- ½ tsp salt
Instructions
- Preparation: Generously coat a 9×13-inch baking dish with non-stick spray and line with parchment paper, ensuring smooth edges for easy removal.
- Dough Foundation: Blend dry ingredients thoroughly to create a rich, dark base, then cream softened butter and sugars until light and fluffy.
- Wet Ingredients: Whisk eggs and vanilla into the butter mixture, creating a silky emulsion that binds the dough and enhances flavor complexity.
- Dough Assembly: Gently fold dry ingredients into the wet mixture, taking care not to overmix. Press two-thirds of the dough into the prepared pan, forming an even base layer.
- Chocolate Peanut Butter Layer: Distribute peanut butter cups evenly across the initial dough layer, ensuring a delectable chocolate-peanut butter element in every bite.
- Topping Technique: Carefully spread the remaining dough over the peanut butter cups, creating a rustic, uneven top layer that adds visual appeal and textural interest.
- Baking Process: Bake in a preheated oven until edges turn golden brown and the center maintains a subtle wobble, indicating the perfect gooey consistency.
- Cooling and Serving: Allow bars to cool completely in the pan, then lift out using parchment paper edges. Slice into precise squares and serve at room temperature for optimal enjoyment.
Notes
- Prevent Tough Texture: Fold dry ingredients gently into wet mixture to avoid overworking the dough, ensuring tender and soft cookie bars.
- Uniform Peanut Butter Cup Distribution: Strategically place chocolate-peanut butter candies evenly across the base layer for consistent flavor in every bite.
- Perfect Gooey Consistency: Watch for golden brown edges and a slight center jiggle during baking to achieve the ideal soft, moist texture.
- Easy Removal Technique: Use parchment paper overhang to effortlessly lift and remove bars from the baking dish without breaking or crumbling.
- Prep Time: 20 minutes
- Cook Time: 35 minutes
- Category: Desserts, Snacks
- Method: Baking
- Cuisine: American
Nutrition
- Serving Size: 17
- Calories: 360
- Sugar: 26 g
- Sodium: 150 mg
- Fat: 20 g
- Saturated Fat: 10 g
- Unsaturated Fat: 8 g
- Trans Fat: 0 g
- Carbohydrates: 40 g
- Fiber: 2 g
- Protein: 6 g
- Cholesterol: 30 mg
Emily Lawson
Content Creator & Culinary Specialist
Expertise
Education
Oregon Culinary Institute
Diploma in Culinary Arts
Focus: Emphasis on farm-to-table cooking, sustainable practices, and the fusion of global flavors with traditional grilling methods.
Emily Lawson is the content creator at Daves Grill, turning tasty ideas into clear, easy recipes. Based in Portland, she trained at the Oregon Culinary Institute and loves cooking with fresh, seasonal ingredients, especially grilled veggies and global flavors.
Emily mixes food writing with hands-on cooking to bring you recipes that feel fun, not stressful. Her goal is to make every dish simple, flavorful, and worth coming back to. Together, she and Dave serve up real food, one recipe at a time.