Indulgent Strawberry Earthquake Cake Recipe: Sweet Tremors of Joy
Baking delights sometimes come with an unexpected strawberry earthquake cake surprise that leaves everyone craving more.
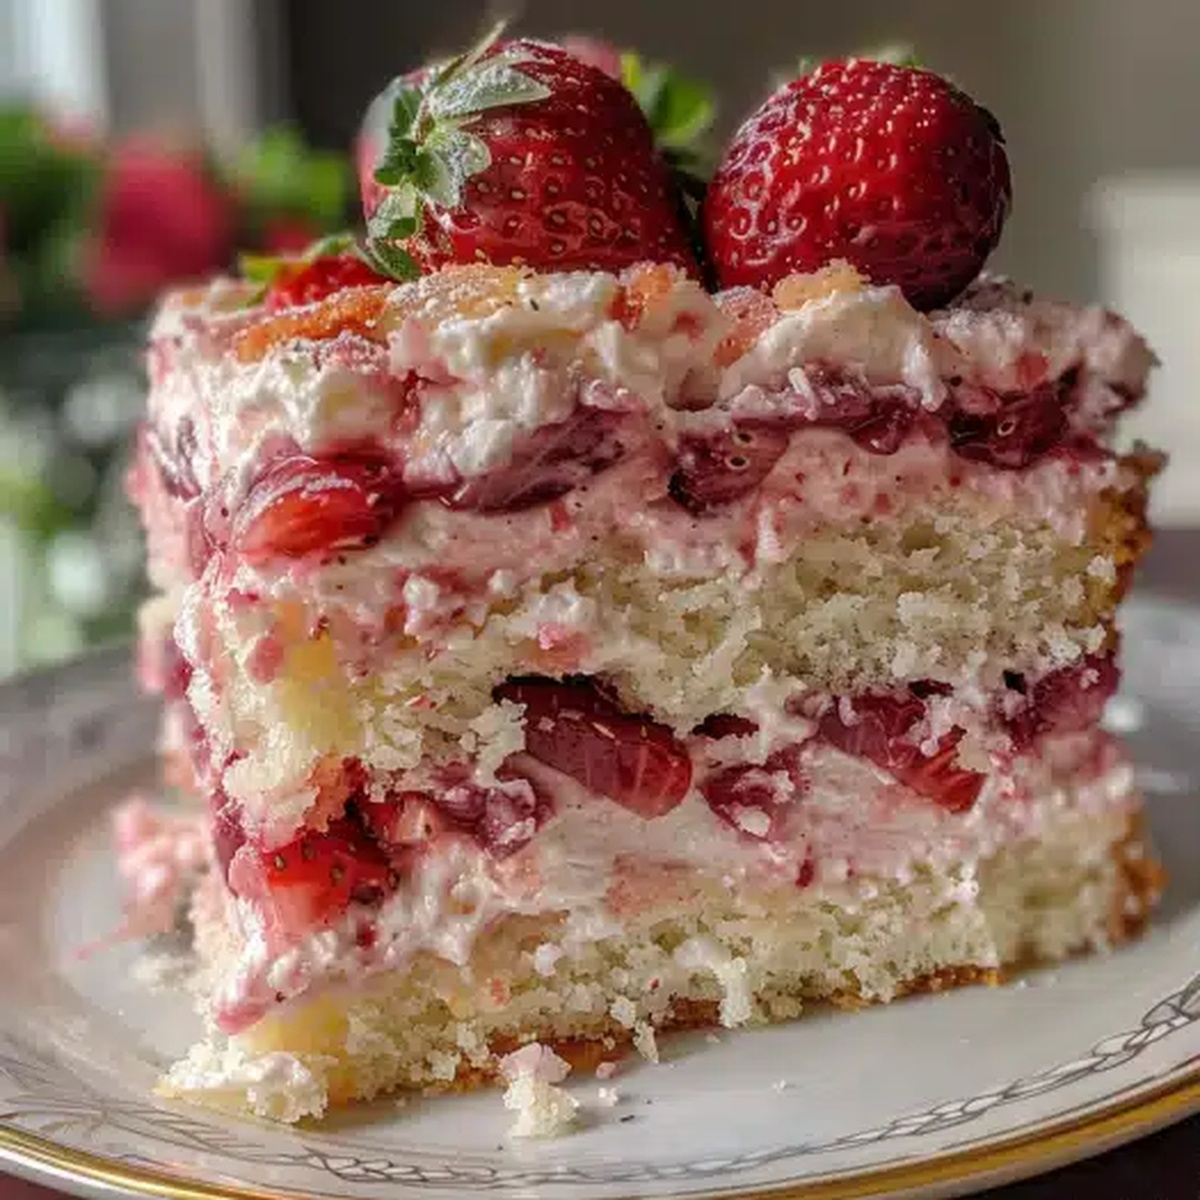
This mouthwatering dessert blends rich cream cheese with sweet strawberry layers in a deliciously messy masterpiece.
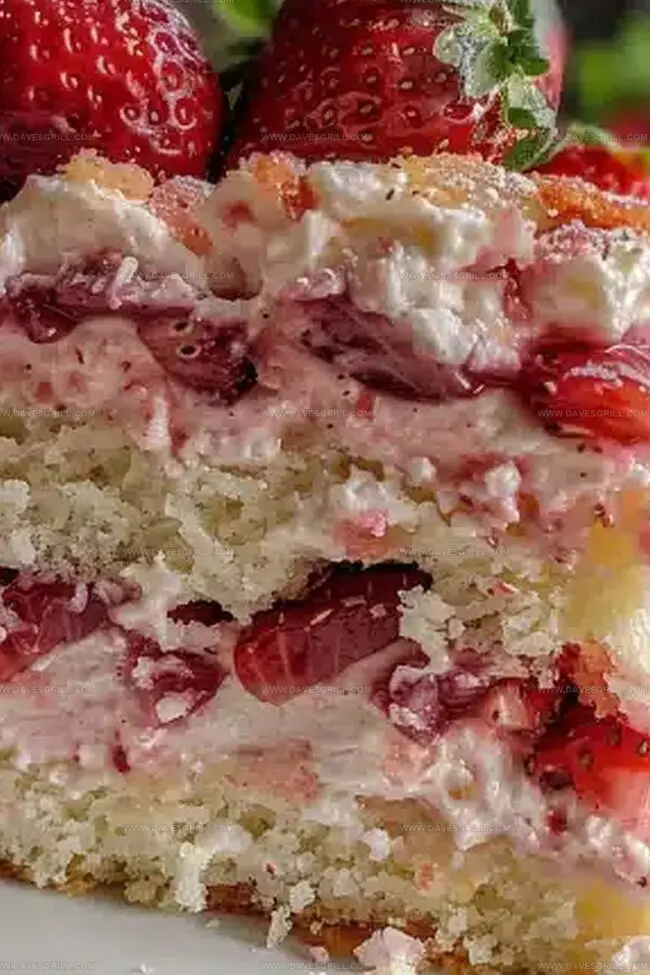
Soft, gooey textures mingle with vibrant fruit flavors that dance across your palate.
Chocolate cake crumbles create an irresistible backdrop for creamy strawberry swirls.
Each slice reveals a stunning combination of ingredients that promises pure indulgence.
Chocolate and strawberry lovers will find this recipe absolutely impossible to resist.
Prepare to embark on a delectable journey that transforms an ordinary dessert into an extraordinary experience.
Quick Recipe Overview
Strawberry Earthquake Cake Ingredient Essentials
For Cake Base:For Cheesecake Swirl:For Topping:Tools to Bake That Earthquake Cake Right
Bake the Cake with Cracks and Flavor Swirls
Crank your oven to a cozy 350F and give your baking dish a quick butter massage to prevent sticking.
Whip together cake mix, eggs, water, and oil until the batter looks silky and smooth. Pour this delightful mixture into your prepared pan.
Beat cream cheese with butter, sugar, vanilla, and salt until it’s cloud-like and irresistible. Gently fold in fresh strawberry chunks for bursts of fruity goodness.
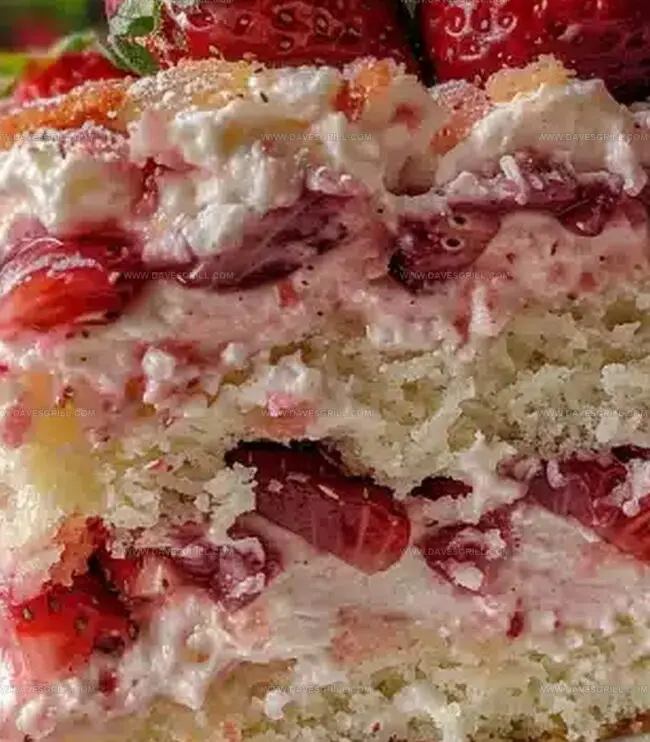
Dollop cheesecake mixture across cake batter and dance a knife through to create beautiful marble patterns. Sprinkle white chocolate chips like delicate snowflakes.
Slide your masterpiece into the oven and let it transform for 50-55 minutes. Check doneness with a toothpick – it should come out clean and promising.
Let the cake chill and settle before slicing into this strawberry sensation. Enjoy every decadent, swirly bite!
Sweet Tips to Make Your Earthquake Cake Stand Out
Serve Up the Strawberry Cake in Style
Store That Cake with All the Goodness Intact
FAQs
Yes, you can use frozen strawberries. Just make sure to thaw and drain them completely before adding to the cheesecake mixture to prevent excess moisture.
Look for a marbled pattern with streaks of cheesecake mixture throughout the cake batter. Don’t overmix, as you want distinct swirls of cream cheese and cake.
Let the cream cheese sit at room temperature for about 30 minutes before mixing. This helps create a smoother, lump-free cheesecake mixture.
Absolutely! You can bake the cake a day in advance and store it covered at room temperature or in the refrigerator. The flavors will actually meld together nicely.
Print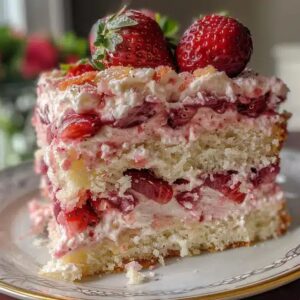
Decadent Strawberry Earthquake Cake Recipe
- Total Time: 1 hour 5 minutes
- Yield: 13 1x
Description
Strawberry Earthquake Cake emerges as a delightful dessert blending creamy cheesecake layers with strawberry cake mix. Sweet strawberry flavors and cream cheese swirls create a mouthwatering treat you’ll crave again and again.
Ingredients
- 1 cup (166 grams) diced fresh strawberries
- 8 ounces (226 grams) cream cheese, softened
- 2 cups (364 grams) white chocolate chips
- 1 box (15.25 ounces / 432 grams) strawberry cake mix
- 2 ½ cups (312.5 grams) powdered sugar
- 3 large eggs
- ½ cup (113 grams / 4 ounces) unsalted butter, melted
- ½ cup (113 grams / 4 ounces) vegetable oil
- 1 cup (240 milliliters) water
- 1 tsp vanilla extract
- ¼ tsp kosher salt
Instructions
- Preparation: Warm the oven to 350F (175C) and generously spray a 9×13-inch baking dish with non-stick coating to prevent adhesion.
- Batter Creation: Whisk strawberry cake mix, eggs, water, and vegetable oil in a large bowl until the mixture transforms into a smooth, lump-free consistency.
- Initial Layer: Pour the cake batter into the prepared dish, spreading it uniformly to create an even foundation.
- Cream Cheese Fusion: In a separate bowl, whip softened cream cheese until airy, then blend in melted butter, powdered sugar, vanilla extract, and kosher salt until the mixture becomes silky and homogeneous.
- Fruit Integration: Gently incorporate diced strawberries into the cream cheese mixture, ensuring delicate distribution without crushing the fruit.
- Layering Technique: Strategically drop cream cheese mixture dollops across the cake batter, creating a random pattern that will produce a mesmerizing marbled effect.
- Swirling Process: Use a kitchen knife to drag through the batter and cream cheese, generating an intricate swirled design without overmixing the components.
- Final Embellishment: Scatter white chocolate chips evenly across the surface to enhance flavor complexity and textural intrigue.
- Baking Procedure: Slide the dish into the preheated oven and bake for 50-55 minutes, rotating midway to guarantee uniform heat distribution. Verify doneness by inserting a toothpick into the center—it should emerge clean.
- Cooling Stage: Extract from the oven and allow the cake to rest at room temperature until completely cooled, which stabilizes the structure and intensifies the flavor profile.
Notes
Prevent Cake Sticking: Generously spray the baking dish with non-stick spray and consider lining with parchment paper for easy removal and clean slicing.
Achieve Smooth Batter: Whisk cake mix ingredients thoroughly to eliminate lumps, ensuring a consistent texture and preventing dry pockets in the final cake.
Cream Cheese Technique: Soften cream cheese at room temperature and beat until fluffy to create a smooth, lump-free mixture that swirls beautifully through the cake batter.
Customize for Dietary Needs: Substitute gluten-free cake mix for a celiac-friendly version, or use low-fat cream cheese and alternative sweeteners for a lighter dessert option.
- Prep Time: 15 minutes
- Cook Time: 50 minutes
- Category: Desserts
- Method: Baking
- Cuisine: American
Nutrition
- Serving Size: 13
- Calories: 384
- Sugar: 39 g
- Sodium: 289 mg
- Fat: 22 g
- Saturated Fat: 13 g
- Unsaturated Fat: 9 g
- Trans Fat: 0 g
- Carbohydrates: 42 g
- Fiber: 1 g
- Protein: 4 g
- Cholesterol: 70 mg
Emily Lawson
Content Creator & Culinary Specialist
Expertise
Education
Oregon Culinary Institute
Diploma in Culinary Arts
Focus: Emphasis on farm-to-table cooking, sustainable practices, and the fusion of global flavors with traditional grilling methods.
Emily Lawson is the content creator at Daves Grill, turning tasty ideas into clear, easy recipes. Based in Portland, she trained at the Oregon Culinary Institute and loves cooking with fresh, seasonal ingredients, especially grilled veggies and global flavors.
Emily mixes food writing with hands-on cooking to bring you recipes that feel fun, not stressful. Her goal is to make every dish simple, flavorful, and worth coming back to. Together, she and Dave serve up real food, one recipe at a time.