Magical Triple Chocolate Dream Cake Recipe
Chocolate lovers unite over this decadent three chocolate cake that promises pure bliss in every single bite.
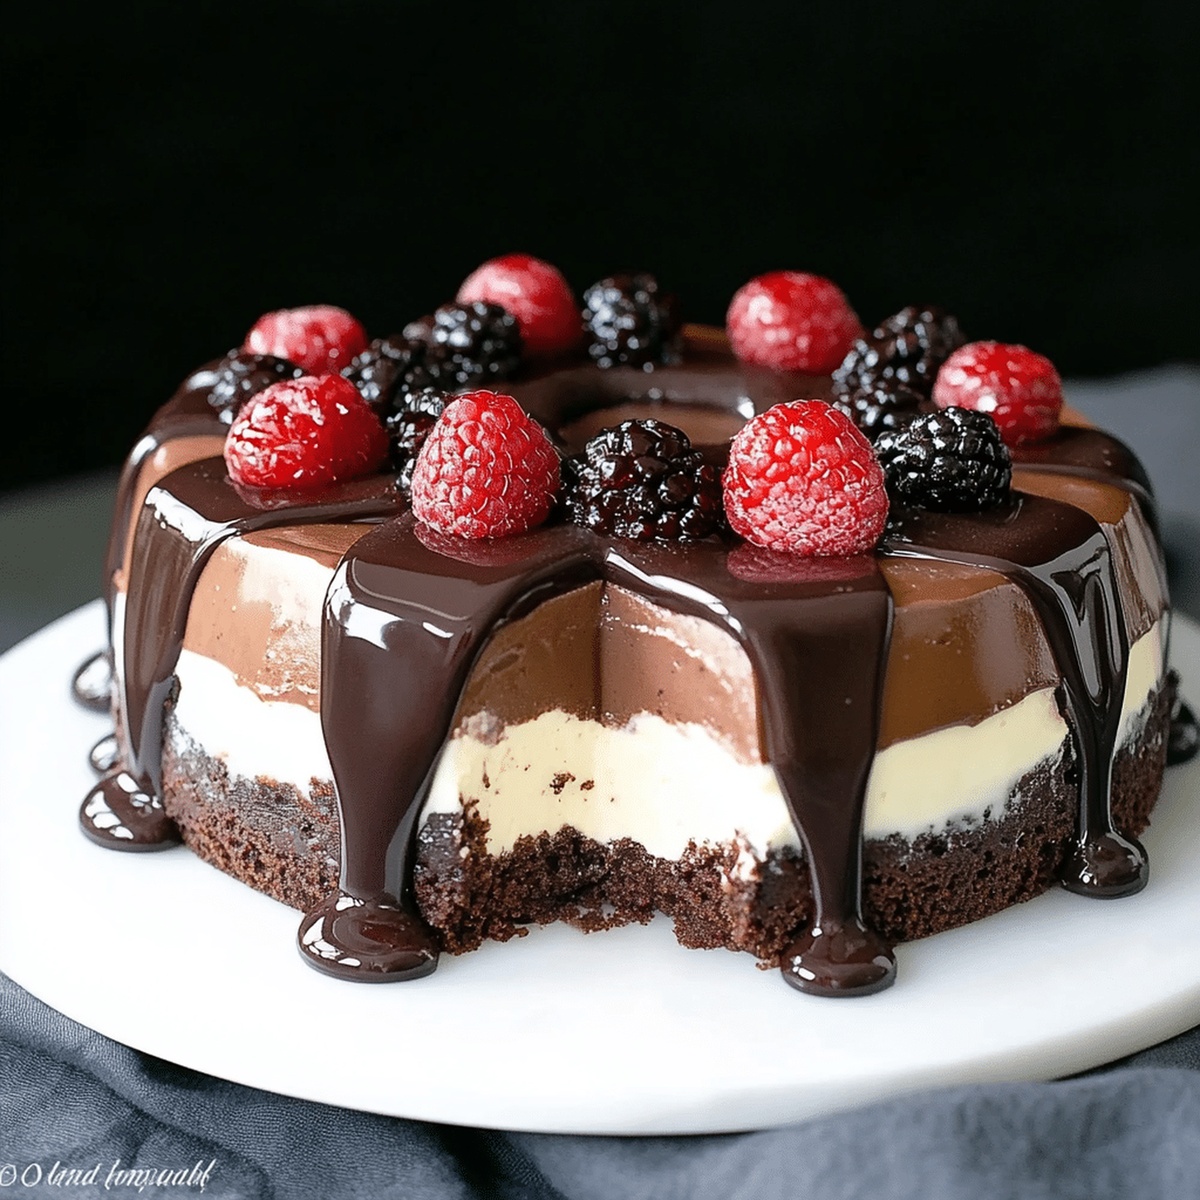
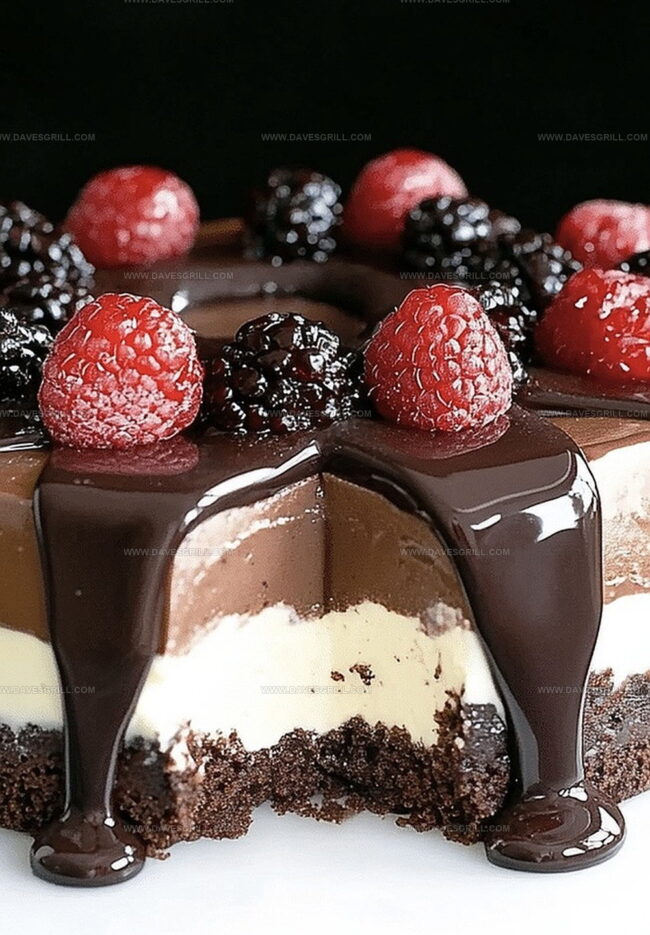
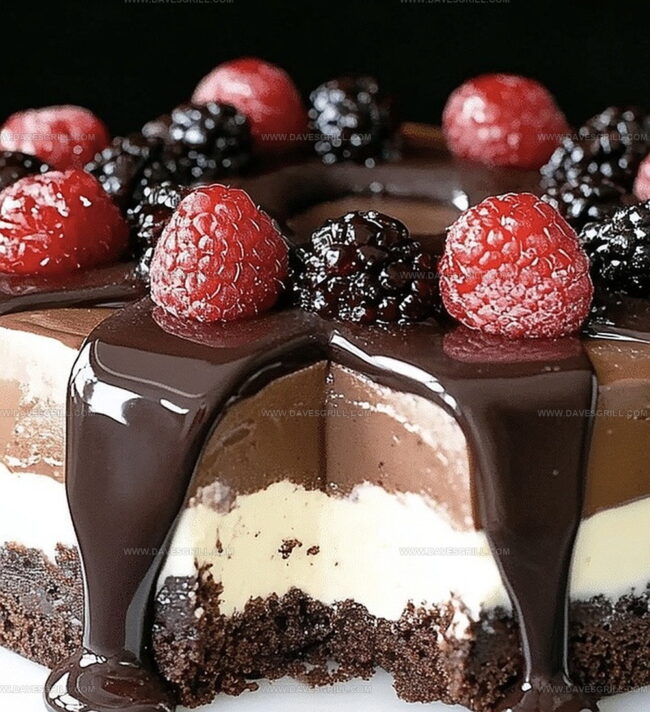
Rich layers of dark, milk, and white chocolate create a mesmerizing dessert that melts hearts instantly.
The recipe weaves together complex flavors with surprising simplicity.
Elegant yet approachable, this cake stands as a testament to chocolate’s magical allure.
Each slice tells a story of indulgence and culinary craftsmanship.
The harmonious blend of chocolate varieties ensures a sophisticated dessert that will impress even the most discerning palates.
Prepare to embark on a delightful chocolate journey that transforms an ordinary moment into an extraordinary experience.
Quick Recipe Overview
Ingredients That Make No-Bake Three Chocolate Cake
For The Base:For Chocolate Layers:For Garnish and Finishing:Tools to Create No-Bake Three Chocolate Cake Layers Easily
How to Build No-Bake Three Chocolate Cake with Smooth Layers
Pulverize cookies into fine powder using a food processor or rolling pin. Blend with melted butter until fully incorporated. Press mixture firmly into lined springform pan, creating a solid base. Pop into refrigerator for a quick 30-minute chill.
Gently melt milk chocolate using a double boiler. Whip cream until soft and billowy. Fold melted chocolate and vanilla into cream, creating a silky smooth mixture. Pour over chilled base, spreading evenly. Return to refrigerator for one hour.
Repeat chocolate melting technique with dark chocolate. Whip cream to soft peaks. Marry melted dark chocolate with cream, creating a luxurious texture. Pour carefully over milk chocolate layer, ensuring smooth coverage. Refrigerate for another hour.
Melt white chocolate with gentle heat. Whip cream to perfect consistency. Blend white chocolate into cream, creating a dreamy final layer. Spread carefully over dark chocolate, creating a pristine top. Chill thoroughly until firm.
Remove cake from springform pan. Slice with a warm knife for clean edges. Enjoy the decadent three-chocolate masterpiece that combines rich, creamy layers in one stunning dessert.
Tips for Balancing Flavors in No-Bake Three Chocolate Cake
Serve No-Bake Three Chocolate Cake for Any Sweet Occasion
Store No-Bake Three Chocolate Cake in Perfect Condition
FAQs
You’ll need cookies or graham crackers, butter, milk chocolate, dark chocolate, white chocolate, heavy cream, and vanilla extract. These simple ingredients create a decadent no-bake chocolate cake.
Not at all! This recipe is beginner-friendly and requires no baking. The key steps involve crushing cookies, melting chocolate, and whipping cream. Anyone with basic kitchen skills can successfully make this cake.
The total preparation time is around 3-4 hours, including chilling time between layers. Active preparation time is approximately 30-45 minutes. Most of the time is spent chilling each chocolate layer to set properly.
You’ll need a springform pan, parchment paper, a food processor or rolling pin for crushing cookies, a double boiler or microwave for melting chocolate, and a mixer or whisk for whipping cream. Standard kitchen tools work perfectly.
Print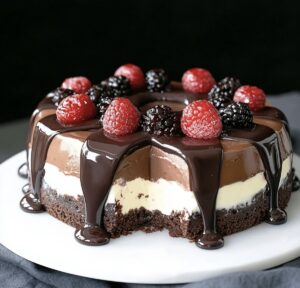
Dreamy Three Chocolate Cake Recipe
- Total Time: 5 hours 30 minutes
- Yield: 9 1x
Description
Chocolate lovers will adore this no-bake three chocolate cake from Italian culinary traditions. Rich layers of dark, milk, and white chocolate create a luxurious dessert perfect for special celebrations.
Ingredients
- 600 milliliters (2 ½ cups) heavy cream, divided (200 milliliters per layer)
- 150 g (5 oz) dark chocolate, chopped
- 150 g (5 oz) milk chocolate, chopped
- 150 g (5 oz) white chocolate, chopped
- 200 g (7 oz) digestive biscuits or graham crackers, crushed
- 80 g (⅓ cup) unsalted butter, melted
- 3 tsp gelatin powder (1 tsp per layer)
- 3 tbsps water (1 tbsp per layer)
- Chocolate shavings or curls
- Cocoa powder
- Berries (raspberries or strawberries)
Instructions
- Crumb Preparation: Pulverize graham crackers into fine dust using a food processor or by crushing within a sealed bag with a rolling pin, creating a uniform sandy texture.
- Base Formation: Merge cracker crumbs with melted butter, pressing the mixture firmly into a parchment-lined springform pan to construct a compact, stable foundation. Refrigerate for 30 minutes to solidify.
- Milk Chocolate Layer: Melt chocolate using a double boiler, whip cream to soft peaks, then gently incorporate melted chocolate and vanilla. Spread evenly over the chilled base and refrigerate for one hour.
- Dark Chocolate Infusion: Repeat the melting and folding technique with dark chocolate, creating a rich layer. Pour smoothly over the milk chocolate layer and chill for an additional hour.
- White Chocolate Finale: Delicately melt white chocolate, fold into freshly whipped cream, and spread across the top in a pristine, even layer. Refrigerate for a final hour to ensure complete setting and optimal chill.
Notes
- Crumb Consistency Control: Crush crackers or cookies into fine, uniform crumbs to ensure a stable and compact base that doesn’t crumble when sliced.
- Chocolate Melting Mastery: Use a double boiler or low heat to melt chocolate gently, preventing burning or seizing that can ruin the smooth texture.
- Whipping Cream Technique: Whip cream to soft peaks, avoiding over-beating which can make the mixture grainy or turn to butter during folding.
- Layer Precision: Allow each chocolate layer to set completely in the refrigerator before adding the next, preventing mixing and maintaining distinct layer definition.
- Prep Time: 30 minutes
- Cook Time: 5 hours
- Category: Desserts
- Method: Blending
- Cuisine: American
Nutrition
- Serving Size: 9
- Calories: 477
- Sugar: 34 g
- Sodium: 57 mg
- Fat: 32 g
- Saturated Fat: 19 g
- Unsaturated Fat: 11 g
- Trans Fat: 0 g
- Carbohydrates: 42 g
- Fiber: 1 g
- Protein: 6 g
- Cholesterol: 90 mg
Emily Lawson
Content Creator & Culinary Specialist
Expertise
Education
Oregon Culinary Institute
Diploma in Culinary Arts
Focus: Emphasis on farm-to-table cooking, sustainable practices, and the fusion of global flavors with traditional grilling methods.
Emily Lawson is the content creator at Daves Grill, turning tasty ideas into clear, easy recipes. Based in Portland, she trained at the Oregon Culinary Institute and loves cooking with fresh, seasonal ingredients, especially grilled veggies and global flavors.
Emily mixes food writing with hands-on cooking to bring you recipes that feel fun, not stressful. Her goal is to make every dish simple, flavorful, and worth coming back to. Together, she and Dave serve up real food, one recipe at a time.