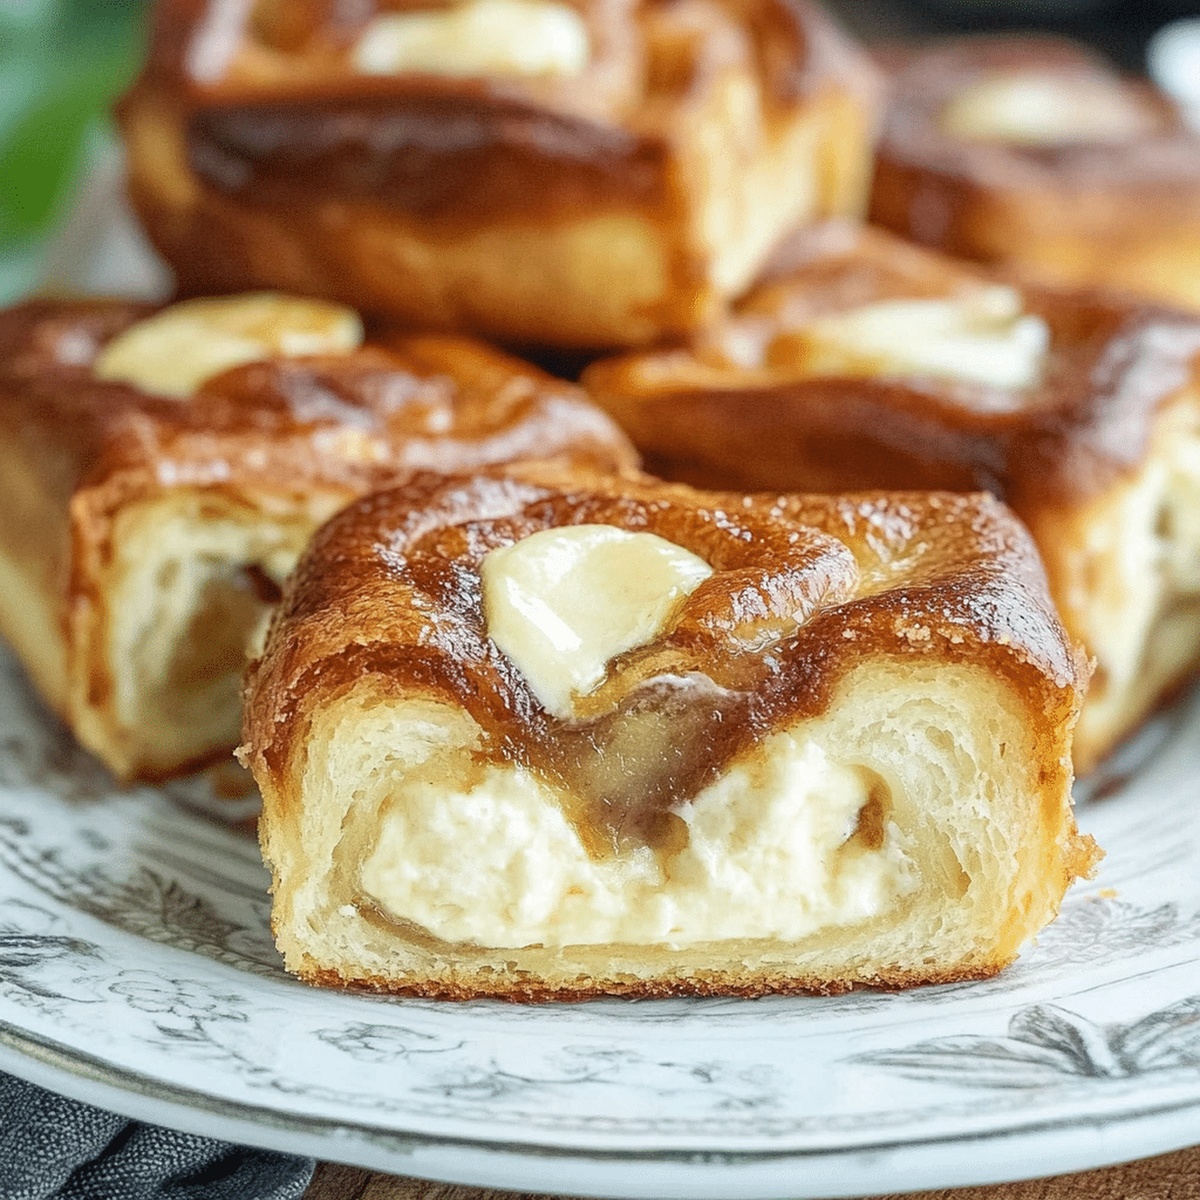
Royal Hawaiian Cheesecake Danish Recipe: Sweet Island Magic!
Breakfast transforms when you blend soft Kings Hawaiian rolls with creamy cheesecake filling.
Sweet pastry meets decadent dessert in this simple yet stunning creation.
Mornings become extraordinary with these delightful treats.
Each bite delivers a perfect balance of tender bread and luscious cream cheese.
The recipe combines comfort and indulgence in one irresistible package.
Warm, golden rolls embrace a silky smooth center that melts in your mouth.
Treat yourself to a breakfast that feels like a delightful celebration of flavor.
Quick Recipe Overview
What’s Inside King’s Hawaiian Cheesecake Danish
For Bread Base:For Creamy Filling:For Topping and Finishing:Tools to Shape Kings Hawaian Cheesecake Danish
Make Cheesecake Danish That’s Soft and Sweet
Crank up the heat to a toasty 350°F, getting your kitchen ready for some delicious.
Grab your King’s Hawaiian rolls and keep them huddled together like a cozy bread family in a baking dish. Gently create little nests in each roll’s center using your fingertips or a small spoon, being careful not to poke all the way through.
Whip together cream cheese, sugar, and vanilla until it’s smooth and dreamy. This mixture will be the heart of your danish.
Carefully spoon your luscious cream cheese blend into the little wells you’ve created, making sure each roll gets a generous scoop of goodness.
Dollop a bit of your favorite fruit preserve or jam right in the center of each cream cheese-filled roll for an extra burst of flavor.
Slide your baking dish into the preheated oven and let these beauties bake until the edges turn golden and the filling is set, usually about 15-20 minutes.
Let your danish cool for a few minutes after removing from the oven. The anticipation will make them taste even better when you finally dig in!
Flavor Additions That Go Great With This Danish
How to Serve King’s Cheesecake Danish at Brunch
Save Your Danish Without Losing That Softness
FAQs
Kings Hawaiian rolls are specifically recommended, as their soft, sweet texture and shape make them ideal for creating the danish. The pre-attached rolls provide a convenient base for filling and baking.
No, keep the rolls attached as a single block. This helps maintain their structure and allows you to create consistent wells for the cheesecake filling in each roll.
Create shallow wells using a small spoon or your fingers, being careful not to pierce through the bottom of the roll. The wells should be deep enough to hold the cheesecake filling without compromising the roll’s integrity.
You can prepare the rolls by creating the wells in advance, but it’s best to add the cheesecake filling just before baking to prevent the rolls from becoming soggy and to maintain the best texture and flavor.
Print
Effortless Kings Hawaiian Cheesecake Danish Recipe
- Total Time: 30 minutes
- Yield: 13 1x
Description
Kings Hawaiian Cheesecake Danish blends tropical sweetness with classic pastry charm. Creamy cheesecake filling nestled in flaky dough creates a delightful breakfast or dessert treat you’ll savor with each delectable bite.
Ingredients
- 1 package Kings Hawaiian rolls (12 rolls)
- 8 oz (226 g) cream cheese, softened
- ½ cup (120 ml) fruit preserves (strawberry, raspberry, or your favorite flavor)
- ⅓ cup (67 g) granulated sugar
- 1 tsp vanilla extract
- ½ cup (60 g) powdered sugar
- 2–3 tsps milk
- ½ tsp vanilla extract
Instructions
- Preparation: Arrange Kings Hawaiian rolls as an unbroken block in a baking dish, maintaining their connected structure.
- Rolling Technique: Create gentle indentations at the center of each roll using a small spoon, ensuring the base remains intact.
- Cream Cheese Blend: Whisk room-temperature cream cheese with vanilla extract and powdered sugar until smooth and homogeneous.
- Filling Distribution: Carefully spoon the cream cheese mixture into the prepared wells of each roll, ensuring even coverage without overflowing.
- Seasoning Layer: Generously sprinkle cinnamon across the filled rolls, creating an aromatic and visually appealing topping.
- Moisture Enhancement: Drizzle melted butter over the entire roll ensemble to promote golden browning and rich flavor.
- Baking Process: Position the dish on the center oven rack at 350°F, baking for 15-20 minutes until rolls achieve a golden-brown color and filling sets slightly.
- Finishing Touch: Remove from oven, allow brief cooling for filling stabilization, and optionally dust with additional powdered sugar before serving.
Notes
Prevent Roll Separation: Keep rolls connected during preparation to maintain structural integrity and ensure even baking.
Cream Cheese Temperature Matters: Allow cream cheese to reach room temperature for smooth, lump-free mixing and easier spreading into roll wells.
Gentle Indentation Technique: Create shallow centers carefully without piercing roll base to prevent filling leakage and maintain structural stability.
Butter Distribution Strategy: Drizzle melted butter evenly across rolls to guarantee uniform golden-brown coloring and enhanced flavor penetration.
- Prep Time: 10 minutes
- Cook Time: 20 minutes
- Category: Desserts, Snacks
- Method: Baking
- Cuisine: Hawaiian
Nutrition
- Serving Size: 13
- Calories: 200
- Sugar: 14 g
- Sodium: 180 mg
- Fat: 9 g
- Saturated Fat: 5 g
- Unsaturated Fat: 3 g
- Trans Fat: 0 g
- Carbohydrates: 27 g
- Fiber: 1 g
- Protein: 3 g
- Cholesterol: 30 mg


Emily Lawson
Content Creator & Culinary Specialist
Expertise
Education
Oregon Culinary Institute
Diploma in Culinary Arts
Focus: Emphasis on farm-to-table cooking, sustainable practices, and the fusion of global flavors with traditional grilling methods.
Emily Lawson is the content creator at Daves Grill, turning tasty ideas into clear, easy recipes. Based in Portland, she trained at the Oregon Culinary Institute and loves cooking with fresh, seasonal ingredients, especially grilled veggies and global flavors.
Emily mixes food writing with hands-on cooking to bring you recipes that feel fun, not stressful. Her goal is to make every dish simple, flavorful, and worth coming back to. Together, she and Dave serve up real food, one recipe at a time.