Jolly Festive Christmas Ice-Cream Cake Recipe for Holiday Joy
Deck the halls with a delightful Christmas ice-cream cake that promises to steal the spotlight at any holiday gathering.
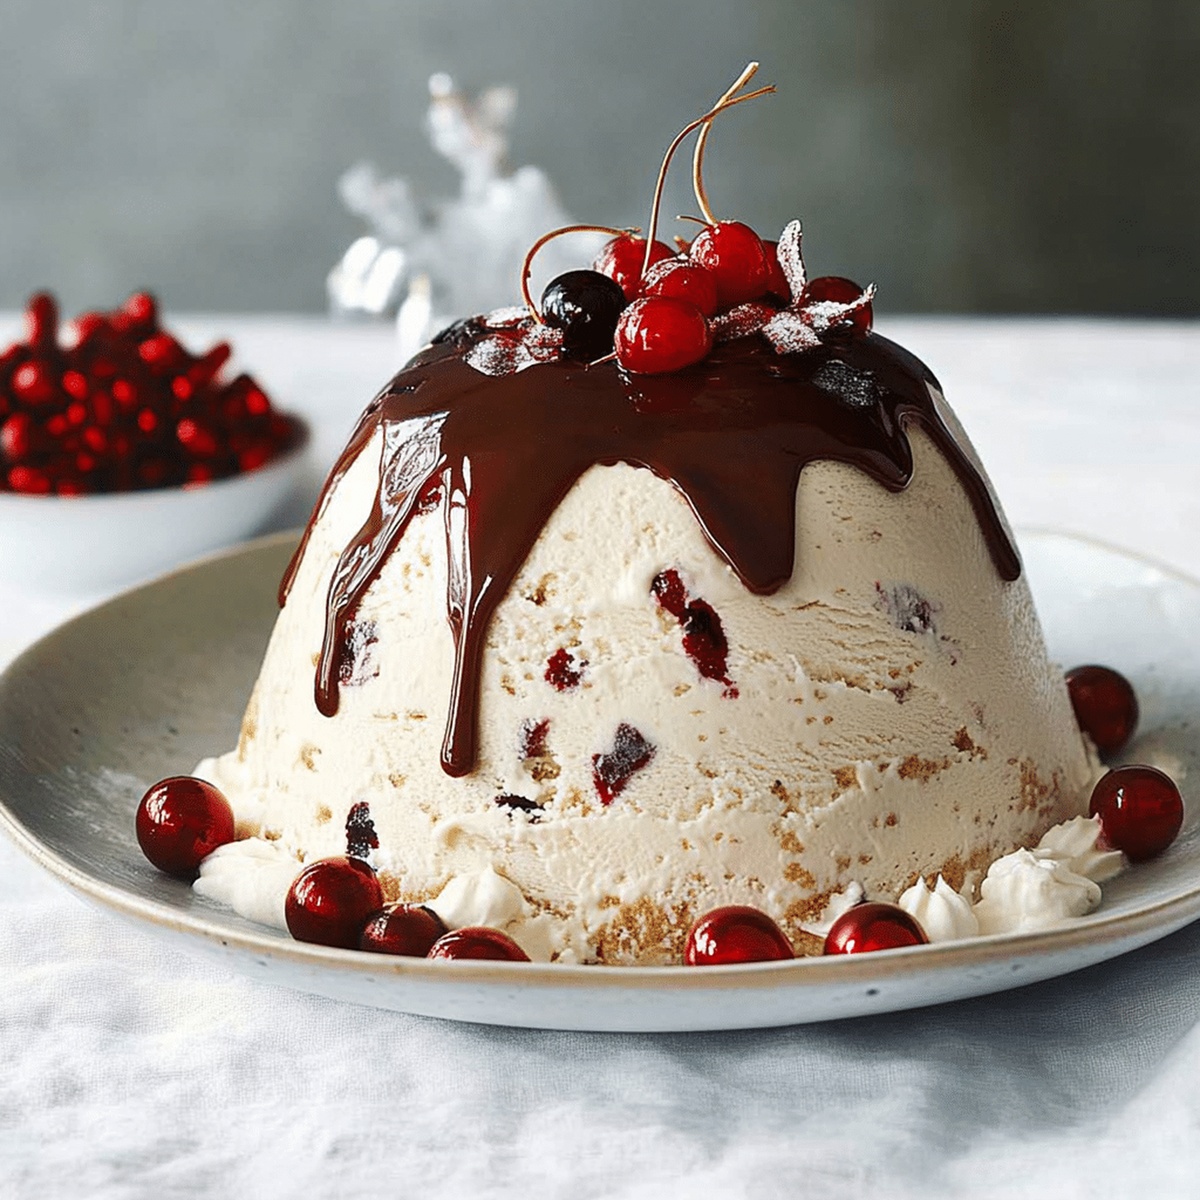
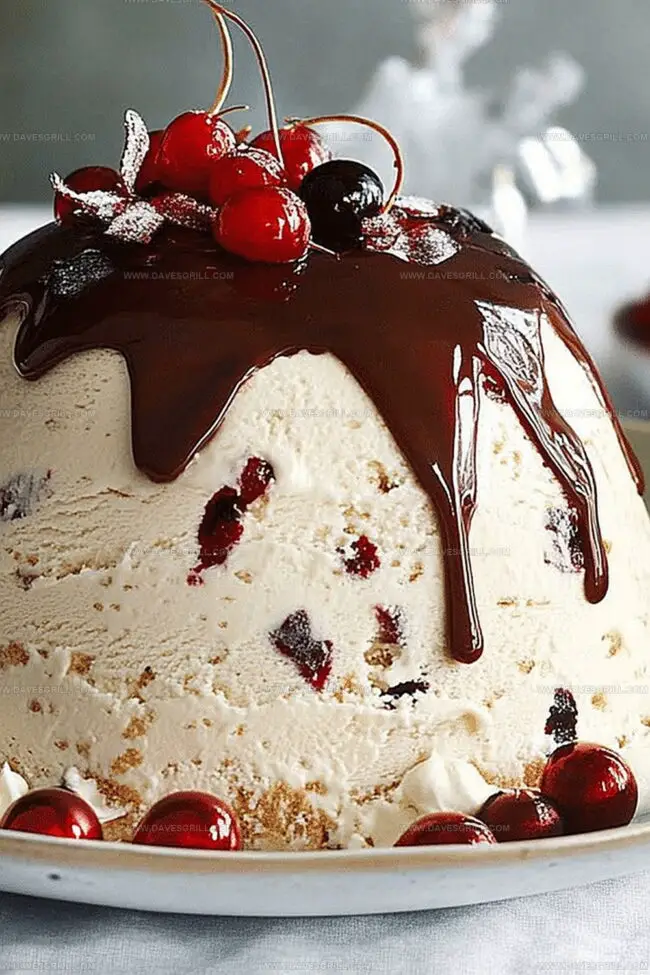
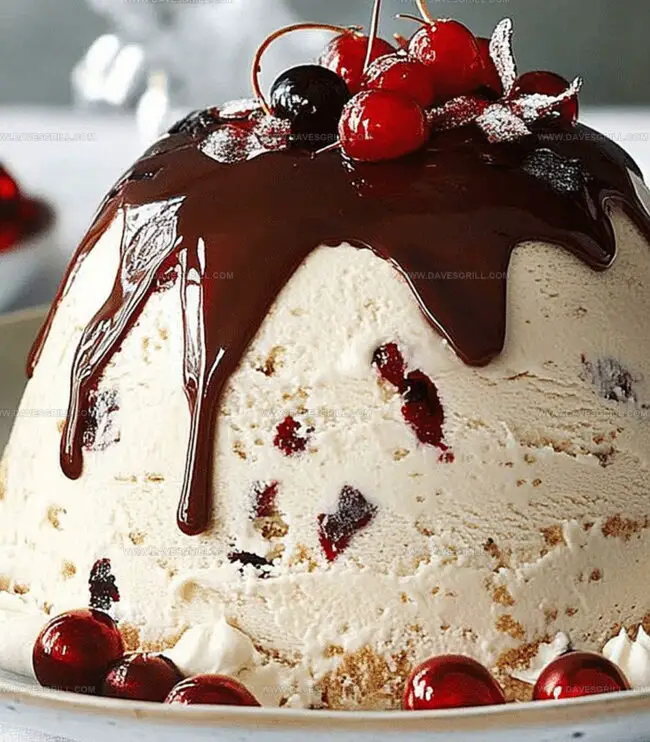
This show-stopping dessert blends creamy layers of seasonal flavors in a festive Christmas ice-cream cake that will leave everyone speechless.
Rich vanilla ice cream mingles with crumbled holiday cookies and decadent chocolate shavings.
Swirls of whipped cream and sprinkles of crushed peppermint create a delectable winter wonderland on your plate.
Colorful and indulgent, the cake brings a touch of magic to your festive table.
Each slice offers a cool, sweet escape from traditional holiday desserts.
Be the culinary hero who transforms an ordinary celebration into an extraordinary moment of delicious joy.
Quick Recipe Overview
Christmas Ice Cream Cake Ingredient List
For Crust Base:For Crust Binding:What You’ll Need to Assemble a Holiday Ice Cream Cake
Putting Together a Christmas Ice Cream Cake
Smash some festive cookies into fine crumbs and blend them smoothly with melted butter. Press this delightful mixture into the bottom of your pan, creating a solid, delectable foundation for your holiday dessert.
Pop the pan into the freezer and let the base set for about 10-15 minutes. This quick cooling helps create a firm, crisp bottom layer that’ll hold your creamy cake perfectly.
In a large mixing bowl, blend softened ice cream with your favorite holiday flavors like peppermint, gingerbread, or vanilla. Swirl and fold the ice cream gently to keep it light and airy.
Carefully spread your first ice cream layer over the chilled cookie base. Work quickly to prevent melting, and use a smooth spatula to create an even surface. Return to the freezer for a quick firm-up.
Once the first layer is set, add another contrasting ice cream flavor. Top with crushed candy canes, chocolate shavings, or festive sprinkles for a magical Christmas touch.
Cover the cake and let it rest in the freezer for several hours or overnight. This allows all the flavors to meld and creates a perfectly sliceable dessert.
Remove the cake from the freezer about 5-10 minutes before serving. Slice with a warm knife and watch your loved ones’ faces light up with holiday joy.
Flavor Ideas for Festive Frozen Cake Fans
Serve Ice Cream Cake with Holiday Flair
How to Save Leftover Ice Cream Cake Right
Print
Festive Christmas Ice-Cream Cake Recipe
- Total Time: 3 hours 20 minutes
- Yield: 13 1x
Description
Christmas ice-cream cake brings festive cheer to holiday dessert tables with classic peppermint and chocolate flavors. Creamy layers and crisp meringue create a delightful seasonal treat you will savor with friends and family.
Ingredients
- 1 ½ quarts (1.4 L) vanilla ice cream, softened
- 1 ½ quarts (1.4 L) chocolate or peppermint ice cream, softened
- 2 cups (473 ml) chocolate sandwich cookies (like Oreos), finely crushed
- 4 tbsps (60 ml) unsalted butter, melted
- 1 cup (240 ml) whipped topping or whipped cream
- ½ cup (118 ml) crushed candy canes or peppermint candies
- ½ cup (118 ml) red and green sprinkles
- Optional: holiday-themed candies (e.g., chocolate trees, stars, or snowflakes)
Instructions
- Crust Creation: Pulverize chocolate sandwich cookies into fine, uniform crumbs, then blend thoroughly with melted butter to form a cohesive mixture.
- Base Preparation: Press the moistened crumb mixture firmly into a springform pan, creating a compact foundation. Chill in the freezer for 10-15 minutes until set.
- Ice Cream Layering: Carefully spread softened vanilla ice cream evenly across the chilled cookie base, ensuring a smooth, consistent layer.
- Flavor Infusion: Add a vibrant layer of peppermint ice cream atop the vanilla, maintaining a level surface and creating a festive color contrast.
- Freezing Process: Return the assembled cake to the freezer, allowing the ice cream layers to solidify completely and meld together.
- Decorative Finish: Adorn the frozen surface with crushed candy canes, delicate chocolate shavings, or sparkling holiday sprinkles for a festive presentation.
- Storage and Serving: Wrap the cake securely in plastic wrap and store in the freezer. Before serving, let the cake rest at room temperature for a few minutes to ease slicing and enhance texture.
Notes
- Crush Cookies Uniformly: Use a food processor or rolling pin to create fine, consistent crumbs for a smooth, stable base that holds together perfectly.
- Soften Ice Cream Strategically: Let ice cream sit at room temperature for 5-10 minutes before spreading to achieve easy, clean layering without melting completely.
- Prevent Freezer Burn: Wrap the cake tightly in plastic wrap and place in an airtight container to maintain optimal texture and prevent ice crystallization.
- Customize for Dietary Needs: Swap traditional cookies with gluten-free alternatives and use dairy-free ice cream for those with dietary restrictions, maintaining the cake’s delightful festive spirit.
- Prep Time: 20 minutes
- Cook Time: 3 hours
- Category: Desserts
- Method: None
- Cuisine: American
Nutrition
- Serving Size: 13
- Calories: 400
- Sugar: 30 g
- Sodium: 250 mg
- Fat: 22 g
- Saturated Fat: 10 g
- Unsaturated Fat: 8 g
- Trans Fat: 0 g
- Carbohydrates: 46 g
- Fiber: 1 g
- Protein: 4 g
- Cholesterol: 30 mg
Emily Lawson
Content Creator & Culinary Specialist
Expertise
Education
Oregon Culinary Institute
Diploma in Culinary Arts
Focus: Emphasis on farm-to-table cooking, sustainable practices, and the fusion of global flavors with traditional grilling methods.
Emily Lawson is the content creator at Daves Grill, turning tasty ideas into clear, easy recipes. Based in Portland, she trained at the Oregon Culinary Institute and loves cooking with fresh, seasonal ingredients, especially grilled veggies and global flavors.
Emily mixes food writing with hands-on cooking to bring you recipes that feel fun, not stressful. Her goal is to make every dish simple, flavorful, and worth coming back to. Together, she and Dave serve up real food, one recipe at a time.