Jolly Peanut Butter Snowballs Recipe: A Holiday Treat Sensation
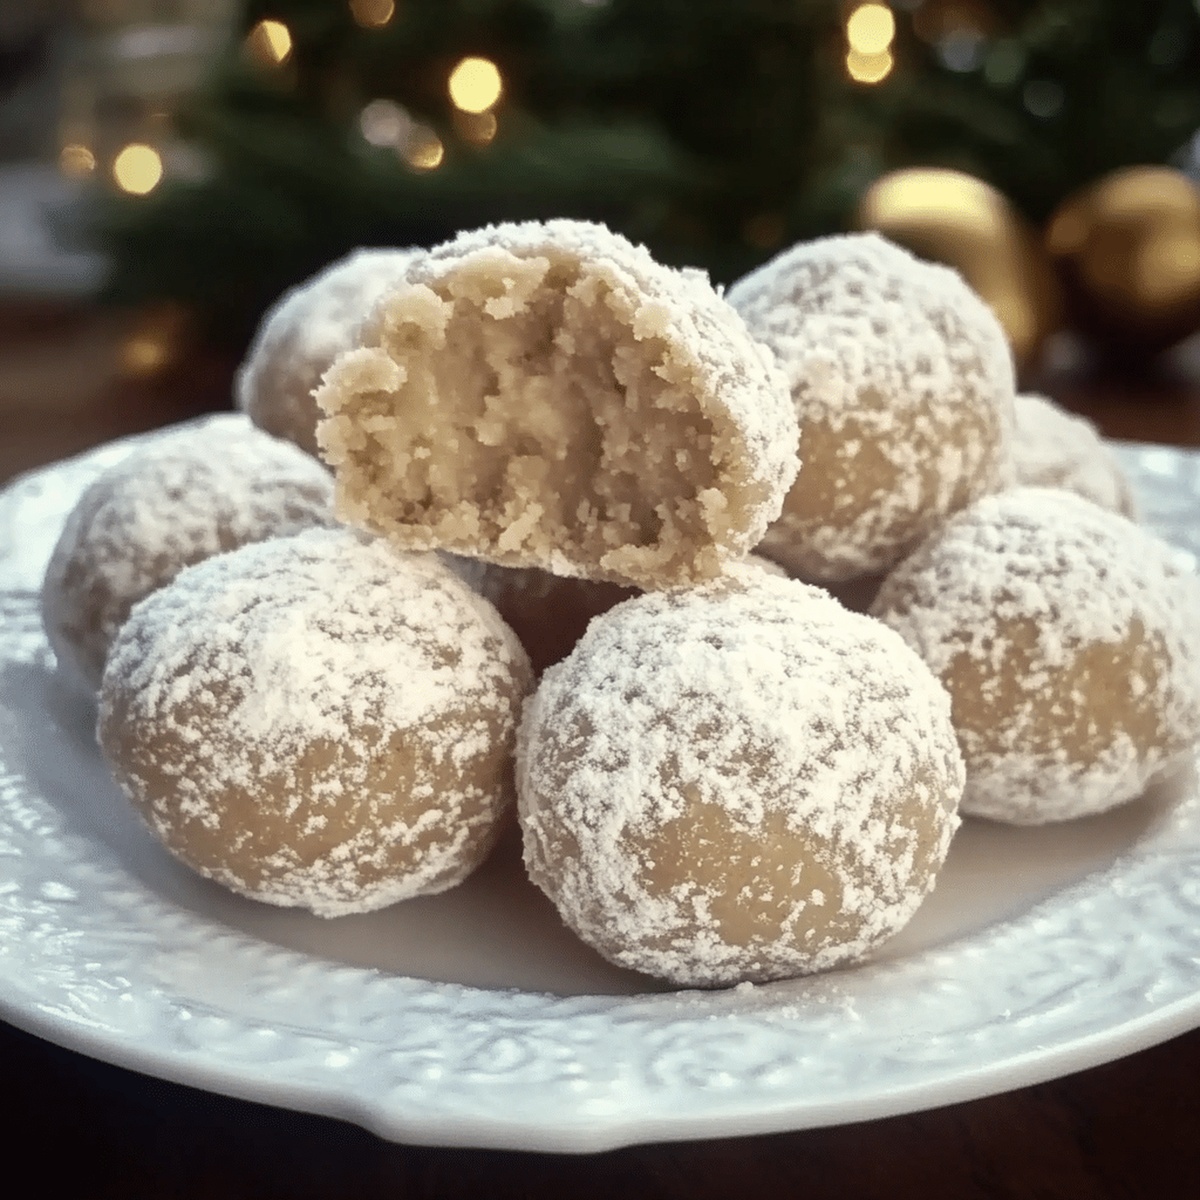
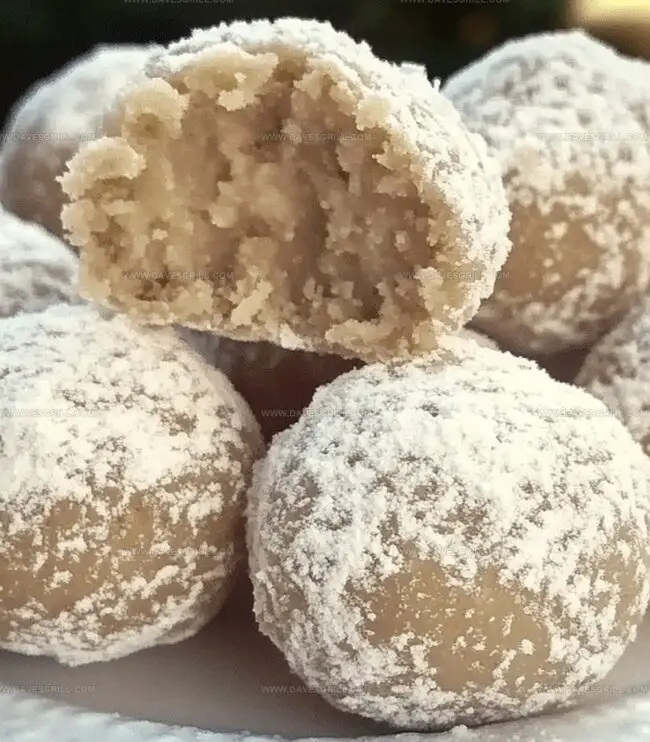
Creamy peanut butter snowballs sparkle with holiday cheer and promise sweet winter magic.
Winter gatherings call for delightful treats that everyone adores.
These delectable bites combine rich chocolate and smooth peanut butter in a perfect festive blend.
No baking required makes this recipe a stress-free dessert option.
Each snowball delivers a delightful crunch with a melt-in-your-mouth chocolate coating.
Rolling these treats becomes a fun activity that spreads joy around the kitchen.
You’ll love how simple yet impressive these snowballs look on a dessert platter.
Grab your ingredients and start creating these irresistible holiday treats that will have everyone asking for seconds.
Quick Recipe Overview

Peanut Butter Snowball Ingredient List
For Base Mixture:For Coating:For Optional Decorations:What You’ll Need for a No-Bake Snowball
How to Roll Peanut Butter Snowballs Just Right
Grab a mixing bowl and blend peanut butter, softened butter, powdered sugar, crushed graham crackers, and vanilla extract until the mixture transforms into a smooth, moldable dough.
Roll the mixture into delightful bite-sized balls, placing them carefully on a parchment-lined baking sheet. Pop the tray into the freezer for a quick 15-minute chill to firm them up.
Warm white chocolate in short microwave bursts, stirring between each interval until it becomes a silky, glossy liquid.
Rescue the chilled balls from the freezer and dip each one into the melted white chocolate, letting excess drip away. Return the coated treats to the parchment paper.
While the chocolate is still wet, sprinkle on fun decorations like festive sprinkles, coconut shavings, or crushed peanuts for extra pizzazz.
Let the snowballs rest at room temperature or refrigerate until the chocolate becomes firm. Serve and watch faces light up with delight.
Tips for Getting That Classic Coated Finish
Serve Snowballs for Any Occasion
Store Peanut Butter Bites the Smart Way
FAQs
Yes, you can substitute creamy with crunchy peanut butter. The texture will be slightly different but still delicious.
These snowballs can be stored in an airtight container in the refrigerator for up to 1 week. They maintain their taste and texture well during this period.
Freezing helps the peanut butter mixture firm up, making it easier to dip in chocolate without falling apart. The 15-20 minute chill time is recommended for best results.
Absolutely! You can prepare the peanut butter balls and store them in the freezer for up to 2 months before coating with white chocolate. This makes them great for advance party prep.
Print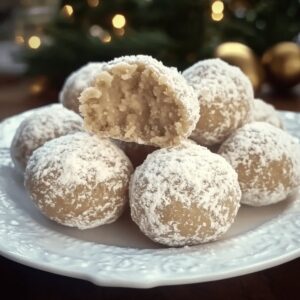
Festive Peanut Butter Snowballs Recipe
- Total Time: 35 minutes
- Yield: 25 1x
Description
Creamy peanut butter snowballs celebrate winter’s sweet charm with rich, indulgent flavors. Rolled in powdered sugar and chilled, these bite-sized treats offer delightful comfort for winter gatherings and holiday celebrations.
Ingredients
- 1 cup (240 mL) peanut butter, creamy
- ½ cup (113 g) butter, unsalted, softened
- 1 ½ cups (180 g) graham crackers, crushed (about 12 sheets)
- 2 cups (240 g) sugar, powdered (plus extra for coating)
- 1 tsp (5 mL) extract, vanilla
- 8 oz (226 g) chocolate, white (for dipping)
- Garnishes (optional): sprinkles, coconut, shredded, or peanuts, crushed
Instructions
- Preparation: Combine peanut butter, softened butter, powdered sugar, graham crackers, and vanilla extract in a large mixing bowl, blending until a cohesive, malleable dough forms.
- Shaping: Craft uniform spheres approximately one inch in diameter, carefully arranging them on a parchment-lined tray and briefly freeze for 15-20 minutes to solidify their structure.
- Chocolate Coating: Melt white chocolate in a microwave-safe container, stirring at 30-second intervals until achieving a smooth, glossy texture.
- Dipping and Decorating: Retrieve chilled spheres and methodically submerge each into the molten white chocolate, using a fork to ensure complete coverage and allow excess to drip off. Immediately garnish with sprinkles, coconut, or crushed peanuts while the coating remains liquid.
- Finishing: Let the snowballs set at room temperature or expedite the process by refrigerating until the chocolate hardens completely, creating a pristine, glossy exterior ready for serving.
Notes
- Prevent Sticking: Lightly coat hands with cooking spray or butter when rolling peanut butter balls to prevent mixture from clinging to fingers.
- Maintain Consistent Size: Use a small cookie scoop or tablespoon to ensure uniform snowball dimensions for even coating and professional appearance.
- Control Chocolate Temperature: Melt white chocolate slowly and stir frequently to avoid burning or seizing, which can ruin the smooth coating texture.
- Optimize Chilling Strategy: Freeze balls just until firm but not rock-hard, allowing easier dipping and preventing chocolate from cracking during coating process.
- Prep Time: 15 minutes
- Cook Time: 20 minutes
- Category: Snacks, Desserts
- Method: Blending
- Cuisine: American
Nutrition
- Serving Size: 25
- Calories: 274
- Sugar: 22 g
- Sodium: 50 mg
- Fat: 18 g
- Saturated Fat: 8 g
- Unsaturated Fat: 10 g
- Trans Fat: 0 g
- Carbohydrates: 28 g
- Fiber: 1 g
- Protein: 4 g
- Cholesterol: 15 mg
Emily Lawson
Content Creator & Culinary Specialist
Expertise
Education
Oregon Culinary Institute
Diploma in Culinary Arts
Focus: Emphasis on farm-to-table cooking, sustainable practices, and the fusion of global flavors with traditional grilling methods.
Emily Lawson is the content creator at Daves Grill, turning tasty ideas into clear, easy recipes. Based in Portland, she trained at the Oregon Culinary Institute and loves cooking with fresh, seasonal ingredients, especially grilled veggies and global flavors.
Emily mixes food writing with hands-on cooking to bring you recipes that feel fun, not stressful. Her goal is to make every dish simple, flavorful, and worth coming back to. Together, she and Dave serve up real food, one recipe at a time.