Soothing Flu/Cold Tea Bombs Recipe for Comfy Relief
Chilly days call for a comforting flu tea bomb that packs a powerful punch against winter sniffles.
Cold-fighting ingredients swirl together in these magical little spheres of wellness.
Small yet mighty, these tea bombs deliver a soothing blend of immune-boosting herbs and spices.
Traditional wellness wisdom meets modern recipe creativity in this delightful concoction.
Steeping these compact bombs releases a cascade of healing flavors that warm you from the inside out.
Medicinal herbs dance with natural sweeteners to create a therapeutic drink that feels like a cozy hug.
Brew these tea bombs and feel your body’s natural defenses rise to meet any seasonal challenge.
Why Flu/Cold Tea Bombs Are Soothing

Simple Ingredients for Homemade Tea Bombs
Base Ingredients:Herbal Ingredients:Essential Oil Ingredients:Step-by-Step Guide to Making Tea Bombs
Step 1: Prepare Liquid Base
Gently warm coconut oil in a microwave-safe bowl until completely melted. Pour honey into the liquid oil and whisk until the mixture becomes smooth and well-blended.
Step 2: Combine Healing Herbs
Add these powerful dried herbs into the coconut oil and honey mixture:Step 3: Infuse Essential Oils
Carefully introduce therapeutic essential oils:Stir thoroughly to distribute the oils evenly throughout the herbal mixture.
Step 4: Shape Tea Bombs
Select your molding container:Spoon the herbal mixture into chosen molds, pressing firmly to create compact shapes. Ensure each bomb is tightly packed and uniform.
Step 5: Solidify Tea Bombs
Place filled molds in the refrigerator. Allow tea bombs to set and harden completely, which typically takes about one hour.
Step 6: Store Properly
Transfer hardened tea bombs to an airtight container. Keep in a cool, dry place away from direct sunlight until ready to use.
Step 7: Brew and Enjoy
Drop a tea bomb into hot water, watch it dissolve, and savor the healing herbal infusion that supports your wellness journey.
Pro Tips for Shaping and Storing Tea Bombs
How to Store and Use Tea Bombs Later
Best Teas and Add-Ins for Tea Bombs
Creative Ways to Customize Your Tea Bombs
Print
Flu/Cold Tea Bombs Recipe
- Total Time: 12 hours 10 minutes
- Yield: 12 1x
Description
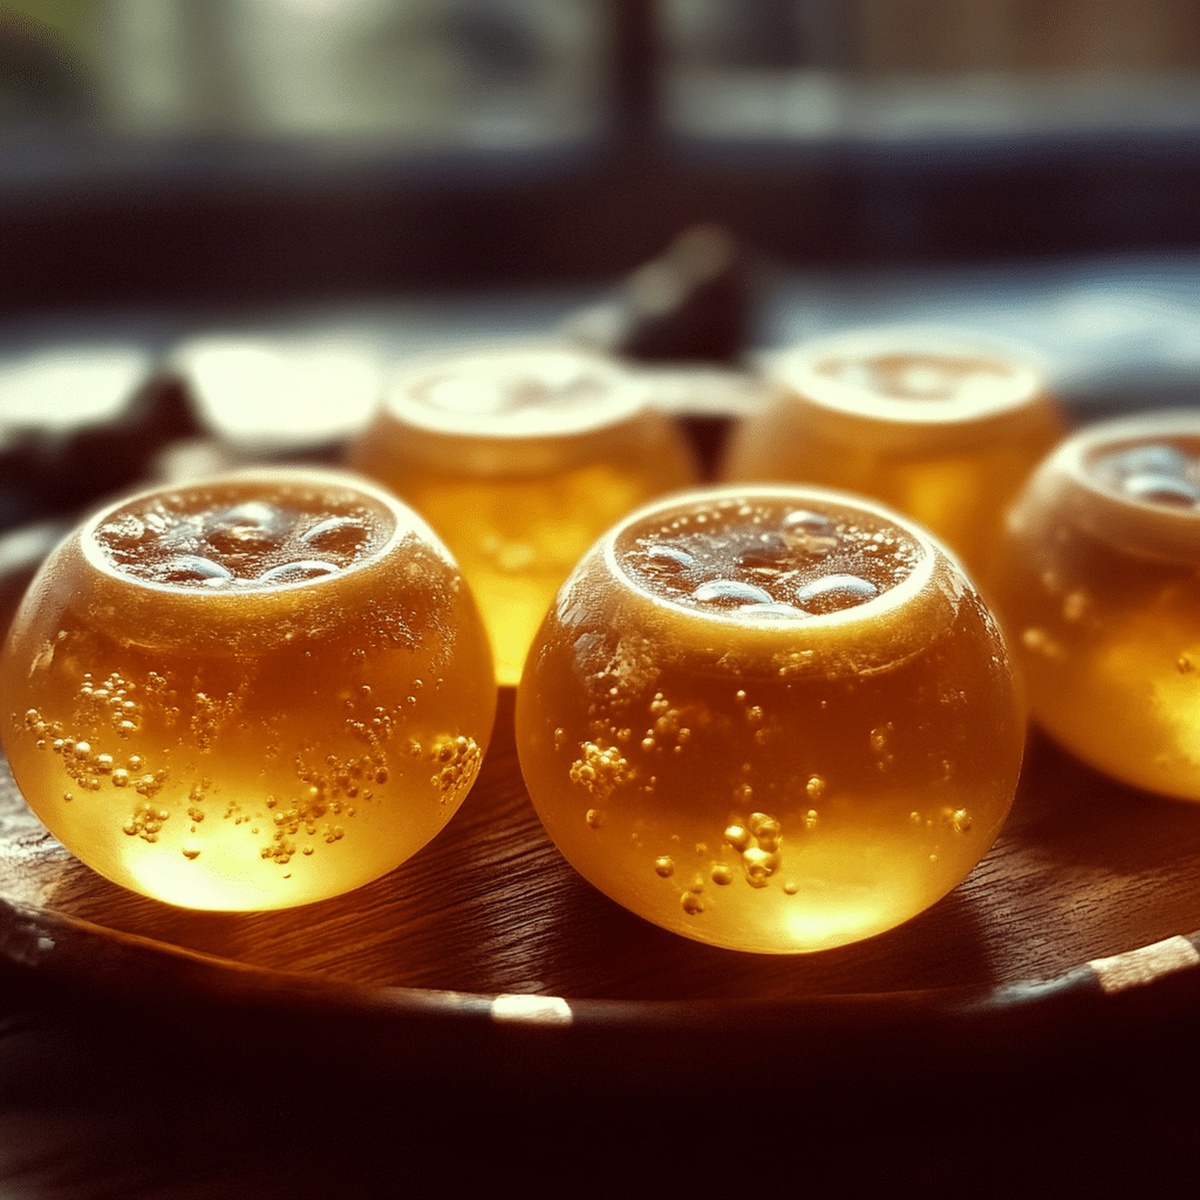
Soothing flu/cold tea bombs deliver powerful herbal healing with a delightful twist. Mexican-inspired wellness shots pack ginger, lemon, and honey into compact spheres that melt quickly into hot water, providing instant comfort and immune support.
Ingredients
Main Ingredients:
- 1 tablespoon (15 milliliters) green tea leaves
- ¼ cup (85 grams) honey
- 1 tablespoon (15 milliliters) lemon juice
Spices and Herbs:
- 1 teaspoon (5 grams) grated fresh ginger
- ½ teaspoon (1.5 grams) ground turmeric
- ¼ teaspoon (0.7 grams) ground cinnamon
Optional Ingredient:
- ½ teaspoon (2 grams) echinacea powder
Instructions
- Gently liquefy coconut oil in a microwave-safe container, ensuring smooth melting without overheating.
- Incorporate honey into the liquid coconut oil, whisking thoroughly until achieving a uniform, glossy consistency.
- Gradually sprinkle dried botanical elements – chamomile, peppermint, ginger, and turmeric – into the honey-oil blend, stirring consistently to distribute ingredients evenly.
- Carefully introduce eucalyptus and peppermint essential oils, mixing meticulously to ensure balanced aromatic infusion throughout the mixture.
- Select silicone molds or an ice cube tray as your shaping vessel, methodically transferring the herbal concoction into each compartment.
- Apply firm, even pressure while filling molds to compact ingredients and create dense, structured tea bombs.
- Transfer molds to the refrigerator, allowing the herbal mixture to solidify and develop a firm texture for approximately 60-90 minutes.
- Once completely set, delicately extract tea bombs from molds, handling with care to maintain their intricate shape.
- Preserve prepared tea bombs in an hermetic container, storing in a cool, dark environment to maintain their potency and structural integrity until ready for brewing.
Notes
- Customize the tea bombs by adjusting the essential oil amounts to suit your taste preferences and sensitivity.
- Swap coconut oil with melted shea butter for a different binding agent that provides extra skin-nourishing benefits.
- Choose organic ingredients to maximize the potential healing properties and ensure higher quality for your wellness tea bombs.
- Store tea bombs in a cool, dark place to preserve their potency and prevent essential oils from degrading quickly.
- Prep Time: 10 minutes
- Cook Time: 12 hours
- Category: Drinks, Snacks
- Method: Blending
- Cuisine: American
Nutrition
- Serving Size: 12
- Calories: 30
- Sugar: 8 g
- Sodium: 1 mg
- Fat: 0 g
- Saturated Fat: 0 g
- Unsaturated Fat: 0 g
- Trans Fat: 0 g
- Carbohydrates: 8 g
- Fiber: 0 g
- Protein: 0 g
- Cholesterol: 0 mg
Dave Mitchell
Founder & Chief Recipe Developer
Expertise
Education
Asheville-Buncombe Technical Community College
Associate of Applied Science in Culinary Arts
Focus: Comprehensive training in culinary techniques, kitchen management, and menu planning, with a special emphasis on grilling and outdoor cooking.
Dave Mitchell is the heart behind Daves Grill, a cook, writer, and lover of all things grilled. He studied Culinary Arts at Asheville-Buncombe Technical Community College and spent years cooking, testing, and sharing recipes that actually work.
Dave started Daves Grill to keep things simple: one great recipe at a time. His food is bold, easy to follow, and made for real people with regular kitchens. From juicy steaks to quick sides, Dave’s recipes bring the heat without the hassle.