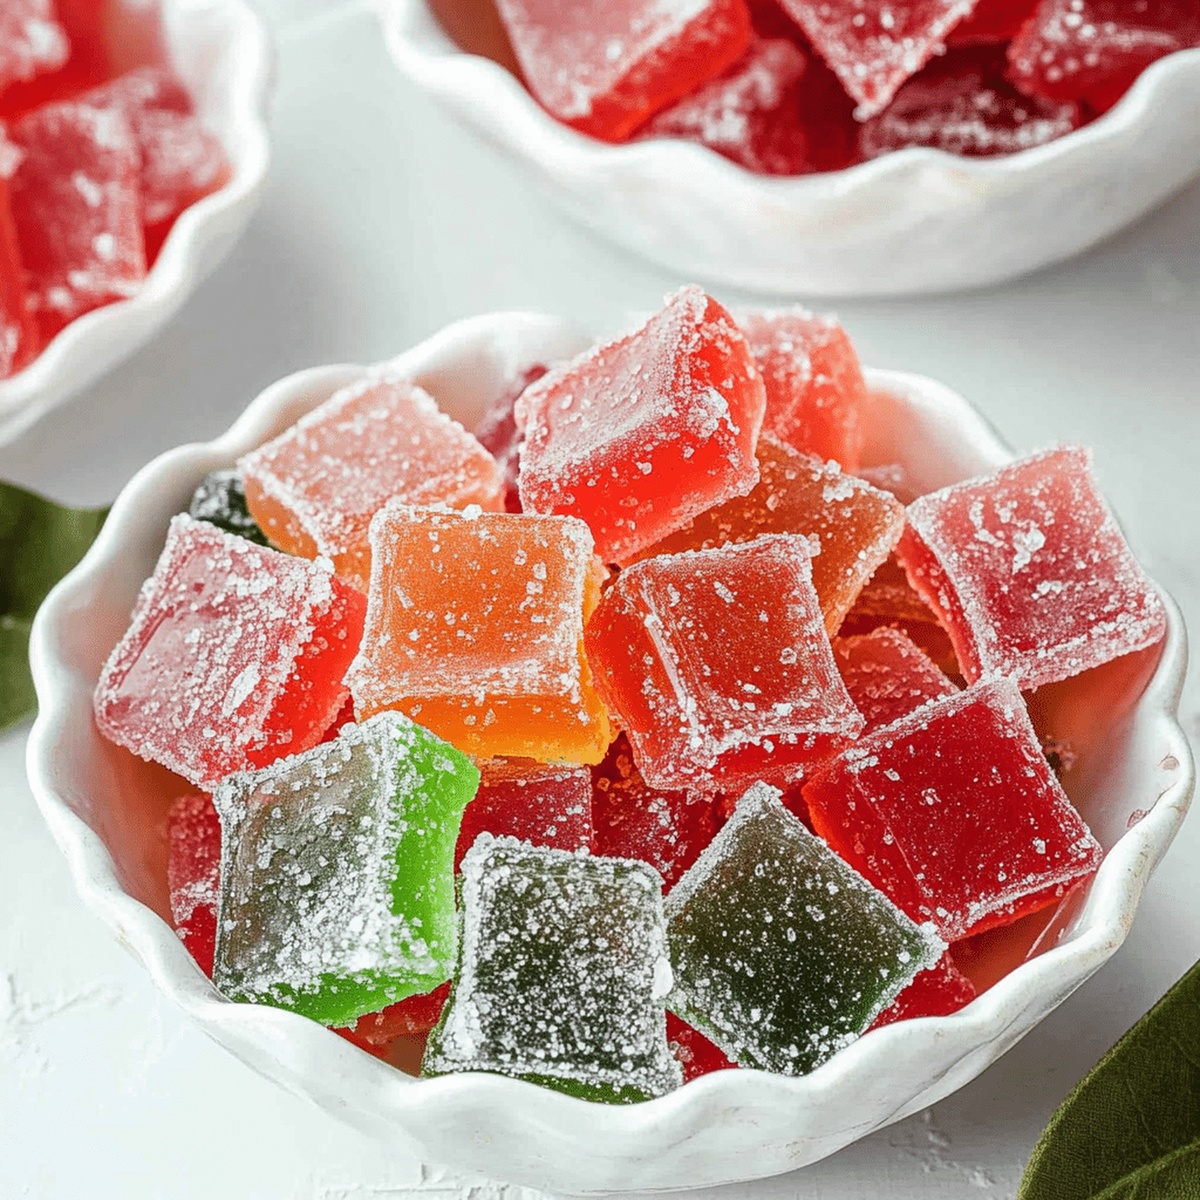
Irresistible Sweet Homemade Hard Candy Recipe for All Occasions
Crafting homemade hard candy brings pure joy to any kitchen, with this delightful hard candy recipe offering a nostalgic treat that sparkles with sweet memories.
Sugar transforms into glistening, jewel-like confections through a simple yet magical process.
You can create these crystalline treats with just a few basic ingredients and some careful attention.
Professional bakers and home cooks alike adore making these delicate, shimmering sweets.
The precision of candy making requires patience and a steady hand.
Each batch promises a delectable journey into the world of confectionery artistry.
Let’s dive into this delicious adventure and fill your home with the enchanting aroma of freshly made candy.
Quick Recipe Overview

What Goes Into Homemade Hard Candy
For Base Ingredients:For Flavor and Color Enhancers:For Preparation Assistance:Tools That Help with Sugar Temperature Control
Make Hard Candy That’s Clear and Crunchy
Grab a baking sheet and line it with parchment paper or silicone mat. Sprinkle a light dusting of powdered sugar to keep your candy from sticking.
Grab a heavy saucepan and combine sugar, corn syrup, and water. Gently swirl until sugar melts completely.
Crank up the stove to medium-high heat. Let the mixture bubble without touching it. Use a candy thermometer to track temperature until it hits the hard crack zone (300F to 310F).
Pull the pan off the heat. Quickly splash in your favorite flavor extract and a few drops of food coloring. Give it a lightning-fast gentle stir.
Carefully pour the molten mixture onto your prepared sheet. Let it spread naturally, tilting the pan for even coverage. Warning: It’s crazy hot!
Let the candy chill at room temperature for 30-60 minutes. Once solid, tap it with a spoon or mallet to break into tasty shards. Stash in an airtight container to keep it crisp and delicious.
Tips for Flavoring Without Sticky Results
Present Your Candy in Wrappers or Jars
Store Candy to Keep It Crisp
FAQs
Always wear long sleeves and oven mitts to protect against hot sugar splashes. Keep children and pets away from the cooking area. Use a candy thermometer for precise temperature monitoring and never touch the hot mixture directly.
Avoid stirring the mixture once it starts boiling. Use a clean, wet pastry brush to wash down sugar crystals from the sides of the pan. This helps prevent sugar from recrystallizing and ensures a smooth candy texture.
While possible, a candy thermometer is highly recommended for accuracy. Without it, you’ll need to use the cold water test by dropping a small amount of syrup into cold water. If it forms hard, brittle threads, it’s ready. However, this method is less precise and more challenging.
This usually happens if the sugar mixture didn’t reach the correct temperature (hard crack stage). Always cook the syrup to exactly 300F-310F and avoid adding extra liquid. Ensure your measurements are precise and you’re using a reliable heat source.
Print
Sweet Homemade Hard Candy Recipe
- Total Time: 40 minutes
- Yield: 21 1x
Description
Classic homemade hard candy creates sweet memories of childhood treats. Simple ingredients and careful techniques help you craft delightful sugary confections that delight family and friends.
Ingredients
- 2 cups (400 g) granulated sugar
- ⅔ cup (160 ml) light corn syrup
- ¾ cup (180 ml) water
- ½ tsp flavoring extract (such as peppermint, cinnamon, or fruit flavors)
- Food coloring (optional)
- Powdered sugar (for dusting, optional)
Instructions
- Preparation: Cover a baking sheet with parchment paper or silicone mat, dusting lightly with confectioners sugar to prevent sticking.
- Sugar Syrup: Merge sugar, corn syrup, and water in a heavy-bottomed saucepan, stirring until sugar dissolves completely. Position over medium-high heat and allow mixture to reach a rolling boil without stirring.
- Temperature Monitoring: Attach a candy thermometer and heat syrup until it precisely reaches the hard crack stage at 300F to 310F (150C to 154C), maintaining vigilant observation.
- Flavor Infusion: Remove from heat and quickly integrate flavor extract and food coloring, stirring gently to ensure even distribution throughout the molten mixture.
- Candy Formation: Pour liquid candy onto prepared baking sheet, tilting carefully to spread uniformly while exercising caution due to extreme heat.
- Cooling and Setting: Let candy cool undisturbed at room temperature for 30-60 minutes, allowing complete solidification.
- Fragmentation and Storage: Crack the hardened candy into irregular pieces using a mallet or sturdy spoon, then transfer to an airtight container to preserve freshness and prevent moisture absorption.
Notes
- Maintain Precise Temperature: Watch candy thermometer closely; overheating causes bitter taste and potential burning, while underheating prevents proper candy formation.
- Handle Molten Syrup Carefully: Use heat-resistant gloves and work slowly to prevent severe burns from extremely hot liquid sugar mixture.
- Prevent Sugar Crystallization: Stir gently during initial sugar dissolving stage and avoid scraping sides of pan to ensure smooth, clear candy texture.
- Select Appropriate Flavor Extracts: Use concentrated, high-quality extracts that can withstand high temperatures without losing intensity or developing off-flavors.
- Prep Time: 10 minutes
- Cook Time: 30 minutes
- Category: Snacks, Desserts
- Method: Boiling
- Cuisine: American
Nutrition
- Serving Size: 21
- Calories: 95
- Sugar: 21 g
- Sodium: 0 mg
- Fat: 0 g
- Saturated Fat: 0 g
- Unsaturated Fat: 0 g
- Trans Fat: 0 g
- Carbohydrates: 25 g
- Fiber: 0 g
- Protein: 0 g
- Cholesterol: 0 mg
Emily Lawson
Content Creator & Culinary Specialist
Expertise
Education
Oregon Culinary Institute
Diploma in Culinary Arts
Focus: Emphasis on farm-to-table cooking, sustainable practices, and the fusion of global flavors with traditional grilling methods.
Emily Lawson is the content creator at Daves Grill, turning tasty ideas into clear, easy recipes. Based in Portland, she trained at the Oregon Culinary Institute and loves cooking with fresh, seasonal ingredients, especially grilled veggies and global flavors.
Emily mixes food writing with hands-on cooking to bring you recipes that feel fun, not stressful. Her goal is to make every dish simple, flavorful, and worth coming back to. Together, she and Dave serve up real food, one recipe at a time.